
Related Manuals for iHome IP23


Summary of Contents for iHome IP23
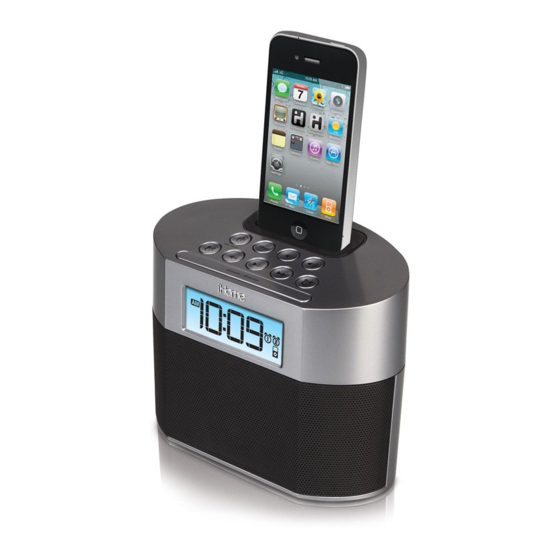
- Page 1 Model iP23 Dual Alarm Clock ® for iPhone and iPod Questions? Visit www.ihomeaudio.com...
-
Page 2: Table Of Contents
Controls and Indicators ... 1 iP23 Quick Start ... 2 iP23 display / Install Clock Backup Battery ... 3 Operating the Unit ... 4-6 A Consumer Guide to product Safety Trouble Shooting Warranty Information ... 9 • Place the unit on a level surface away from sources of direct sunlight or excessive heat. -
Page 3: Fcc Information
This device complies with Part 15 of the FCC Rules, operation is subject to the following two conditions: (1) This device may not cause harmful interference, and (2) this device must accept any interference received, including interference that may cause undesired operation. This equipment complies with the limits for a Class B digital device as specified in Part 15 of FCC Rules. -
Page 4: Controls And Indicators
Top Panel Sleep Button Alarm Reset / Power Button Alarm 1 Button Reverse Button Rear Panel Time Sync/Set Button Controls and Indicators Dock Snooze/Dimmer Button Aux Line-in Jack Time Zone Button DST Switch Lower Volume Button Raise Volume Button Forward Button Alarm 2 Button Play/Pause Button AC Adaptor Jack... -
Page 5: Ip23 Quick Start
If you prefer to use an insert and don’t have one for your model, please visit www.ihomeaudio.com or call iHome toll free at 800-288-2792 to purchase one. 4:time sync... -
Page 6: Ip23 Display / Install Clock Backup Battery
PM Indicator Time Display Installing/Replacing Clock Backup Batteries The unit uses 2 AA batteries (installed) for backup to provide continuous alarm operation and clock settings in the event of a power failure. If the backup batteries have been installed and a power failure occurs or the AC adaptor is accidentally disconnected, the display backlight will not remain lit, but current time and alarm time settings will be temporarily maintained. -
Page 7: Operating The Unit
This unit has a PRESET Clock: the time is already preset to Eastern time at the factory. Simply match the time zone setting to where you live. 1. Depending on your location and whether or not Daylight Saving Time (DST) is in effect, set the DST Switch located on the back of the unit to +1 to add an hour or to -1 to subtract an hour to/from the currently displayed time. -
Page 8: Resetting The Alarm
Reviewing, Arming and Disarming Alarm (Turn Alarm Function On and Off) 1. Once an alarm is set, press the associated alarm button to view the currently set alarm time and to toggle the alarm on (icon) or off (no icon). 2. -
Page 9: Using Aux Line-In Jack
Using the Aux line-in Jack If you have an audio device with standard 3.5 mm headphone jack, you can play it through the unit via the Line-in Jack located on the back of the unit. 1. Plug one end of an audio patch cord (available at www.ihomeaudio.com) into the headphone or line-out jack on your device and the other end of the patch cord into the Aux line-in Jack. -
Page 10: A Consumer Guide To Product Safety
A Consumer Guide to Product Safety When used in the directed manner, this unit has been designed and manufactured to ensure your personal safety. However, improper use can result in potential electrical shock or fire hazards. Please read all safety and operating instructions carefully before installation and use, and keep these instructions handy for future reference. -
Page 11: Trouble Shooting
Symptom Possible Problem Unit doesn’t respond AC adaptor isn’t plugged to a wall outlet or (no power) the connector is not plugged into the power supply jack on the back of the unit Wall outlet is not functioning iPhone/iPod cannot Using wrong insert dock properly Possible obstruction in dock area or on... -
Page 12: Warranty Information
Limited 1 Year Warranty Information iHome Products, a division of SDI Technologies Inc. (hereafter referred to as SDI Technologies), warrants this product to be free from defects in workmanship and materials, under normal use and conditions, for a period of 1 year from the date of original purchase.
Need help?
Do you have a question about the IP23 and is the answer not in the manual?
Questions and answers