Advertisement
Quick Links
This Field Communication Quick Guide provides information on key acoustic transponding procedures. Full details for
transponding procedures are found in the VR100 user manual and at www.vemco.com. We strongly recommend you study the full
manual before using this quick guide.
Equipment and Setup
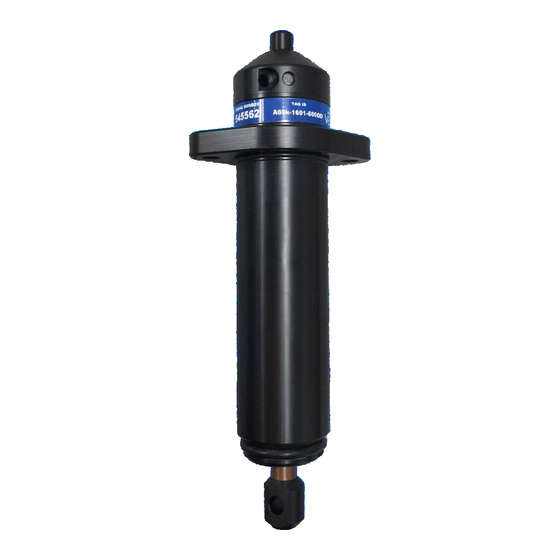
Acoustic transponding communication requires three elements:
a receiver (VR2Tx or VR2AR), a VR100-200 receiver, and a 69kHz
transponding hydrophone like the one shown below.
Connect the transponding hydrophone to the first connector on the
side of the VR100-200 case (see photo, far right).
Place the transponding hydrophone in the water so it is at least 5m
below the hull of the boat. The hydrophone needs line-of-sight to
the receiver.
Make sure the hydrophone doesn't bang against the hull. Turn off your boat's depth sounder,
and if possible, the engine. These can interfere with communication.
Status Light
Before deploying a VR2Tx or VR2AR receiver, watch
two quick red flashes
the Status Light for
seconds indicating receiver is in Recording Mode.
If there are no flashes, the
VR2Tx/VR2AR is not powered.
Green
flashes indicate acoustic
pings were transmitted, but
only if the transmit feature is
enabled.
Health
You are encouraged to use Get Health to establish
communications, as it takes less time (at 69kHz).
1. Select Status...
2. Select Get Health...
3. Wait while health information is gathered from
the receiver and then displayed. From top:
VR2AR:012345
170m
Batt: <25%
left
*
Mem:
0-30%
used
Tilt: 0-11°
Resend
*
The remaining battery capacity displayed on the VR100 (Batt: xx%) is a soft counter intended to estimate the unit's remaining battery life. For the counter to
display the correct battery capacity, you must connect to VUE and initialize the receiver each time the receiver battery is replaced (see receiver manual for details).
VR2AR/VR2Tx Receivers
Field Communication Quick Guide
every 5
•
serial number & slant
range
•
battery life
•
memory used
•
tilt angle from vertical
Connect
1. Turn on the VR100-200.
2. On the main menu, select
Transpond.
3. To scan for VR2Tx and VR2AR receivers in the area, select Auto
Scan or Manual Scan. Alternately, select Add Device and
enter the receiver serial number.
4. Wait while the "wake-up" command is broadcast, and again
for responses from units in the area. These wait times are fixed
and displayed with a "T-_" counter. The VR100-200 will not
respond to user input until the wait times are completed.
5. Select the desired unit from those that responded. If your
desired unit is not listed, select Rescan to try again.
Range
1. Select Status...
2. Select Get Range...
3. Wait while range/depth information is gathered from the
receiver and then displayed.
VR2AR:012345
170m
hRange: 80m
Depth: 150m
Resend
SCANNING....Found 3
VR2AR:012344 100m
T-13
63dB▐▐▐
M00 Mute
From top:
•
serial number & slant range
•
horizontal range (AR only)
•
depth (AR only)
To refresh the information
onscreen, select Resend.
Advertisement

Subscribe to Our Youtube Channel
Related Manuals for Vemco VR2AR


Summary of Contents for Vemco VR2AR
- Page 1 This Field Communication Quick Guide provides information on key acoustic transponding procedures. Full details for transponding procedures are found in the VR100 user manual and at www.vemco.com. We strongly recommend you study the full manual before using this quick guide.
- Page 2 Select Activate to send the release command. After reading the confirmation screen, select Activate again. b. Wait while the mooring lug is ejected from the VR2AR. The status is reported as Opening until the VR2AR’s motor has completed the task, at which time the status changes to Open.
Need help?
Do you have a question about the VR2AR and is the answer not in the manual?
Questions and answers