Table of Contents
Advertisement
Quick Links
9. Availability
Description
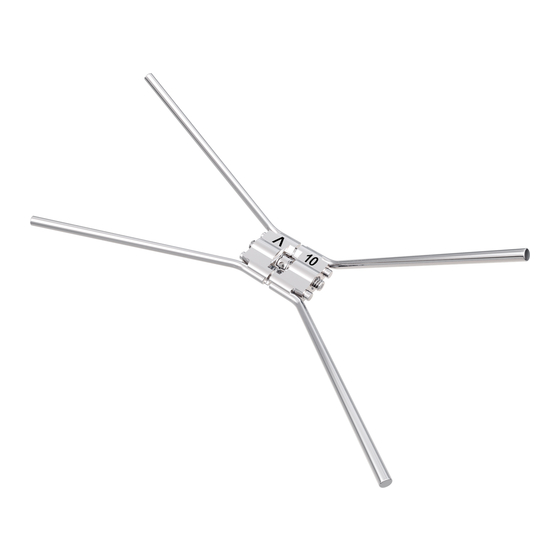
straight legs
bent legs
Quantity
602-800-11
602-801-11
1 piece
palex
Mini – 7
®
602-800-31
602-801-31
10 pieces
(Expansion 7 mm)
602-800-55
602-801-55
50 pieces
602-808-11
602-840-11
1 piece
palex
Medium – 10
®
602-808-31
602-840-31
10 pieces
(Expansion 10 mm)
602-808-55
602-840-55
50 pieces
602-811-11
602-812-11
1 piece
palex
®
Maxi – 12
602-811-31
602-812-31
10 pieces
(Expansion 12 mm)
602-811-55
602-812-55
50 pieces
Packages (1 piece / 10 pieces): with 1 / 10 safety key(s)
Packages (50 pieces): with 1 safety key
Safety key
611-120-00
10 pieces
611-122-00
Universal bending tool
1 piece
#
Information for the doctor / patient
Before the palex
appliance is cemented into position, turn the spindle (screw)
®
slightly 2 – 3 quarter turns in the direction of the arrow to test the function.
Then turn back to the original position.
Turn the palex
screw only in the direction of the arrow. Opening and closing
®
the screw several times during the treatment can cause its malfunction. The
finished palex
appliance is cemented into position in the usual manner. Please
®
observe the instructions from the cement manufacturer.
Following this, the screw is turned four times by 90° using the blue
safety key (REF 611-120-00) for this purpose. One full 360° turn of the
spindle = 0.8 mm expansion.
The patient should turn the screw two times by 90° both in the morning and
evening (according to your in structions) until the desired expansion is achieved.
10. Quality information
Dentaurum guarantees the perfect quality of its products. These
recommendations are based upon Dentaurum´s own experiences. The user is
solely responsible for the processing of the products. Responsibility for failures
cannot be taken, as we have no influence on the processing on site.
11. Explanation of symbols used on the label
Please refer to the label. Additional information can be found at
www.dentaurum.com (Explanation of symbols REF 989-313-00).
Important: Use only the blue safety key supplied, as this cannot accidentally
be swallowed.
Regular visits are recommended to monitor progress.
The palex
®
appliance is secured against unwanted turning-back, after the
desired degree of expansion is achieved, by fitting a ligature or blocking
with acrylic. For stabilization the appliance should remain in the mouth for
approximately 2 – 3 months.
A retainer should be worn following removal of the palex
appliance.
®
The product should not be used, if there is a known allergic reaction
to one or more of the material components.
 For more information on our products,
Â
please visit www.dentaurum.com
 Our orthodontic technicians are available to answer
Â
any questions you may have regarding our products:
Customer Service: Phone 800 523 3946
info@dentaurum-us.com
Date of information: 10/18
Subject to modifications
Dentaurum Inc. | 2050 Cabot Boulevard West, Suite 100 | Langhorne, PA 19047 I USA
Phone + 1 - 800 - 523 - 3946 I Fax + 1 - 800 - 553 - 6389 | www.dentaurum.com I info@dentaurum-us.com
US
Instructions for use
palex
screws
®
(Biederman)
Advertisement
Table of Contents

Related Manuals for DENTAURUM palex screws


Summary of Contents for DENTAURUM palex screws
- Page 1 (according to your in structions) until the desired expansion is achieved. Dentaurum Inc. | 2050 Cabot Boulevard West, Suite 100 | Langhorne, PA 19047 I USA Phone + 1 - 800 - 523 - 3946 I Fax + 1 - 800 - 553 - 6389 | www.dentaurum.com I info@dentaurum-us.com...
- Page 2 6. Composition 4. Fabricating a palex appliance using the example of preformed ® The composition is included in the materials list, refer to www.dentaurum.com. bands Preformed bands are fitted on the maxillary left and right 1st bicuspids 7. Safety information Fig.
Need help?
Do you have a question about the palex screws and is the answer not in the manual?
Questions and answers