Brivo ACS300 Quick Start Manual
Hide thumbs
Also See for ACS300:
- Installation manual (27 pages) ,
- Networking manual (61 pages) ,
- Installation manual (25 pages)
Advertisement
Upgrade Firmware
Before proceeding with any installation, contact Brivo Technical Support
at 866-274-8648 or email
customercare@brivo.com
firmware onto your ACS300. Follow all instructions provided by Brivo
Technical Support during the upgrade process.
ACS300 Power Specifications
ACS300 Panel Light Indicators
Wiring
Note: To silence the tamper
alarm during installation, flip the
Tamper Switch to Disabled in
the System Switch Bank (see the
System Switch Settings diagram
to the right).
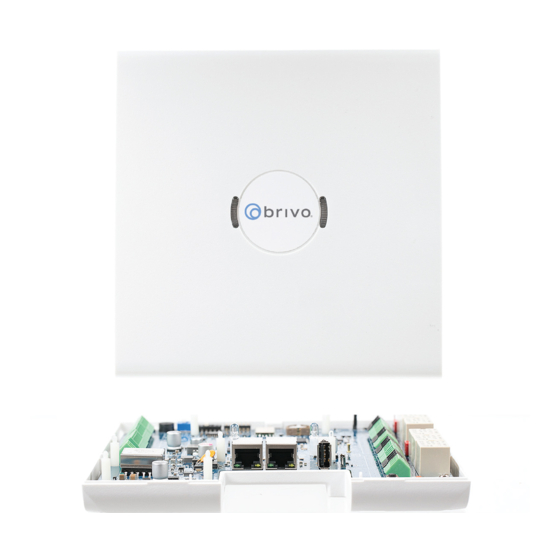
Mounting
Mount the box directly to drywall using the four outer corner screw mounting holes (red
below) (or two alternate positions) (blue below) on the back of the ACS300 enclosure.
to upload the latest
Additionally, the installer can remove the printed circuit board (PCB) and mount the ACS300
enclosure directly to a 4" square electrical junction box (green below).
Wiring can enter through the back of the ACS300 enclosure through the drywall, or wiring
can come up through the bottom opening of the ACS300 enclosure in front of the drywall or
mounting backboard.
ACS300 Quick Start Guide
System Switch Settings
Advertisement
Table of Contents

Related Manuals for Brivo ACS300


Summary of Contents for Brivo ACS300
- Page 1 Wiring can enter through the back of the ACS300 enclosure through the drywall, or wiring ACS300 Power Specifications can come up through the bottom opening of the ACS300 enclosure in front of the drywall or mounting backboard. ACS300 Panel Light Indicators...
- Page 2 ACS300 Quick Start Guide Wi-Fi Configuration 1. Connect a CAT5 cable to the LAN/PoE port (left port) on the ACS300. This will power up the ACS300 unit if the CAT5 cable is connected to a PoE+ switch. 2. Verify connectivity using the ACS300 Panel Light Indicators table (on the opposite page).
Need help?
Do you have a question about the ACS300 and is the answer not in the manual?
Questions and answers