Table of Contents
Advertisement
Available languages
Available languages
Quick Links
Read all instructions BEFORE
assembly and USE of product.
KEEP INSTRUCTIONS FOR
FUTURE USE.
Lea todas las instrucciones ANTES
de armar y USAR este producto.
CONSERVE LAS INSTRUCCIONES
PARA USO FUTURO.
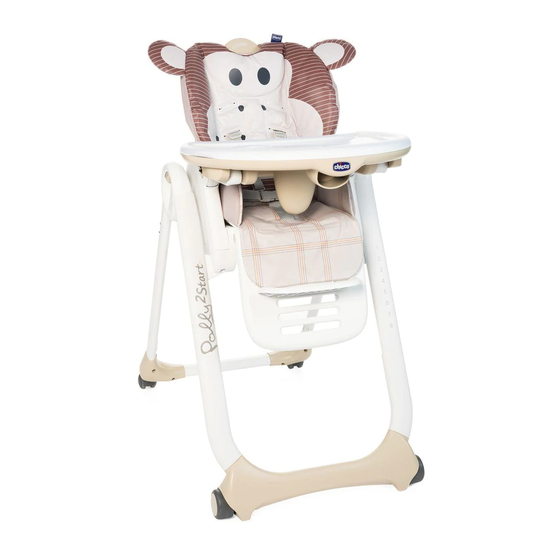
Polly2Start
Polly2Start Deluxe
High Chair
Owner's Manual
Manual del propietario
©2018 Artsana USA, INC. 11/18
IS0167ES_03
www.chiccousa.com
Advertisement
Table of Contents

Related Manuals for Chicco Polly2Start


Summary of Contents for Chicco Polly2Start
- Page 1 USE of product. KEEP INSTRUCTIONS FOR FUTURE USE. Lea todas las instrucciones ANTES de armar y USAR este producto. CONSERVE LAS INSTRUCCIONES PARA USO FUTURO. Polly2Start Polly2Start Deluxe High Chair Owner's Manual Manual del propietario ©2018 Artsana USA, INC. 11/18 IS0167ES_03 www.chiccousa.com...
- Page 2 Chicco. • Se recomienda que la silla alta sea • No agregue al producto ninguna only by children capable of sitting utilizada en posición vertical solo por...
- Page 3 Components Components Componentes Componentes Seat Pad and Shoulder Pads High Chair Almohadilla del asiento y almohadillas Silla Alta para los hombros Footrest Apoyapiés Insert (select models) Portabebés (modelos selectos) Tray Bandeja Tray Liner Cubrebandeja...
- Page 4 Setup Setup Montaje Montaje 2a. Rotate Seat Back up, making sure 1. Open the High Chair by squeezing the Seat Back guides line up with the the release buttons on both handles. grooves in the side of the Seat Base, Then pull out the back leg slightly and as shown.
- Page 5 Setup Setup Montaje Montaje 3. To extend the Armrest, push the Armrest Button and pull up on the Armrest until it locks into place. Repeat for the other side. 3. Para extender el apoyabrazos, oprima el botón del apoyabrazos y "CLICK"...
- Page 6 Setup Seat Pad Assembly Montaje Ensamblaje de la almohadilla del asiento 4. To attach the Footrest, insert the 5. Place the Seat Pad on the Seat. Footrest into the groove on the Leg Make sure to slide the Backrest into Rest and rotate down to snap it into the top of the Seat Pad, as shown.
- Page 7 Seat Pad Assembly Seat Pad Assembly Ensamblaje de la almohadilla del asiento Ensamblaje de la almohadilla del asiento 7. Locate both Attachment Straps on 8. On the Seat Pad side wings, locate the Seat Pad side wings. the elastic strap. Wrap the Seat fabric around the Seat frame and attach the 7.
- Page 8 Height Adjustment Height Adjustment Ajuste de la altura Ajuste de la altura WARNING ADVERTENCIA 9b Push down on the Chair Base to make sure that it is locked at the Do not adjust the height with child in No ajuste la altura cuando el niño esté selected height.
- Page 9 Shoulder Strap Adjustment Locking Rear Wheels Ajuste de la correa para los hombros Trabe del ruedas traseras 11. Always lock both rear wheels 10. To provide a better fit for your before placing a child in the High child, the Shoulder Straps can be Chair.
- Page 10 Adjusting Leg Rest Adjusting Backrest Ajuste del apoyapiernas Ajuste del respaldo 13. The Backrest can be adjusted to 4 different positions. To adjust the Backrest squeeze the Recline Button on the back of the "CLICK" "CLICK" "CLICK" "CLICK" "CLIC" "CLIC" "CLIC"...
- Page 11 Adjusting Safety Harness Adjusting Safety Harness Ajuste del arnés de seguridad Ajuste del arnés de seguridad 14. The High Chair has a 5-point 15. The safety harness can be safety harness. The Shoulder Strap released by pressing the button on Connector is designed to break away the center of the Crotch Strap Buckle from the Waist Clip when not secured...
- Page 12 Adjusting Safety Harness Insert Use (Select Models) Ajuste del arnés de seguridad Uso del accesorio (modelos selectos) 16. The length of the Shoulder Straps 17. To use the Insert, undo the safety can be adjusted by pulling on the harness and remove the shoulder adjustment buckles to tighten or pads.
- Page 13 Tray Use Tray Use Uso de la bandeja Uso de la bandeja 17. To attach the Tray, line it up with 18. The Tray can be adjusted to 3 the Armrests on the Seat and press different positions. To adjust the Tray down until it snaps into place.
- Page 14 Tray Use Storage Uso de la bandeja Almacenamiento 20. Optional: To remove the Footrest, 19. The Tray can be stored on the pull up on the Footrest and remove. back of the Rear Legs. Slide the tray down the rear legs until it clicks in the storage position 20.
- Page 15 MAINTENANCE Periodically check the product for loose screws, worn parts, torn material or stitching. Replace or repair the parts as needed. Use only Chicco replacement parts. To avoid friction that may prevent the correct operation of the product, ensure that all the movable plastic parts placed along the metal frame are clean of dust and dirt.
- Page 16 Reemplace o repare las piezas en 1826 William Penn Way caso de que sea necesario. Use únicamente piezas de repuesto Chicco. Para evitar Lancaster, PA 17601 la fricción que puede impedir el correcto funcionamiento del producto, asegúrese de que todas las piezas móviles de plástico junto al marco metálico estén libres de...
- Page 17 www.chiccousa.com...
Need help?
Do you have a question about the Polly2Start and is the answer not in the manual?
Questions and answers