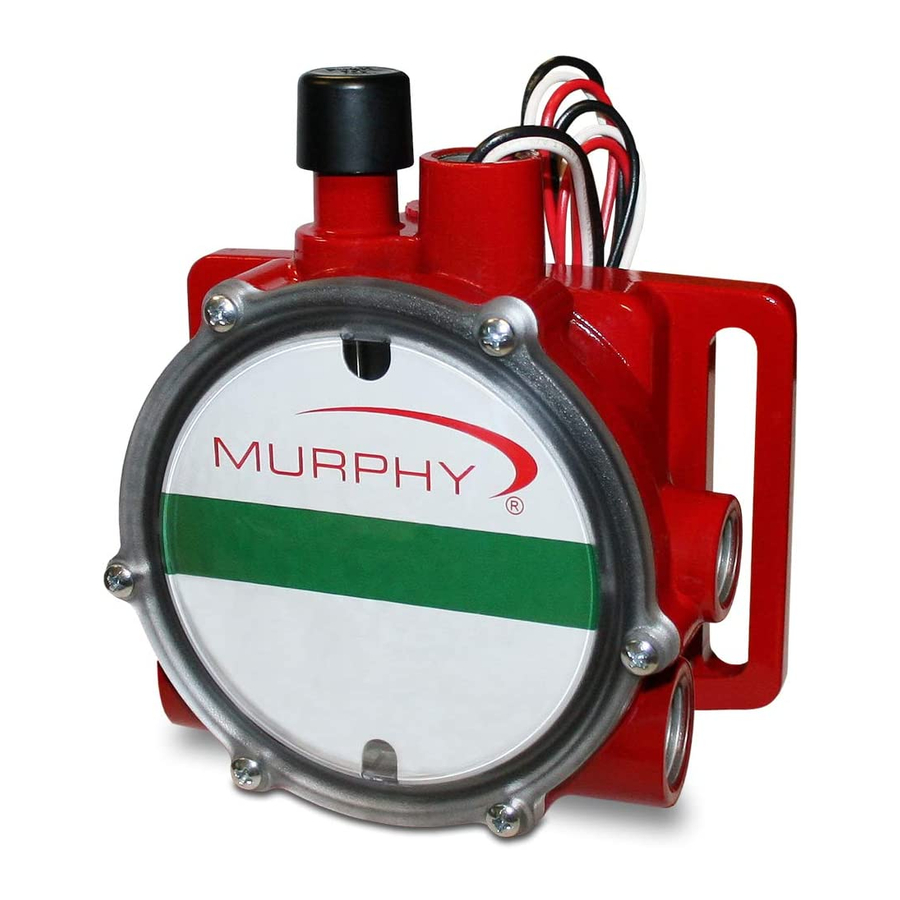
Murphy LM500 Assembly Instruction
Bubble lens
Hide thumbs
Also See for LM500:
- Installation instructions manual (13 pages) ,
- Installation instructions manual (16 pages)
Table of Contents
Advertisement
Quick Links
Bubble Lens Assembly Instruction
WARNING: Perform all installations with the power source OFF. Be sure engine has
cooled and pressure has been relieved. Follow all safety practices to prevent SEVERE
BURNS.
1
Remove Lens from packing material.
Inspect for cosmetic flaws, scratches, or fingerprints on the bubble lens.
Clean as necessary using a soft cloth with very mild detergent & water, or isopropyl alcohol.
2
Insert large cutout of dial into the lens side with larger notch at an
angle as shown.
3
Press the small end of the dial cutout in with both thumbs until
fully seated.
4
Carefully place o‐ring around the lens.
(LM500/LM500-TF)
1
00‐02‐0785
11‐02‐2011
Section 15
Advertisement
Table of Contents

Related Manuals for Murphy LM500


Summary of Contents for Murphy LM500
- Page 1 00‐02‐0785 11‐02‐2011 Section 15 Bubble Lens Assembly Instruction (LM500/LM500-TF) WARNING: Perform all installations with the power source OFF. Be sure engine has cooled and pressure has been relieved. Follow all safety practices to prevent SEVERE BURNS. Remove Lens from packing material. Inspect for cosmetic flaws, scratches, or fingerprints on the bubble lens. Clean as necessary using a soft cloth with very mild detergent & water, or isopropyl alcohol. Insert large cutout of dial into the lens side with larger notch at an angle as shown. Press the small end of the dial cutout in with both thumbs until fully seated. Carefully place o‐ring around the lens. 1 ...
- Page 2 00‐02‐0785 11‐02‐2011 Section 15 Line up bolt hole pattern, push from center of lens, and install finger‐tight six (6) shoulder bolts. (See Step 6 for torque instructions.) Use a torque wrench/torque gun set at 12 in‐lbs to attach the screws. Tighten screws using a cross pattern. (12 in‐lbs is approximately equivalent to 1/8 turn after the shoulder bolt bottoms out. NOTE: For additional information on the LM500 (specifications and installation instructions), search LM500 on the FW Murphy Web site (www.fwmurphy.com). At the LM500 Web page, select the Literature tab and choose Installation Instructions. 2 ...
Need help?
Do you have a question about the LM500 and is the answer not in the manual?
Questions and answers