Geokon 8800 Troubleshooting Tips
Wireless acquisition system
Hide thumbs
Also See for 8800:
- Instruction manual (52 pages) ,
- Product tutorial (30 pages) ,
- Instruction manual (52 pages)
Table of Contents
Advertisement
Quick Links
Troubleshooting Tips & Procedures
Model 8800
GeoNet Wireless Acquisition System
No part of this instruction manual may be reproduced, by any means, without the written consent of Geokon, Inc.
The information contained herein is believed to be accurate and reliable. However, Geokon, Inc. assumes no responsibility for
errors, omissions, or misinterpretation. The information herein is subject to change without notification.
Copyright © 2016-2018 by Geokon, Inc.
(REV C, 03/08/2018)
Advertisement
Table of Contents

Summary of Contents for Geokon 8800
- Page 1 GeoNet Wireless Acquisition System No part of this instruction manual may be reproduced, by any means, without the written consent of Geokon, Inc. The information contained herein is believed to be accurate and reliable. However, Geokon, Inc. assumes no responsibility for errors, omissions, or misinterpretation.
- Page 3 Upon examination by Geokon, if the unit is found to be defective, it will be repaired or replaced at no charge. However, the WARRANTY is VOID if the unit shows evidence of having been tampered with...
-
Page 4: Table Of Contents
TABLE of CONTENTS 1. DEVICE ORIENTATION ............................1 2.TIPS ..................................1 3. PROCEDURES ..............................2 3.1 S ................................2 ESET 3.2 H ................................2 ESET 3.3 C ..............................2 HANGE HANNEL 3.4 S ............................. 2 TARTING A ETWORK 3.5 P ........................ -
Page 5: Device Orientation
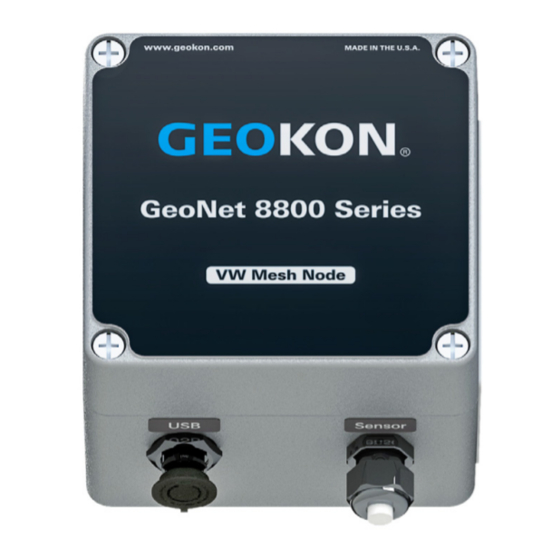
1. DEVICE ORIENTATION Devices are typically mounted so that the antenna is on the top of the unit, and the cable entries are on the bottom; as seen in the picture below. Attach the units to the mounting surface by utilizing the mounting plate. The mounting plate is designed to be used with hardware such as U-Bolts, hose clamps, bolts, screws, etc. -
Page 6: Procedures
3. PROCEDURES 3.1 Soft Reset Hold down the status button on the device for 10 seconds, until red and green LEDs turn on, then release. 3.2 Hard Reset 1) Remove batteries 2) Press the status button and ensure no LEDs light up 3) Replace batteries 3.3 Change Channel ... -
Page 7: Putting Network Into Deploy Mode
11) Change deploy period and scan rate as desired. 12) Press “save” in Network Settings. Network is deployed. You may now add nodes just by turning them on within radio range. 3.5 Putting Network into Deploy Mode All devices are in deploy mode when turned on. There is no need to press the status button after power up. -
Page 8: Light Codes Unrelated To Normal Operation
This is a known issue. Update the network firmware to version 160816 or later 3.9.3 Green and Red Light Alternating Device malfunction, contact Geokon. 3.10 Node Will Not Join Network 1) Ensure network is in deploy mode; a light on the supervisor should flash every 10 seconds. -
Page 9: Difficulty With Firmware Upgrade
The multicolored upgrade ribbon cable must be used on all units with the exception of the RS-232 version supervisor. Updates should be done using the Geokon provided USB to RS232 adapter, part number 8001-7. Other adapters and native serial ports have been unreliable.


Need help?
Do you have a question about the 8800 and is the answer not in the manual?
Questions and answers