Table of Contents
Advertisement
Quick Links
®
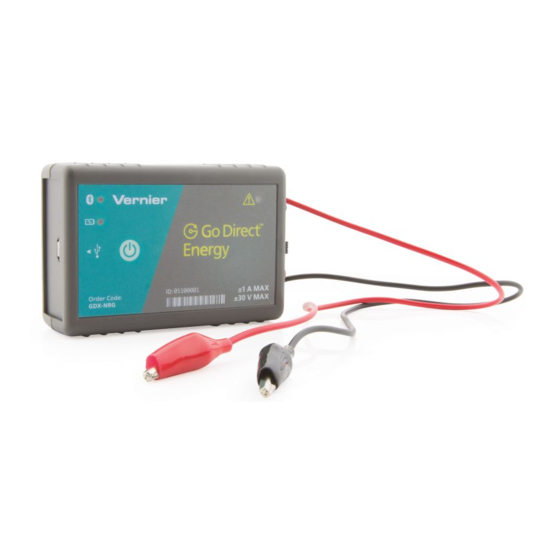
Go Direct
Energy
(Order Code GDX-NRG)
Go Direct Energy measures the voltage
and current of a renewable energy
source. Connect a source, such as a small
wind turbine or solar panel, and Graphical Analysis 4 calculates the power,
resistance, and energy output.
Go Direct Energy is ideal for a wide variety of renewable energy experiments:
Investigate the electrical energy generated by a wind turbine or solar panel.
l
Explore the effect of load on wind turbine or solar panel output.
l
Test blade design variables and evaluate data to determine optimal blade
l
design.
Note: Vernier products are designed for educational use. Our products are not
designed nor are they recommended for any industrial, medical, or commercial
process such as life support, patient diagnosis, control of a manufacturing
process, or industrial testing of any kind.
What's Included
Go Direct Energy
l
Micro USB Cable
l
Compatible Software
See
www.vernier.com/manuals/gdx-nrg
Go Direct Energy.
Getting Started
1. Connect the Go Direct Energy red lead to the red wire of your energy source
(generator, solar panel, etc.).
2. Connect the Go Direct Energy black lead to the black wire of your source.
3. Make sure the Load switch is set to 30 Ω Load.
Please see the following link for platform-specific connection information:
www.vernier.com/start/gdx-nrg
Bluetooth Connection
1. Install Graphical Analysis 4 on
your computer, Chromebook™, or
mobile device. See
www.vernier.com/ga4 for software
availability.
2. Charge your sensor for at least
2 hours before first use.
3. Turn on your sensor by pressing
for a list of software compatible with the
USB Connection
1. If using a computer or Chromebook,
install Graphical Analysis 4. If using
LabQuest 2, make sure LabQuest
App is up to date. See
www.vernier.com/ga4 for Graphical
Analysis 4 availability or
www.vernier.com/downloads to
update LabQuest App.
the power button once. The
®
Bluetooth
LED will blink red.
4. Launch Graphical Analysis 4.
5. Click or tap Sensor Data
Collection.
6. Click or tap your Go Direct sensor
from the list of Discovered
Wireless Devices. Your sensor's ID
is located near the barcode on the
sensor. The Bluetooth LED will
blink green when it is successfully
connected.
7. This is a multi-channel sensor. The
active channel is listed in the
Connected Devices Sensor
Channels list. To change channels,
select the check box next to the
Sensor Channel(s) you would like
to activate.
8. Click or tap Done to enter
data-collection mode.
WARNING: To avoid possible electric shock or personal injury, do not
connect the red or black leads to household power. This product is designed to
measure low-voltage sources such as classroom-scale wind turbines and small
solar panels. It should never be connected to an electrical outlet.
Charging the Sensor
Connect Go Direct Energy to the included USB Charging Cable and any USB
device for two hours.
You can also charge up to Go Direct Energy Sensors using our Go Direct
Charge Station, sold separately (order code: GDX-CRG). An LED on each
Go Direct Energy indicates charging status.
Charging
Fully charged
1
2. Connect the sensor to the USB port.
3. Launch Graphical Analysis 4 or turn
on LabQuest 2. You are now ready
to collect data.
4. This is a multi-channel sensor. To
change the default channel
selections, see
www.vernier.com/start/gdx-nrg
Orange LED next to the battery icon is solid
while the sensor is charging.
Green LED next to the battery icon is solid
when the sensor is fully charged.
Advertisement
Table of Contents

Related Manuals for Vernier Go Direct Energy GDX-NRG


Summary of Contents for Vernier Go Direct Energy GDX-NRG
- Page 1 Channels list. To change channels, select the check box next to the Note: Vernier products are designed for educational use. Our products are not Sensor Channel(s) you would like designed nor are they recommended for any industrial, medical, or commercial to activate.
- Page 2 The unit for resistance is ohm and is represented by the Greek letter Connecting the Energy Sensor to an Energy Source The Vernier Energy sensor is designed to measure the output of simple capital omega, Ω. generators and solar panels, such as the KidWind renewable energy kits.
- Page 3 DC electricity at a voltage that matches the power source. Examples be several years. Replacement batteries are available from Vernier include the Vernier Variable Load (order code VES-VL), the Vernier Resistor (order code: GDX-BAT-300). Board (order code VES-RB), single component resistors, motors, pumps, or Storage and Maintenance LEDs.
- Page 4 Load switch is set to Vernier warrants this product to be free from defects in materials and Internal 30 Ω Load. Using Go Direct Energy with this LED flashing will result...
- Page 5 The Bluetooth word mark and logos are registered trademarks owned by the Bluetooth SIG, Inc. and any use of such marks by Vernier Software & Technology is under license. Other trademarks and trade names are those of their respective owners.
Need help?
Do you have a question about the Go Direct Energy GDX-NRG and is the answer not in the manual?
Questions and answers