Table of Contents
Advertisement
Quick Links
®
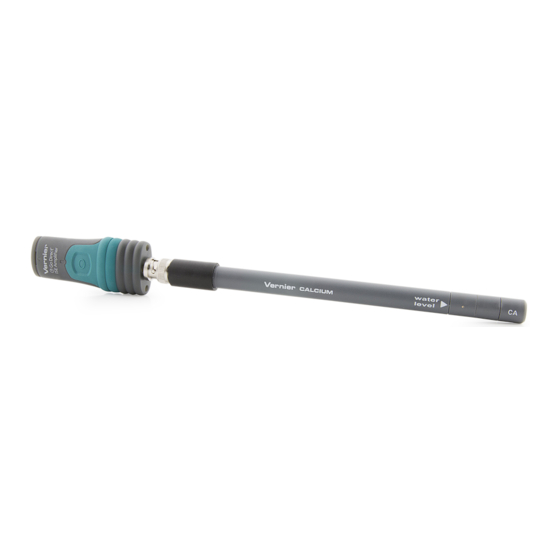
Go Direct
Calcium Ion-
Selective Electrode
(Order Code GDX-CA)
Go Direct Calcium Ion-Selective Electrode (ISE) is used to measure the
2+
concentration of calcium (Ca
) ions in aqueous samples. It is designed to be
used with the Vernier Go Direct ISE Amplifier (order code GDX-ISEA).
Note: Vernier products are designed for educational use. Our products are not
designed nor are they recommended for any industrial, medical, or commercial
process such as life support, patient diagnosis, control of a manufacturing
process, or industrial testing of any kind.
What's Included
Go Direct Calcium Ion-Selective Electrode (Go Direct Ion-Selective
l
Electrode Amplifier connected to a Go Direct Calcium Ion-Selective
Electrode BNC)
30 mL bottle of High Standard solution with SDS (1000 mg/L Ca
l
30 mL bottle of Low Standard solution with SDS (10 mg/L Ca
l
Short-Term ISE Soaking Bottle
l
Micro USB Cable
l
Compatible Software
See
www.vernier.com/manuals/gdx-ca
Go Direct Calcium Ion-Selective Electrode.
Getting Started
Please see the following link for platform-specific connection information:
www.vernier.com/start/gdx-ca
Bluetooth Connection
1. Install Graphical Analysis 4 on
your computer, Chromebook™, or
mobile device. See
www.vernier.com/ga4 for software
availability.
2. Charge your sensor for at least
2 hours before first use.
3. Prepare the electrode by soaking it
in the High Standard solution for
30 minutes. Refer to the Using the
Product section for more
information.
4. Turn on your sensor by pressing
2+
2+
)
for a list of software compatible with the
USB Connection
1. Prepare the electrode by soaking it
in the High Standard solution for
30 minutes. Refer to the Using the
Product section for more
information.
2. Install Graphical Analysis 4 on your
computer or Chromebook. If using
LabQuest 2, make sure LabQuest
App is up to date. See
www.vernier.com/ga4 for software
availability or
www.vernier.com/downloads to
update LabQuest App.
the power button once. The
Bluetooth
5. Launch Graphical Analysis 4.
6. Click or tap Sensor Data
Collection.
7. Click or tap your Go Direct sensor
from the list of Discovered
Wireless Devices. Your sensor's ID
is located near the barcode on the
sensor. The Bluetooth LED will
blink green when it is successfully
connected.
8. This is a multi-channel sensor. The
active channel is listed in the
Connected Devices Sensor
Channels list. To change channels,
select the check box next to the
Sensor Channel(s) you would like
to activate.
9. Click or tap Done to enter data-
)
collection mode.
10. For best results, perform a two-
point calibration using the High
and Low Standard solutions.
Charging the Sensor
Connect the Go Direct Calcium Ion-Selective Electrode to the included Micro
USB Cable and any USB device for two hours. Connecting the Go Direct
Calcium BNC Electrode to the amplifier during charging is optional.
You can also charge up to eight Go Direct Calcium Ion-Selective Electrodes
using our Go Direct Charge Station, sold separately (order code: GDX-CRG).
An LED on each Go Direct Calcium Ion-Selective Electrode indicates charging
status.
1
3. Connect the sensor to the USB port.
®
4. Launch Graphical Analysis 4 or turn
LED will blink red.
on LabQuest 2.
5. This is a multi-channel sensor. To
change the default channel
selections, see
www.vernier.com/start/gdx-ca.
6. For best results, perform a two-point
calibration using the High and Low
Standard solutions.
Advertisement
Table of Contents

Related Manuals for Vernier Go Direct GDX-CA


Summary of Contents for Vernier Go Direct GDX-CA
- Page 1 The Bluetooth LED will Standard solutions. blink green when it is successfully Note: Vernier products are designed for educational use. Our products are not connected. designed nor are they recommended for any industrial, medical, or commercial 8. This is a multi-channel sensor. The...
- Page 2 5. For best results, perform a two-point calibration using the High and Low Blue LED on steady while sensor is connected to Charging Standard solutions. For calibration instructions, see www.vernier.com/til/4011 the Micro USB Cable or Charge Station. 6. When you are finished making measurements, rinse the electrode with distilled water.
- Page 3 At some point, you will need to pH range 2–8 (no pH compensation) replenish your supply of standard solutions. Vernier sells 500 mL bottles of Temperature range 0–40°C (no temperature compensation) Calcium Low Standard, 10 mg/L (order code CA-LST) and Calcium High Standard, 1000 mg/L (order code CA-HST).
- Page 4 Although the battery is warranted for one Ion Examples ion) mV/decade year, the expected battery life should be several years. Replacement batteries are available from Vernier (order code: GDX-BAT-300). Calcium (Ca +29.58 Water Resistance The Go Direct Calcium Ion-Selective Electrode is not water resistant and should...
- Page 5 Repair Information If you have followed the troubleshooting steps and are still having trouble with your Go Direct Calcium Ion-Selective Electrode, contact Vernier Technical Support at support@vernier.com or call 888-837-6437. Support specialists will work with you to determine if the unit needs to be sent in for repair. At that...
- Page 6 Bluetooth SIG, Inc. and any use of Connect the equipment into an outlet on a circuit different from that to which the receiver is connected. such marks by Vernier Software & Technology is under license. Other trademarks and trade names are those of their respective owners.
Need help?
Do you have a question about the Go Direct GDX-CA and is the answer not in the manual?
Questions and answers