Table of Contents
Advertisement
Quick Links
Thank you for choosing Genesis Custom Window Shades. With proper installation
and care, your new shades will provide many years of beauty and performance.
Tools and Fasteners Needed
Power Drill, 1/4" Driver and drill bits
Tape Measure
Flat blade Screwdriver
Phillips Screwdriver
Pencil
Level
Bracket Requirements
With inside and ceiling mounts, use a level to check that
the mounting surface is level. Shim brackets if necessary.
With outside mounts, the tops of the brackets must be
level and aligned at the same height.
For wider shades, additional brackets are required for
both inside and outside mounts. (See chart)
End Caps are not attached to the large cassette to avoid damage in shipping. Attach end caps
before installing the shade.
Push up on the clutch side to disengage. While holding the shade up, push in on the idle end to remove the shade.
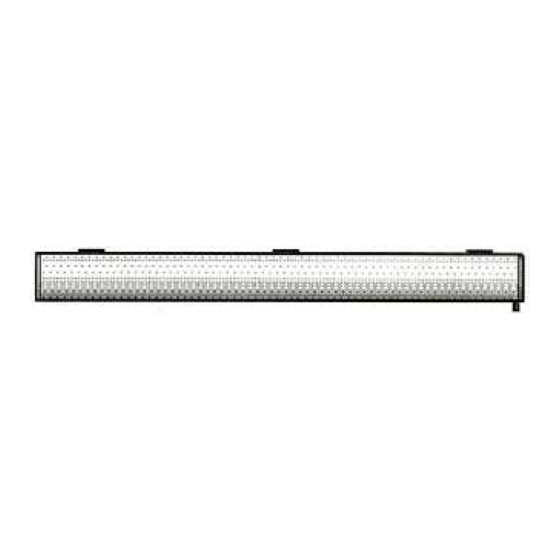
Small Cassette
Optional Extension
Bracket
®
C
ustom
C
i
assette
nstallation
2" Max.
Space Evenly
NOTE: The shade can be removed while the cassette stays in the window opening.
Bracket Provided
1"
Optional Spacer
Bracket
W
s
indoW
hades
i
nstruCtions
Mounting Surface
Wood
Drywall, Plaster
Metal
Shade Width
48 1/16" -
72 1/16" -
90 1/16" - 120"
120 1/16" - 156"
Space Evenly
2 3/8"
Fastener
#6 Hex Head
Provided
Wall Anchors
Not Provided
Sheet Metal
Not Provided
Brackets Required
15" -
48"
72"
90"
.
2" Max
Large Cassette
Bracket Provided
2
3
4
5
6
Advertisement
Table of Contents

Related Manuals for Lafayette Genesis series


Summary of Contents for Lafayette Genesis series
- Page 1 ® ustom indoW hades assette nstallation nstruCtions Thank you for choosing Genesis Custom Window Shades. With proper installation and care, your new shades will provide many years of beauty and performance. Tools and Fasteners Needed Fastener Mounting Surface Power Drill, 1/4” Driver and drill bits Wood #6 Hex Head Tape Measure...
- Page 2 INSIDE MOUNT APPLICATIONS 2” minimum depth is required for inside mount. 3 ⅝” depth is required for inside flush mount. Allow a minimum of ¾” from the back of the bracket to the window for ease of installing the headrail. •...
- Page 3 INSTALL OPTIONAL HOLD-DOWNS • Lower the shade and place the pins from the hold-down brackets into the end caps on the bottom rail. • On the mounting surface, mark the bracket hole locations. • Check that the brackets are level and attach them to the mounting surface using two screws. ATTACHING DECORATIVE PULLS All pulls are shipped separately to avoid shipping damage.
- Page 4 DECORATIVE HEM WITH POLES AND FINIALS All poles and finials are shipped separately to avoid shipping damage. Insert the pole into the pockets and slide through. Attach finials. End Cap Finial Cone Finial Globe Finial Funnel Finial Bird Cage Finial Ball Finial Item 10-1162-X Item 10-1222-X...
Need help?
Do you have a question about the Genesis series and is the answer not in the manual?
Questions and answers