Table of Contents
Advertisement
Quick Links
Installation Instructions
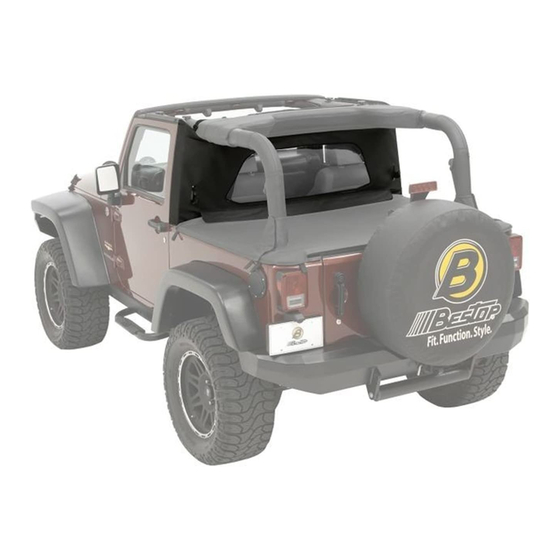
WrapAround™ Windjammer™
www.Bestop.com
- We're here to help! Visit our web site and click on
INSTALLATION TIME
1/2 Hour
TOOLS
T30
1/8" Bit
SKILL LEVEL
1 - Easy
Vehicle Application
• Jeep Wrangler
2003 - 2006
Part Number: 80035
"Ask a
Question". Click here for more
This product is designed to be used with factory door surrounds.
Jeep Accessories by Bestop.
Advertisement
Table of Contents

Summary of Contents for Bestop WrapAround Windjammer
-
Page 1: Installation Instructions
2003 - 2006 Part Number: 80035 www.Bestop.com - We’re here to help! Visit our web site and click on “Ask a Question”. Click here for more Jeep Accessories by Bestop. INSTALLATION TIME SKILL LEVEL 1/2 Hour 1 - Easy TOOLS 1/8"... - Page 2 Remove the windows and store safely (We and lay the bows down. Refer to owner's manual and the hardware. recommend storing them in Bestop’s Window Stor- for instructions. age Duffl e, 42810.). Open the zipper on Rear Window. Pull the Tailgate T30 Torx Bar out of the mounts on the vehicle.
- Page 3 WrapAround™ Windjammer™ – Installation Instructions Check for wiring and Secure Windjammer™ to Door fuel lines before drilling Surround holes in riser. Loosen the knobs that secure the Door Surround to Install “Z” Channel the vehicle to allow the surround to lean toward the rear of the vehicle.
- Page 4 WrapAround™ Windjammer™ – Installation Instructions Secure Windjammer to “Z” Fasten Straps Channel Orient the Windjammer with the window toward Gently pull down on the bottom of the Windjammer the top and with the vinyl side out, toward the rear fabric and slip the plastic strip sewn on the bottom of the vehicle.
- Page 5 WrapAround™ Windjammer™ – Installation Instructions Secure Windjammer to To Open the Center Flap Duster – Optional To open the center fl ap in the Windjammer, pull on Pull up on the front, reinforced edge of the Duster the Web Straps at the bottom of the door to release and mark the locations matching the three snaps on them from the Loop Strips.
- Page 6 WrapAround™ Windjammer™ – Installation Instructions Secure Windjammer to Duster – Optional At the marked locations, push the sharp end of a Snap Head Screw through the Duster from the webbing side, to make a hole. Once a hole is formed, pull the screw back out of the hole. Then push the screw through the hole from the vinyl side so that the snap is on top of the vinyl.
-
Page 7: Limited Warranty
WrapAround™ Windjammer™ – Installation Instructions Care and Maintenance of your Bestop Product Your Bestop product is made of the fi nest materials available. To keep it looking new and for the maximum possible wear, it will need periodic cleaning and mainte- nance.


Need help?
Do you have a question about the WrapAround Windjammer and is the answer not in the manual?
Questions and answers