Table of Contents
Advertisement
Quick Links
See also:
Manual
Advertisement
Table of Contents

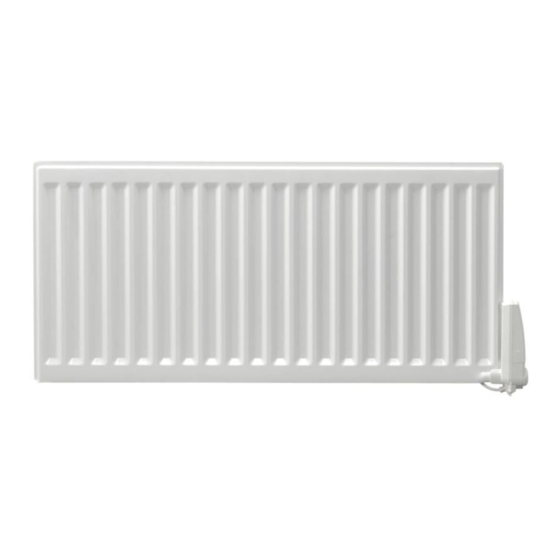
Related Manuals for LVI KABA P


Summary of Contents for LVI KABA P
- Page 1 KABA INSTALLATION AND OPERATING MANUAL A NEW GENERATION THAT TURNS EVOLUTION INTO A REVOLUTION CLASS I – 230V & 400V – 50 HZ...
- Page 2 PRODUCT INFORMATION Min. 100mm Min. 200mm Min. 100mm Min. 100mm Min. 100mm OUTSIDE ZONES Zone 1 Zone 2 Zone 2 Zone 0 (mm) (mm) (mm) (mm) 100 - 150 100 - 150 (mm) (mm) (mm) (mm) 100 - 150 100 - 150...
- Page 3 PRODUCT INFORMATION KABA P (230 V) PRODUCT ONLY...
- Page 4 PRODUCT INFORMATION LED 1 LED 2...
- Page 5 PRODUCT INFORMATION 0h 1 2 9 10 11 12 13 14 15 16 17 18 19 20 21 22 23 0h 1 2 9 10 11 12 13 14 15 16 17 18 19 20 21 22 23 0h 1 2 9 10 11 12 13 14 15 16 17 18 19 20 21 22 23 0h 1 2 9 10 11 12 13 14 15 16 17 18 19 20 21 22 23...
-
Page 6: Waste Disposal According To The Weee Directive (2002/96/Ec)
SAFETY INFORMATION SAFETY INFORMATION Due to the safety standard EN 60335, the text Children of less than 3 years should be kept away below is obligatory for all electric products, not from the unit unless continuously supervised. only radiators. Children aged from 3 years and less than 8 years shall only switch on/off the appliance provided This appliance can be used by children aged from that it has been placed or installed in its normal... -
Page 7: General Information
- Radiator for wall mounting only. • The KABA P radiator can alternatively be fitted with feet for - For 400 V – 50 Hz supply. freestanding use. Fit the feet supplied with the radiator by - Supplied with 3 core cable, wall brackets and screws. -
Page 8: Operation
GENERAL INFORMATION 3. OPERATION K 01 • The radiator is switched on by setting the switch to position I (A, picture 4). Auto Auto • The radiator should only be switched "on" when it is correctly installed and secured to the wall brackets (picture 3C), or mounted on the feet supplied with the radiator (picture 3D). - Page 9 K 01 K 02 K 06 GENERAL INFORMATION Auto Auto Auto Auto Auto K 02 K 07 K 03 Auto Auto Auto Auto Auto Rotate dial B to Auto. • On the flash of LED 1 that corresponds to the current •...
- Page 10 GENERAL INFORMATION K 05 Auto • LED 1 will change to solid red for 1 second to indicate that the value has been stored. K 06 Auto Auto Auto Auto Auto K 08 Rotate dial B to 30, then to Auto. Repeat this sequence •...
- Page 11 K 10 GENERAL K 08 INFORMATION Auto Auto K 08 Auto Auto Auto Auto • The thermostat will then return to normal operation. K 07b • Rotate dial B to Auto. Auto Auto Auto K 09 ADJUSTING REDUCED MODE SET TEMPERATURE K 09 Auto K 11...
- Page 12 Auto Auto Auto GENERAL INFORMATION K 12 • After the 7 seconds has elapsed, the thermostat will is detected (room temperature drops by more than 2°C return to normal operation. in less than 10 minutes). LED 1 and LED 2 will flash twice Auto Auto every 6 seconds when “Frost Protection “...
-
Page 13: Maintenance, Repair And Disposal
GENERAL INFORMATION FACTORY RESET • LED 1 will start to flash red for 7 seconds. The quantity of flashes correspond function being enabled or The user defined program and set point temperatures disabled, as described below:- can be reset to factory default settings. To perform a 1 flash = Adaptive Start disabled factory reset, follow the below steps:-... -
Page 14: Warranty
GENERAL INFORMATION 6. WARRANTY The product is covered by a 10 year warranty except for the electrical and electronic components that are covered by a 2 year warranty. 7. TECHNICAL CHARACTERISTICS ENVIRONMENTAL CONDITIONS: - Operating temperature -30°C to +50°C - Storage temperature -30°C to +70°C SETTING TEMPERATURE RANGE - Comfort mode... - Page 15 ECO DIRECTIVE TABLE 2 Model identifier(s): KABA P xx xxx 10 230 yy 1 KABA C xx xxx 10 400 yy 1 where "x" may be any character, and "yy" is the rated power in kW multiplied by 10, rounded to zero decimal places.
Need help?
Do you have a question about the KABA P and is the answer not in the manual?
Questions and answers