Advertisement
Quick Links
1
The package includes the following items:
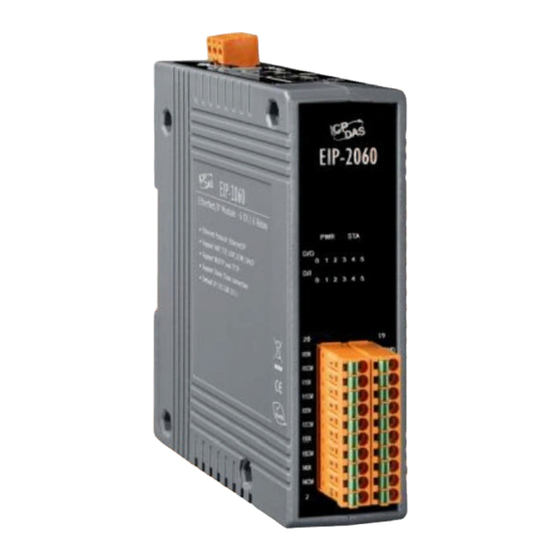
EIP-2060
2
EIP-2060 Quick Start Guide
EIP-2060 Quick Start Guide
What's in the shipping package?
CD
Installing software on your PC
Install EIP-2000 Utility:
The software is located at:
Fieldbus_CD:\EtherNetIP\remote-io\EIP-2060\Utility
For EIP-2000 Series
Quick Start Guide
(This Document)
English/ January 2013/ Version 1.0
Screw Driver
1
Advertisement

Related Manuals for ICP DAS USA EIP-2060


Summary of Contents for ICP DAS USA EIP-2060
- Page 1 EIP-2060 Quick Start Guide For EIP-2000 Series English/ January 2013/ Version 1.0 What’s in the shipping package? The package includes the following items: Screw Driver EIP-2060 Quick Start Guide (This Document) Installing software on your PC Install EIP-2000 Utility: The software is located at:...
-
Page 2: Eip-2060 Quick Start Guide
“Network Scan” on step 4 may not work. (Please contact with your system Administrator) Check FW/OP DIP switch if it is on OP position. Connect both the EIP-2000 and your computer to the same sub network or the same Ethernet switch, and power the EIP-2000 on. EIP-2060 Quick Start Guide... - Page 3 I/O connector – EIP-2060 20-pin Spring-type terminal connector Description Description R5_COM R4_COM R5_ON R4_ON DI.COM R3_COM R3_ON R2_COM R2_ON R1_COM R1_ON R0_COM DI.GND R0_ON I/O Wire Connection EIP-2060 Quick Start Guide...
- Page 4 Double click the “EIP-2000 Utility” shortcut on the desktop. Click the “Network Scan” button to search your EIP-2000 modules. Click the EIP-2060 or other EIP-2000 modules on the device list below to open the configuration dialog of EIP-2000. Each EIP-2000 module has its own configuration interface.
- Page 5 Module is about to reboot. I/O status LED The DI/DO is activated. The DI/DO is inactivated. For configuration of the Power On Value, Safe Value, Safe Delay for the EIP-2000. Please refer to section “4.2.2 Digital Settings” EIP-2060 Quick Start Guide...
- Page 6 How to connect with Allen-Bradley PLC? 1. Open RSLogix 5000 and create a new project. Figure5-1. Create a new project. 2. Select the PLC type and give the project a name. Figure5-2. Set the PLC type and project name. EIP-2060 Quick Start Guide...
- Page 7 3. Create a new module in the “Ethernet” item. Figure 5-3. Create a new module. 4. Select the “ETHERNET-MODULE” below “Communications” in the Select Module window. Figure5-4. Select “ETHERNET-MODULE”. EIP-2060 Quick Start Guide...
- Page 8 5. Configure the new module parameters. The I/O length of new module must be the same with the length of EIP-2060 I/O data(Table 5-1). The input data size is 26 bytes and output data size is 2 bytes. The instance ID please refer to Table 5-2.
Need help?
Do you have a question about the EIP-2060 and is the answer not in the manual?
Questions and answers