Scanomat TopBrewer Pro Pre-Installation Manual
Hide thumbs
Also See for TopBrewer Pro:
- User and service manual (40 pages) ,
- Cleaning manual (15 pages)

Related Manuals for Scanomat TopBrewer Pro


Summary of Contents for Scanomat TopBrewer Pro
- Page 1 Video Complete Walkthrough Pre-Installation guide Scanomat Download Center Scanomat Connection Diagram Scanomat Architect Pack (2D/3D Files) For TopBrewer Pro Version: 3.1 01-06-18...
-
Page 2: Table Of Contents
CONTENTS » Introduction » Installation Requirements » Space requirements CARPENTER » Cutout overview » Examples of other configuration » Cut out sheet VENTILATION » Ventilation requirements ELECTRICAL » Electrical Requirements PLUMBING » Plumbing option 1 » Plumbing option 2 APPENDIX... -
Page 3: Introduction
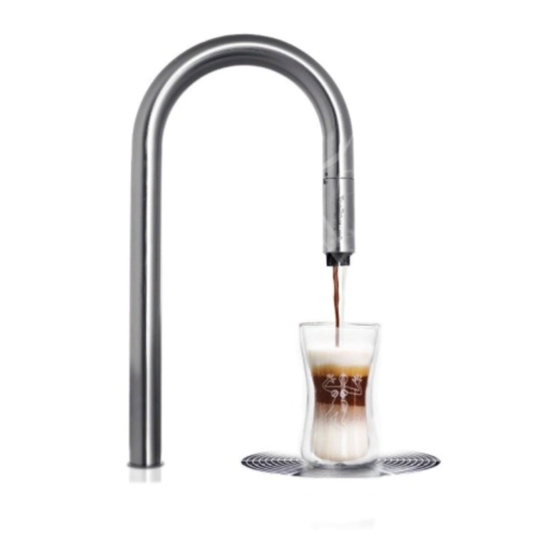
Introduction The operation of a TopBrewer Pro coffee system. The TopBrewer Pro consists of a main unit, the coffee machine, the ”swan neck” or tap that is installed through the tabletop and is height adjustable through the mounting bracket, a drained drip tray and a ventilation kit for the toe kick base. -
Page 4: Installation Requirements
Installation Requirements Video Installation Walkthrough Machine Fridges Water coolers Racks OPTIONALLY WITH CO UNIT DETAILS TopBrewer Pro ICE-Bank* Pro-fridge Pro-fridge Tall Cooler Cooler Pro-Fridge BiB Slimrack Chocolate rack Installation Dimensions (WxDxH) 224 x 534 x 667 mm 236 x 569 x 428.5 mm... -
Page 5: Space Requirements
Video Space requirements Space Walkthrough 560 mm Min. Total width 294 mm Clearance height needed for installation of swan neck min 500 mm iPad Always allow min. Always allow min. Depth dependent on fridge 40 mm clearance 60 mm clearance See page 4 A1 : 569 mm min. -
Page 6: Carpenter
CARPENTER Video Carpenter Walkthrough... -
Page 7: Cutout Overview
· CARPENTER · CARPENTER · CARPENTER · CARPENTER · CARPENTER · CARPENTER · CARPENTER · CARPENTER · CARPENTER · CARPENTER · CARPENTER · CARPENTER · CARPENTER · CARPENTER · Cutout overview UNITS: ** 1,5 M HOSE LENGTH minimum requirements 220 mm Air exhaust for heat from fridge See page 11 for details Cutout dependent on fridge selection... -
Page 8: Examples Of Other Configuration
· CARPENTER · CARPENTER · CARPENTER · CARPENTER · CARPENTER · CARPENTER · CARPENTER · CARPENTER · CARPENTER · CARPENTER · CARPENTER · CARPENTER · CARPENTER · CARPENTER · Air exhaust for heat from Fridge/ Cooler Examples of other configurations See page 11 for details Cutout dependent on Fridge/Cooler All cabinets are based on standard 60 cm cabinets... -
Page 9: Cut Out Sheet
· CARPENTER · CARPENTER · CARPENTER · CARPENTER · CARPENTER · CARPENTER · CARPENTER · CARPENTER · CARPENTER · CARPENTER · CARPENTER · CARPENTER · CARPENTER · CARPENTER · Cut out sheet - Swan neck + Driptray NOTE that this driptray is best used for Flush mounted Top mounted water resistent tabletops such as Granite,... -
Page 10: Ventilation
VENTILATION Video Ventilation Walkthrough... - Page 11 · VENTILATION · VENTILATION · VENTILATION · VENTILATION · VENTILATION · VENTILATION · VENTILATION · VENTILATION · VENTILATION · VENTILATION · VENTILATION · VENTILATION · VENTILATION · 1. Toe-Kick Ventilation System The sensor should be placed as high as possible, though no higher than 10 cm from the underside of the tabletop.
- Page 12 · VENTILATION · VENTILATION · VENTILATION · VENTILATION · VENTILATION · VENTILATION · VENTILATION · VENTILATION · VENTILATION · VENTILATION · VENTILATION · VENTILATION · VENTILATION · The console is easier to mount as it requires less 2. Ventilation Console custom work on the cabinet.
-
Page 13: Electrical
ELECTRICAL Video Electrical Walkthrough... -
Page 14: Electrical Requirements
· ELECTRICAL · ELECTRICAL · ELECTRICAL · ELECTRICAL · ELECTRICAL · ELECTRICAL · ELECTRICAL · ELECTRICAL · ELECTRICAL · ELECTRICAL · ELECTRICAL · ELECTRICAL · ELECTRICAL · ELECTRICAL · Electrical Requirements Electrical installation area iPad Plug point for fridge, ventilation & iPad Single phase 230V, 10 amp All electrical must be... -
Page 15: Plumbing
PLUMBING Video Plumbing Walkthrough... -
Page 16: Plumbing Option 1
· PLUMBING · PLUMBING · PLUMBING · PLUMBING · PLUMBING · PLUMBING · PLUMBING · PLUMBING · PLUMBING · PLUMBING · PLUMBING · PLUMBING · PLUMBING · PLUMBING · PLUMBING · PLUMBING · Plumbing option 1 5 cm Drainline from driptray Fridge waste water Drainpump from machine Filter overview... -
Page 17: Plumbing Option 2
· PLUMBING · PLUMBING · PLUMBING · PLUMBING · PLUMBING · PLUMBING · PLUMBING · PLUMBING · PLUMBING · PLUMBING · PLUMBING · PLUMBING · PLUMBING · PLUMBING · PLUMBING · PLUMBING · Plumbing option 2 U-Pipe is required 5 cm Drainline from driptray Fridge waste water Filter overview...
Need help?
Do you have a question about the TopBrewer Pro and is the answer not in the manual?
Questions and answers