Seaward PRIMETEST 300 Quick Reference Manual
Hide thumbs
Also See for PRIMETEST 300:
- Operating instructions manual (90 pages) ,
- Operating instructions manual (104 pages)
Advertisement
Quick Links
SEAWARD
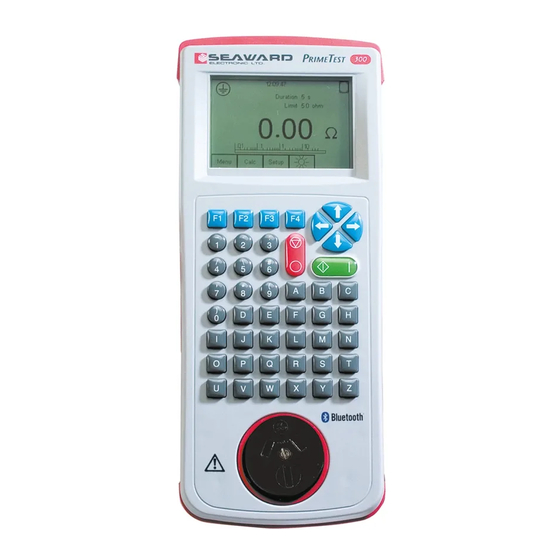
PRIMETEST 300
QUICK REFERENCE GUIDE
Press and hold GREEN button to Switch ON.
Creating User
Press F4 and scroll down using the arrow keys
to select 'USER OPTIONS', then follow prompts.
Class I and II
1.
Plug the appliance into the socket of the
appliance tester.
2.
Ensure the Earth clip is connected to an
exposed metal part of appliance under test.
3.
Turn the appliance ON.
4.
Press F4 and select 'auto test', then F4 to
continue.
5.
In the Asset details screen, scroll down
once to second field.
6.
Press the right arrow and select
appropriate test by pressing F4.
7.
Press F4 to begin the test.
8.
Visual Inspection will appear. If this is OK -
press F4 to continue.
9.
When the tests are complete, enter details
of the tested equipment. Press F4 to save.
10. Press F4 to print the tag.
Extension Leads/Power
boards (EPODS)
1.
Plug the Extension lead/Power board into
the front of the Primetest 300.
2.
Using the (RED) IEC lead provided, plug
into the IEC socket of the tester. To create
a circuit, insert plug side into the Extension
Lead/Power Board.
3.
Press F4 and select 'auto test' then F4 to
continue.
4.
In the Asset details screen, scroll down
once to the second field.
5.
Press the right arrow and select
appropriate test by pressing F4.
6.
Press F4 to begin the test.
7.
Visual inspection will appear. If this is OK
- press F4 to continue. NB: When testing
power boards (EPODS), once each outlet
has been tested, press F2 and scroll down
to 'Abort Test', then press START. The tester
will now continue testing.
8.
When tests are complete, enter the details
of the tested equipment. Press F4 to save.
9.
Press F4 to Print Tag.
0800 111 780
www.portableappliancetesters.co.nz
Advertisement

Related Manuals for Seaward PRIMETEST 300


Summary of Contents for Seaward PRIMETEST 300
- Page 1 Press F4 and scroll down using the arrow keys to select ‘USER OPTIONS’, then follow prompts. Plug the Extension lead/Power board into the front of the Primetest 300. Class I and II Using the (RED) IEC lead provided, plug into the IEC socket of the tester. To create...
- Page 2 Leakage Current Testing Fixed & Portable RCD’s Connect mains power to PT300. NB: Isolation Transformer MUST be used when testing Portable RCD’s. Plug appliance into the socket of the appliance tester. Connect mains power to PT300 through the IEC lead. Ensure the Earth clip is connected to an exposed metal part of appliance under test.
Need help?
Do you have a question about the PRIMETEST 300 and is the answer not in the manual?
Questions and answers