Table of Contents
Advertisement
Quick Links
STAND-ALONE PROXIMITY SYSTEM
Wiring diagram
PCB front view
ST2
3
N/C contact RL1 (magnet)
1
N/O contact RL1 (strike)
1
3
Warning
Do not use a
switching
power supply
because of the
interference
radiation that
may disturb
the reading of
the badges
Input voltage
230V~
12V ~ or =
B
Request-to-exit PB1
E
Alarm Input
M
Common PB1, E and 4
O
Relay 1 contact
C
Common
T
Relay 2 N/O contact
I1
Anti-tamper switch
V1
Varistor
ST1
Jumper for reset
ST2
Jumper for relay 1
RL1
Door relay
RL2
Alarm relay
This device comes with a varistor.
The varistor must be connected on the strike terminal
(electromagnet...) operated by the device.
If this product operates more than one strikes, each of them
should have a varistor.
The varistor controls the overload produced by the strike coil –
back emf.
If you are using a « Shear Lock » electromagnetic lock, it is recommended to use a
separate power supply than the one connected to the PROMI500.
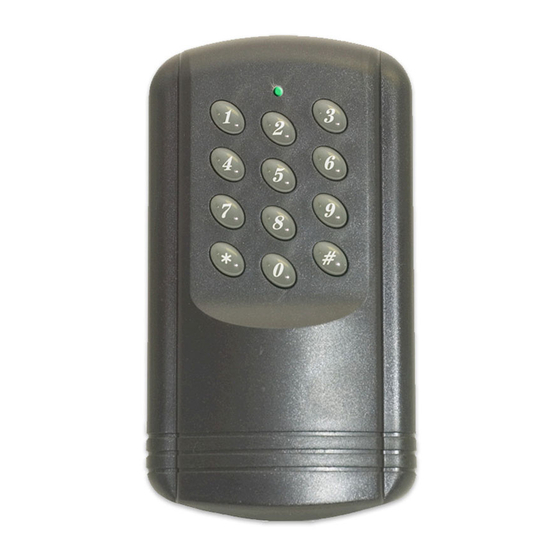
PROMI500
PIN Code and/or Badge
strike
V1
12
Power supply
V
Power supply
1
Data
2
Buzzer
3
Green LED
4
Common M
5
Red LED
ST1
I1
ST2
3
1
2
1
RL2
RL1
2
1
E M B
3
5
T
PB1
Auxiliary reader
(terminal connections)
12 V 1 4 5 3 2
See wiring diagram auxiliary reader
3
C
O
12
V
Advertisement
Table of Contents

Related Manuals for CDVI PROMI500


Summary of Contents for CDVI PROMI500
- Page 1 The varistor controls the overload produced by the strike coil – back emf. If you are using a « Shear Lock » electromagnetic lock, it is recommended to use a separate power supply than the one connected to the PROMI500.
-
Page 2: Technical Features
24 inches (60 cm) second reader and the maximum 45 yards (50 meters) PROMI500 unit (cable minimum 7 x 0.6 mm Warning: Do not use a switching power supply because of radiation interference, which may disturb the reading of the badges. - Page 3 Setting a New Master Code Enter the master code twice (for the first use, the master code default is 12345). 2 beeps will sound and the orange LED illuminates to confirm that you are in programming mode. Enter *3 then 5-digit for the new master code. The LED goes out for 1 second and an audible beep indicates that the new master code is accepted.
- Page 4 PIN code. Mode 01: Present the badge in front of the PROMI500 reader or of the second reader. Mode 02: Present the badge in front of the PROMI500 reader, the second reader or enter the PIN code.
-
Page 5: Alarm Function
Alarm Function The tamper switch activates the relay of the alarm when the front panel is removed. If the alarm time delay is different to 00, the door monitoring (door ajar or door forced open) is enabled: When the door is opened, without being activated by the request-to-exit button or a badge, the alarm relay is activated after 1 second and the red LED lights on (forced open door). - Page 6 User badges list (Make other copies if needed) : User Name User Name User Name User Name number number Number number Time delays Function n° Values Programmed values Keypad key-in delay 10 = 10 sec, 99 = 99 sec Door open delay 01 = 1 sec, 99 = 99 sec 00 = without alarm «...
- Page 7 Wiring diagram auxiliary reader Aux. PROMI500 Reader Power supply Power supply Data Buzzer Green LED Common Red LED It is recommended to use a separate power supply for the auxiliary reader 1 E M B Distance : minimum 60cm maximum 50 m...
- Page 8 Template PROMI500 23 mm Wiring access area 30 mm x 40 mm 15 mm 38 mm 61 mm 75,5 mm...
- Page 9 Template DGLP or DGLI Auxiliary reader 25 mm Block terminal 43x15 mm...
Need help?
Do you have a question about the PROMI500 and is the answer not in the manual?
Questions and answers