Table of Contents
Advertisement
Quick Links
Advertisement
Table of Contents

Related Manuals for Spypoint SOLAR


Summary of Contents for Spypoint SOLAR
-
Page 1: Quick Start Guide
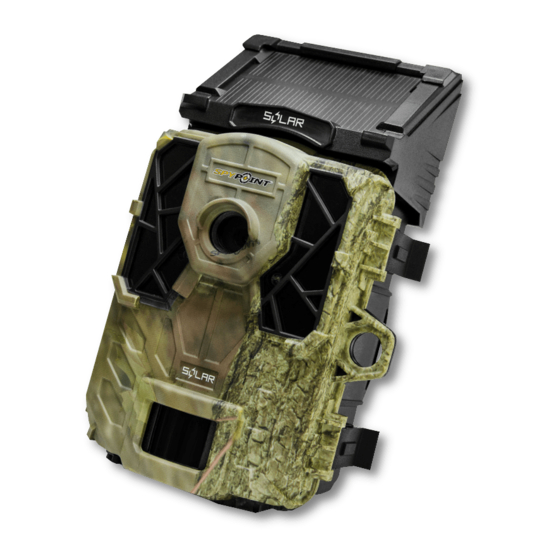
SOLAR & COMPARABLES* QUICK START GUIDE v. 2 . 0... - Page 2 1x Installation strap 1x Quick start guide 1x 12V-USB cable Note: Memory card and batteries are sold separately. User manual, latest firmware & FAQ available at: www.support.spypoint.com Components Solar panel LEDs Photo lens OK button Test light Navigation buttons Cable lock hole...
- Page 3 Charge the camera for 24-48 hours before use. While charging, on leaving the settings untouched. make sure the camera is turned off and the solar panel is facing ● An optional power source can be added as a backup to the down so it does not interfere with the USB charging process.
- Page 4 Settings CONFIGURE THE SETTINGS OF THE Use the and buttons to navigate in the interface and to change 3 OPERATING MODES options. Use the OK button to confirm and the BACK button to re- turn to the previous menu. In the home menu, select SETTINGS and then, PHOTO, TIME CONFIGURE THE GENERAL SETTINGS LAPSE or VIDEO to access to the respective operating mode menu.
- Page 5 START THE CAMERA Select the desired operating mode (photo, time lapse or video) in Sit back & relax as this SPYPOINT trail cameras is the mode menu by pressing OK. covered by the “ Know you’re covered ” 2 year warranty.
Need help?
Do you have a question about the SOLAR and is the answer not in the manual?
Questions and answers