Sign In
Upload
Download
Table of Contents
Contents
Add to my manuals
Delete from my manuals
Share
URL of this page:
HTML Link:
Bookmark this page
Add
Manual will be automatically added to "My Manuals"
Print this page
×
Bookmark added
×
Added to my manuals
Manuals
Brands
Martin Manuals
DJ Equipment
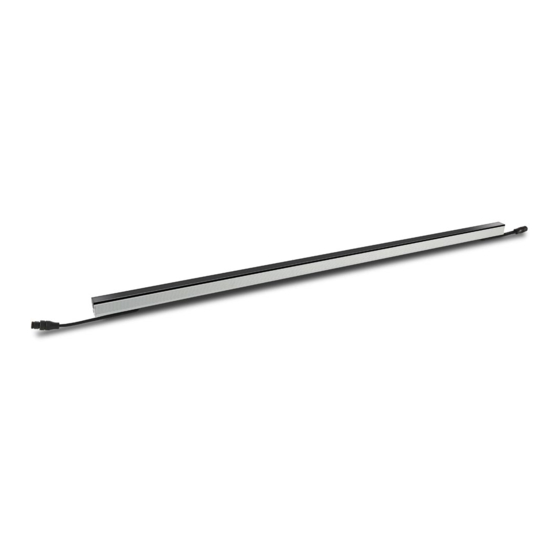
PixLine 10
User manual
Martin PixLine 10 User Manual
Exterior pixline series
Hide thumbs
1
2
3
Table Of Contents
4
5
6
7
8
9
10
11
12
13
14
15
16
17
18
19
20
21
22
23
24
25
26
27
28
29
30
31
32
33
34
35
36
37
38
39
40
41
42
43
44
page
of
44
Go
/
44
Contents
Table of Contents
Troubleshooting
Bookmarks
Table of Contents
Dimensions
Table of Contents
Safety Information
Introduction
Precautions to Avoid Damage
Exterior Pixline™ Overview
Physical Installation
Avoiding Damage When Installing
Installing Using Mounting Profile
Installing Directly on a Surface or Structure
System Installation
Installing a P3 System
Installing a DMX-Controlled System
System Setup
Pixels and Segments
Setting up for P3 Display
Setting up for DMX Control
Rdm
Using the Exterior Pixline
P3 Display
DMX Control
Magnetic 'Control Button
Service and Maintenance
Cleaning
Condensation and Pressure Relief Valve
LED Performance
Installing New Software
Troubleshooting
DMX Protocols
RGB Mode
Basic Mode
Segment Mode
Pixel Mode
Pre-Programmed FX
Specifications
Advertisement
Quick Links
Download this manual
Exterior PixLine™ Family
User Manual
Table of
Contents
Previous
Page
Next
Page
1
2
3
4
5
Advertisement
Table of Contents
Need help?
Do you have a question about the PixLine 10 and is the answer not in the manual?
Ask a question
Questions and answers
Related Manuals for Martin PixLine 10
DJ Equipment Martin RUSH PAR 4 UV User Manual
(35 pages)
DJ Equipment Martin PixLine 20 User Manual
Exterior pixline series (44 pages)
DJ Equipment Martin THRILL Compact PAR 64 LED Safety And Installation Manual
(2 pages)
DJ Equipment Martin THRILL Compact PAR 64 LED User Manual
(2 pages)
DJ Equipment Martin RUSH PAR 3 RGB User Manual
(37 pages)
DJ Equipment Martin MX-10 User Manual
(36 pages)
DJ Equipment Martin Atomic 3000 LED Service Manual
(20 pages)
DJ Equipment Martin MAC Aura XB Service Manual
(27 pages)
DJ Equipment Martin RUSH MH 7 Hybrid User Manual
(49 pages)
DJ Equipment Martin MAC Encore Performance CLD User Manual
(36 pages)
DJ Equipment Martin T-Rex User Manual
(16 pages)
DJ Equipment Martin MAC 600 NT User Manual
(32 pages)
DJ Equipment Martin MAC 600 User Manual
(28 pages)
DJ Equipment Martin MAC Quantum Profile User Manual
(33 pages)
DJ Equipment Martin JEM ZR25 User Manual
Jem zr series (30 pages)
DJ Equipment Martin M-Series Reference Manual
Lighting controller (25 pages)
This manual is also suitable for:
Pixline 20
Pixline 40
Table of Contents
Print
Rename the bookmark
Delete bookmark?
Delete from my manuals?
Login
Sign In
OR
Sign in with Facebook
Sign in with Google
Upload manual
Upload from disk
Upload from URL


Need help?
Do you have a question about the PixLine 10 and is the answer not in the manual?
Questions and answers