Advertisement
Quick Links
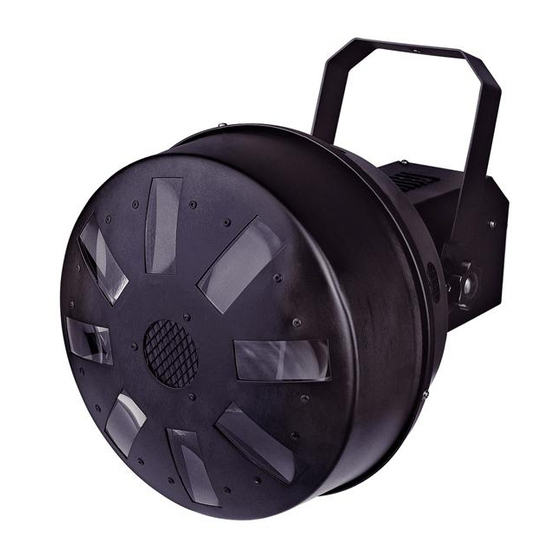
LED RX200 USER MANUAL
CAUTION!
Keep this device away from rain and
moisture!
Unplug mains lead before opening the
housing!
For your own safety, please read this user manual carefully before you initially start-up.
FEATURES
*Classical LED beam effect in RGB and white Beams from the lenses perform circular movements and change the direction of
movement with every bass beat
*DMX-512 control via regular DMX-controller (occupies 7 channels)
*Sound-controlled via built-in microphone
*Microphone-sensitivity adjustable via rotary-control
*Strobe effect
*Auto mode
*9 internal programs
*Master/Slave function
*Particularly bright illuminating power of the 5mm RGB + white LEDs
*Advantages of LED-technology: extremely long life of the LEDs, low power consumption, minimal heat emission, maintenance
free with brilliant light radiation
OPERATION
After you connected the spot to the mains, the
LED MUSHROOM RGBW DMX
starts running.
STAND ALONE OPERATION
In Stand Alone Operation you can use the
LED MUSHROOM RGBW DMX
without a controller.
For sound controlled operation set all DIP Switches to OFF.
You can do without a controller as the
LED MUSHROOM RGBW DMX
features a built-in microphone,
which provides automatic sound control. You can adjust the sensitivity with the rotary-control on the rear panel.
AUTO MODE
In order to Auto Mode, set DIP switch 9 to ON and 10 to OFF.
Speed can be adjusted via DIP switches 4 to 8.
If DIP switches 4 to 8 are set to OFF, the internal programs run at highest speed.
If DIP switch 4 is set to ON, the internal programs run at a bit slower speed.
If DIP switch 5 is also set to ON, the internal programs run at an even slower speed.
When DIP switch 8 is set on ON, the internal programs run at the slowest speed.
SOUND-CONTROL OPERATION
For sound controlled operation set all DIP Switches to OFF.
MASTER/SLAVE OPERATION
The master/slave-operation enables that several devices can be synchronized and controlled by one master-device. On the rear
panel of the
LED MUSHROOM RGBW DMX
you can find an XLR-jack and an XLR-plug, which can be used for connecting
several devices. Choose the device which is to control the effects. This device then works as master-device and controls all
other slave-devices, which are to be connected to the master-device via a stereo shielded cable. Connect the OUT-jack with the
IN-plug of the next device.
Set all DIP Switches to OFF in order to determine the Master device. Set DIP Switches 1 and 10 to ON in order to determine the
Slave device.
DMX-CONTROL OPERATION
You can control the devices individually via your DMX-controller. Every DMX-channel has a different occupation with different
features.
For DMX-controlled operation set DIP Switch 10 to ON.
Building a serial DMX-chain:
Connect the DMX-output of the first fixture in the DMX-chain with the DMX-input of the next fixture. Always connect one output
with the input of the next fixture until all fixtures are connected.
Caution: At the last fixture, the DMX-cable has to be terminated with a terminator. Solder a 120 Ω resistor between Signal (–)
and Signal (+) into a 3-pin XLR-plug and plug it in the DMX-output of the last fixture.
Advertisement

Related Manuals for involight LED RX200


Summary of Contents for involight LED RX200
- Page 1 LED RX200 USER MANUAL CAUTION! Keep this device away from rain and moisture! Unplug mains lead before opening the housing! For your own safety, please read this user manual carefully before you initially start-up. FEATURES *Classical LED beam effect in RGB and white Beams from the lenses perform circular movements and change the direction of...
- Page 2 Addressing Each device occupies channels. To ensure that the control signals are properly directed to each device, the device requires addressing. This is to be adjusted for every single device by changing the DIP-switches as set out in the table below. The starting address is defined as the first channel from which the device will respond to the controller.
Need help?
Do you have a question about the LED RX200 and is the answer not in the manual?
Questions and answers