Advertisement
Quick Links
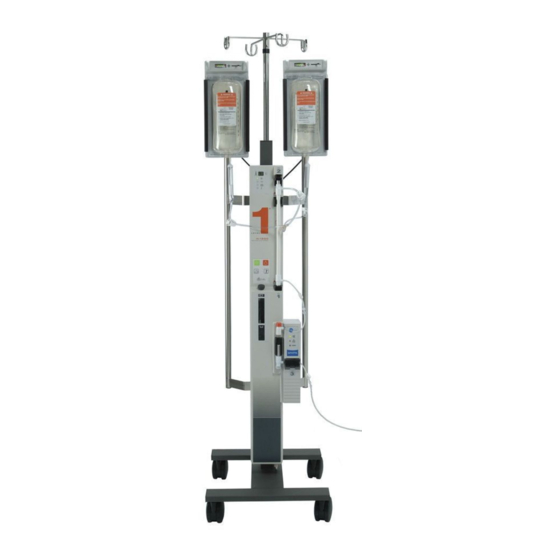
Level 1
®
DI-Series Disposable IV Administration Set
(DI-70/DI-100/DI-300/DI-60HL)
Step-by-Step Guide
IMPORTANT: Please refer to the Operator's Manual supplied with the product for detailed instructions, contraindications, warnings, and cautions.
Refer to the IFU for DI-60HL Administration Set for specific priming instructions.
1
Push the bottom end of the Heat
Exchanger firmly into #1 block.
4
Move the pinch clamp connector
on the Patient Line of the Gas Vent/
Filter Assembly next to the Luer
connector. Close the pinch clamp.
7
Push door up to engage the top
hinge and then push door in to
engage the metal tab to close.
10
Remove air from IV Fluid
bags:
Using aeseptic technique, pierce bag
•
port membrane with disposable set
spike.
Withdraw spike, squeeze out ALL air,
•
and re-spike bag.
13
Open pinch clamp below Gas
Vent/Filter Assembly to prime the
patient line and remove all air,
and then close the roller clamp.
16
Open roller clamp on the
patient line to begin infusion.
H-1200 Fast Flow Fluid Warmer
2
Snap the Heat Exchanger
into Guide.
5
Open #3 Clamp Slot door. Press
down on the metal tab and pull door
down and away from Clamp Slot.
8
Press Gas Vent/Filter Assembly
into #4 block.
11
Hang spiked IV Fluid bags in
Pressure Chambers.
Choose the hook that allows the bag port
•
to hang freely in the indented slot at the
bottom of the chamber door.
Close the doors and secure the
latches.
14
Press the green Power ON
button.
17
Move Pressure Chamber
lever to the
3
Slide #2 block down firmly.
6
9
12
Open pinch clamp/s below IV Fluid bag
•
spike, squeeze drip chamber and prime
the line through the Gas Vent/Filter
Assembly.
Open remaining pinch clamp/s below IV
•
Fluid bag spike/s to prime additional line/s.
When lines are primed, close pinch
•
clamps, leaving one open for infusion.
15
When IV Fluid bag empties:
+
position.
Insert the Patient Line in the
Clamp Slot and push it back
into the slot.
Close pinch clamps above the
Heat Exchanger and below the
IV Fluid bag spikes.
Prime through the Gas Vent/
Filter Assembly:
Make patient connection.
1. Move the Pressure Chamber lever to
the – position.
2. Close the pinch clamp below empty
IV Fluid bag.
3. Move lever on the other Pressure
+
Chamber to
position and open
pinch clamp to begin infusion.
4. Open door of de-pressurized
Chamber and replace empty IV Fluid
bag with new bag with ALL air
removed (Steps 10 & 11).
5. Alternate between Pressure
Chambers.
Advertisement

Summary of Contents for Smiths Medical Level 1 H-1200
- Page 1 Level 1 H-1200 Fast Flow Fluid Warmer ® DI-Series Disposable IV Administration Set (DI-70/DI-100/DI-300/DI-60HL) Step-by-Step Guide IMPORTANT: Please refer to the Operator’s Manual supplied with the product for detailed instructions, contraindications, warnings, and cautions. Refer to the IFU for DI-60HL Administration Set for specific priming instructions. Push the bottom end of the Heat Snap the Heat Exchanger Slide #2 block down firmly.
- Page 2 Smiths Medical is part of the global technology business Smiths Group plc. Please see the Instructions for Use/Operator’s Manual for a complete listing of the indications, contraindications, warnings and precautions. The Smiths Medical and Level 1 design marks are trademarks of Smiths Medical. The symbol ® indicates the trademark is registered in the U.S.


Need help?
Do you have a question about the Level 1 H-1200 and is the answer not in the manual?
Questions and answers
How many units of blood can be used per set of tubing?