Advertisement
B1080PX-3
QUICK GUIDE
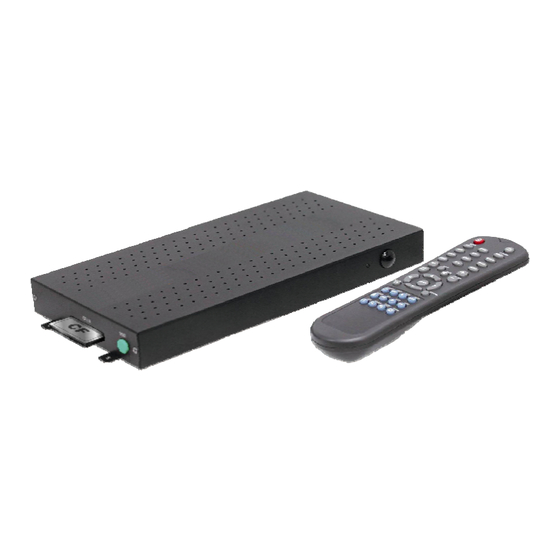
1. Hardware Overview
Power Switch: Toggle between main power on & off.
DC Input: For the power adapter. (DC 12V / 1.5A)
IR Input: Connects to PIR Sensor (optional) or IR Cable (optional).
VGA Output: Connects to devices that support VGA input. (LCD、projector)
HDMI Output: Connects to devices that support HDMI input.
RJ-45 Ethernet Connector: Connects to router or PC by RJ-45 Cable.
Audio Output: Connects to sound input. (HDTV with amplified speaker)
Video Output: Connects to devices that support Video input. (HDTV、projector)
RS-232 Connector: Used for computer control with ASCII command.
"CF READY" LED: Steady green confirms that the CF card is inserted correctly.
CF Card Socket: For CF memory card.
"RESET" Button: To restart the B1080PX-3.
A u g 2 5 , 0 9
3 4 5 3 5 0 5
1
2. Network Setup
Confirm the B1080PX-3 is already connected to the network.
2.1 Setting the Network from the OSD Menu
Step1: In the main menu, using the "▼" button on remote control to select the "SETUP" item, and then
press the "ENTER" button. You will be presented with the B1080PX-3 settings screen.
You can also press the "SETUP" button on remote control to directly open the settings screen. (If there
is file that is being play, please stop first.)
Step2: There are five groups of sub-menu in the main menu ("Network Setup", "FTP Setup", "Video
Setup", "Other Setup" and "Scrolling Setup").
Step3: In the Network Setup item
Network with: Select your network connection Disable/ RJ45.
IP Assigned by DHCP: If you have a DHCP-enabled router, please select "On", and then the
router will automatically assigns an IP address to the B1080PX-3. If you don't have a
DHCP –enabled router, select "Off" and type the network information in "Assign IP Address".
Assign IP Address: If the B1080PX-3 is connected to a network without a DHCP server or you
want to use Local FTP Server function, enter the fixed IP address, Mask, Gateway and DNS for
the B1080PX-3.
Step4: After finish setting, press the Setup button to save and quit.
2
Advertisement
Table of Contents

Subscribe to Our Youtube Channel
Related Manuals for EYEZONE B1080PX-3


Summary of Contents for EYEZONE B1080PX-3
-
Page 1: Network Setup
DHCP –enabled router, select “Off” and type the network information in “Assign IP Address”. RS-232 Connector: Used for computer control with ASCII command. Assign IP Address: If the B1080PX-3 is connected to a network without a DHCP server or you “CF READY” LED: Steady green confirms that the CF card is inserted correctly. - Page 2 Step2: Click on the Install IP Detect to install the IP detect tool. Step6: The default IP mode of B1080PX-3 is DHCP. User should change the mode to “Manual”, if he wants to assign a static IP address to B1080PX-3. Then enter the preferred “IP”, “Net Mask” and “Gateway”...
Need help?
Do you have a question about the B1080PX-3 and is the answer not in the manual?
Questions and answers