LifeSize Video Center 2200 Installation Manual
Hide thumbs
Also See for Video Center 2200:
- Installation manual (10 pages) ,
- Installation manual (15 pages) ,
- Administrator's manual (31 pages)
Table of Contents
Advertisement
Quick Links
Advertisement
Table of Contents

Related Manuals for LifeSize Video Center 2200


Summary of Contents for LifeSize Video Center 2200
- Page 1 ® LifeSize Video Center 2200 Installation Guide March 2011...
-
Page 2: Lifesize Video Center 2200 Components
LifeSize Video Center 2200 Installation Before you install LifeSize Video Center 2200, read LifeSize Video Center Safety and Regulatory Notices for important safety information. The document is available on the documentation CD and from lifesize.com/support. - Page 3 Installing LifeSize Video Center 2200 into a Rack Use the included rack rail hardware to install LifeSize Video Center 2200 into your rack. The rack mounting procedure may vary based on the type of rack. Refer to the installation instructions included with your rack in conjunction with these instructions.
- Page 4 LifeSize Video Center 2200 Installation Guide LifeSize Video Center 2200 ships with the following rack rail hardware: • Two front inner rails (attached to the server chassis) • Two rear inner rails for the chassis • Two rails for the rack •...
- Page 5 LifeSize Video Center 2200 Installation Guide Installing the Rack Rails in Telco Racks Use two of the provided L-shaped brackets on either side of the rack (four total) to attach the rack rails to a telco-type rack. Using screws appropriate for the rack, attach a bracket to the front and rear of one side of the rack at the same height.
-
Page 6: Configuring Network Settings
Server. Changing the Default Administrator Password LifeSize recommends that you change the administrator password after you log in for the first time. Clicking administrator at the top of any page opens the profile for the administrator account. From the profile page, click Change password. -
Page 7: Power And Reboot
• If any content viewers or recording-enabled LifeSize video communications systems reside outside the LAN or DMZ in which the LifeSize Video Center resides, you must adjust firewall and VPN settings to ensure proper operation. Refer to Deploying LifeSize Video Center in Your Network for more information. - Page 8 Depending on the placement of LifeSize Video Center in your environment relative to those viewing streams from it or recording streams to it, you may need to open certain ports on your firewalls. If all recording devices and viewers are within the same LAN as LifeSize Video Center, no action is necessary. NOTE...
- Page 9 SIP Dial Out Recording If you use SIP dial out recording to a video communication system outside the network in which your LifeSize Video Center resides, ensure the following UDP ports on your firewalls have incoming access: • 5060 to 5100...
-
Page 10: Troubleshooting
LifeSize Video Center 2200 Installation Guide Troubleshooting Using the Console Command Line Interface to Access the Server Follow this procedure if you cannot access the server through the web interface: Connect a monitor directly to the VGA output on the back of the server. -
Page 11: Replacing Faulty Drives
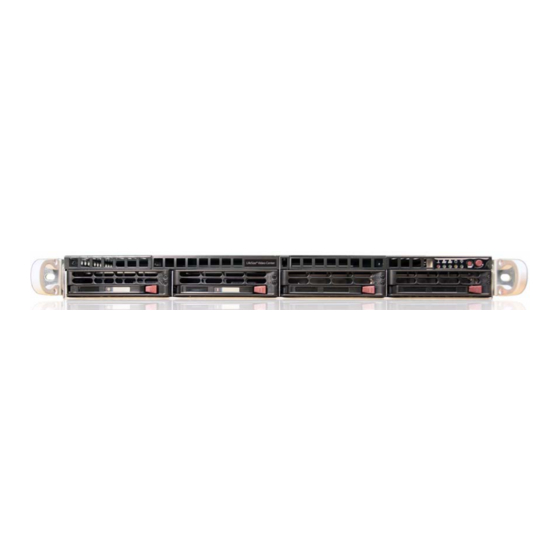
Refer to the LifeSize Video Center Administrator Guide for information about maintenance mode and backing up videos and settings. Replace a faulty drive by contacting your authorized LifeSize Partner or LifeSize Technical Services for an RMA (returned merchandise authorization) and replacement drive, depending on your service plan. - Page 12 LifeSize Video Center 2200 Installation Guide Removing the Face Plate Unlock the face plate on the chassis with the key. Press the release button. Graphic (1) from GRA-523 Remove the face plate. Removing a Drive Carrier Before physically removing the faulty drive, you must de-register the drive in the RAID array. Refer to De-registering a Drive.
- Page 13 Insert the carrier into the carrier slot and press it into place in the SATA backplane. Swing the handle closed until it locks into place with an audible click. Ensure that LifeSize Video Center 2200 is plugged in, and use the power button to restore power. Replace the face plate. (Refer to step 7 of LifeSize Video Center 2200 Installation.)
- Page 14 ©2010 – 2011 Logitech, and its licensors. All rights reserved. LifeSize Communications, a division of Logitech, has made every effort to ensure that the information contained in this document is accurate and reliable, but assumes no responsibility for errors or omissions. Information in this document is subject to change without notice.
Need help?
Do you have a question about the Video Center 2200 and is the answer not in the manual?
Questions and answers