LifeSize Video Center 2200 Installation Manual
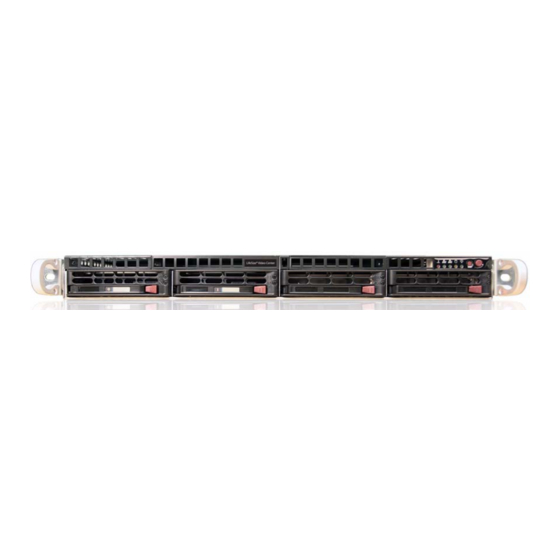
1u (44.45 mm, 1.75”) rack-mountable server
Hide thumbs
Also See for Video Center 2200:
- Installation manual (10 pages) ,
- Installation manual (14 pages) ,
- Administrator's manual (31 pages)
Table of Contents
Advertisement
Quick Links
Advertisement
Table of Contents

Related Manuals for LifeSize Video Center 2200


Summary of Contents for LifeSize Video Center 2200
- Page 1 ® LifeSize Video Center 2200 Installation Guide September 2010...
- Page 2 LifeSize Communications. Trademark Acknowledgments LifeSize, the LifeSize logo and other LifeSize marks, are owned by Logitech and may be registered. All other trademarks are the property of their respective owners. Patent Notice For patents covering LifeSize®...
- Page 3 1. Remove all components from the product packaging and place them in the desired position in your environment. 2. Rack installation: Refer to “Installing LifeSize Video Center 2200 into a Rack” on page 5. 3. Insert the network cable into the left network port as you face the back panel of the server (refer to the figure in step 4).
- Page 4 Lock the face plate to the chassis with the key. 7. Complete the steps in “Configuring Network Settings” on page 8. LifeSize Video Center 2200 Installation Guide...
- Page 5 Installing LifeSize Video Center 2200 into a Rack Use the included rack rail hardware to install LifeSize Video Center 2200 into your rack. The rack mounting procedure can vary because of differences among racks. Therefore, refer to the installation instructions included with your rack in conjunction with these instructions.
- Page 6 3. Attach the other assembly to the opposite side of the rack, making sure that both assemblies are at the same height and that their rail guides face inward. LifeSize Video Center 2200 Installation Guide...
- Page 7 Keep the sliding rail guide facing the inside of the rack. 3. Attach the rack rail to the brackets on the rack, using the screws provided. 4. Repeat the process for the opposite rail. LifeSize Video Center 2200 Installation Guide...
-
Page 8: Configuring Network Settings
192.168.1.2. 2. Open a web browser on the computer and enter the IP address, 192.168.1.25. For a list of compatible browsers, refer to the Release Notes for LifeSize Video Center. 3. Log in with the following credentials: Username: administrator Password: admin123 4. -
Page 9: Changing The Default Administrator Password
Refer to “Using the Console Command Line Interface to Access the Server” on page 10. Changing the Default Administrator Password LifeSize recommends that you change the administrator password after you log in for the first time. Clicking the administrator username at the top of any page opens the profile for the administrator account. -
Page 10: Led Status
The console username and password cannot be changed. This ensures that you can always access the server when you are locked out of the web interface. Consider the physical security implications for your organization. LifeSize Video Center 2200 Installation Guide... - Page 11 192.168.1.25 255.255.255.0 192.168.1.0 192.168.1.255 192.168.1.1 1500 Resetting the Default Web Interface Administrator Password Use the reset-password command to reset the password for the administrator user in the web user interface to admin123. LifeSize Video Center 2200 Installation Guide...
- Page 12 Refer to the LifeSize Video Center Administrator Guide for information about maintenance mode and backing up videos and settings. You can replace a faulty drive by contacting your authorized LifeSize Partner or LifeSize Technical Services for an RMA (returned merchandise authorization) and replacement drive, depending on your service plan.
- Page 13 Removing the Face Plate 1. Unlock the face plate on the chassis with the key. 2. Press the release button. Graphic (1) from GRA-523 3. Remove the face plate. LifeSize Video Center 2200 Installation Guide...
- Page 14 2. Swing the handle out and use it to pull the unit straight out. Note: Do not touch the SATA backplane with any metal objects and ensure no ribbon cables touch the backplane. LifeSize Video Center 2200 Installation Guide...
- Page 15 2. Swing the handle closed until it locks into place with an audible click. 3. Ensure that LifeSize Video Center 2200 is plugged in, and use the power button to restore power. Replace the face plate. (Refer to step 6 of “LifeSize Video Center 2200 Installation”...
Need help?
Do you have a question about the Video Center 2200 and is the answer not in the manual?
Questions and answers