Table of Contents
Advertisement
Advertisement
Table of Contents

Related Manuals for HPA D1500


Summary of Contents for HPA D1500
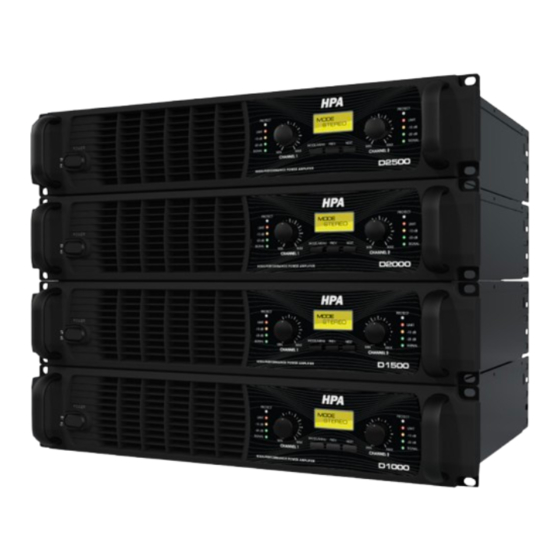
- Page 1 Owner’s Manual D2500 D2000 D1500 D1000...
- Page 2 WARNING...
-
Page 3: Table Of Contents
D1000 / D1500 / D2000 / D2500 Table of Contents Introduction Front Panel Back Panel Get start DSP Navigation Processing Features Specifications Wiring Block diagrams... -
Page 4: Introduction
Introduction D1000 / D1500 / D2000 / D2500 Introduction PROTECT PROTECT STEREO STEREO LIMIT LIMIT -10 dB -10 dB -20 dB -20 dB MODE/MENU PREV. NEXT SIGNAL SIGNAL D2500 HIGH-PERFORMANCE POWER AMPLIFIER D1000 / 1500 / 2000 / 2500 Power Amplifier Congratulations on your purchase of a D series power amplifier, designed for years of high-density Class-D technology that gives reliable. -
Page 5: Front Panel
D1000 / D1500 / D2000 / D2500 Front Panel Front Panel PROTECT PROTECT STEREO STEREO LIMIT LIMIT -10 dB -10 dB -20 dB -20 dB MODE/MENU PREV. NEXT SIGNAL SIGNAL D2500 HIGH-PERFORMANCE POWER AMPLIFIER 1. AC POWER SWITCH This button triggers the relay that provides power to the amplifier.This power switch wil make turn on LCD indicating AC power has been connected to the amplifier. -
Page 6: Back Panel
Back Panel D1000 / D1500 / D2000 / D2500 Back Panel CH 1 BREAKER WARNING AVIS DO NOT EXPOSE THIS RISQUE DE CHOC PROFESSIONAL POWER AMPLIFIER EQUIPMENT TO RAIN OR ELECTRONIQUE NE CH 2 MOISTURE PAS OUVRIR INPUTS BRIDGE CH 2... -
Page 7: Get Start
Get Started D1000 / D1500 / D2000 / D2500 Get Started Stereo Mode This is the default mode the amplifier is set to fron factory. The amplifier is config- ured the stereo mode. 1. Connect Left / Right signal source to Channel1 and Channel2 using XLR, 1/4"... - Page 8 Get Started D1000 / D1500 / D2000 / D2500 INPUT Y Mode INPUT Y Mode delivers input source of Channel 1 into Channel 2 amplifier. 1. Connect signal source to Channel1 only using XLR, 1/4" jacks. 2. Connect a speaker to each Channel output using Speakon, 5-way binding post.
-
Page 9: Bridge Mode
Get Started D1000 / D1500 / D2000 / D2500 Bridge Mode Bridge Mode elivers the power of both amplifier channels into a single 8 or 4 ohm load. 1. Connect signal source to Channel1 only using XLR, 1/4" jacks. 2. Connect a speaker as below. -
Page 10: Dsp Navigation
DSP Navigation D1000 / D1500 / D2000 / D2500 DSP Navigation From the DSP window on front panel, you can change settings for several of the amplifier's integrated signal processing features as below flow figure. When you power-on the amplifier for the first time, the LCD screen displays "... - Page 11 DSP Navigation D1000 / D1500 / D2000 / D2500 DSP Navigation...
-
Page 12: Processing Features
Processing Features D1000 / D1500 / D2000 / D2500 Processing Features The D Series amplifiers include a number of integrated processing features which appear on the front panel LCD screen. MODE * Stereo : In this mode, Channel 1 input signal goes to Channel 1 output and Channel 2 input signal goes to Channel 2 output. -
Page 13: Specifications
D1000 / D1500 / D2000 / D2500 Specifications Specifications D1000 D1500 D2000 D2500 8 Ω Stereo 215 W 300 W 375 W 440 W 4 Ω Stereo 350 W 500 W 650 W 750 W Rate Power 2 Ω Stereo... -
Page 14: Wiring
Wiring D1000 / D1500 / D2000 / D2500 Wiring These are several ways to interface the D series amplifier to support a variety of applications. The D series features balanced inputs and outputs, so connecting balanced and unbalanced signals is possibles. -
Page 15: Block Diagrams
D1000 / D1500 / D2000 / D2500 Block diagrams Block diagrams...
Need help?
Do you have a question about the D1500 and is the answer not in the manual?
Questions and answers