Chauvet Professional Ovation H-265WW User Manual
Hide thumbs
Also See for Ovation H-265WW:
- Quick reference manual (25 pages) ,
- Quick reference manual (29 pages) ,
- Quick reference manual (29 pages)
Table of Contents
Advertisement
Quick Links
Download this manual
See also:
Quick Reference Manual
Advertisement
Table of Contents

Related Manuals for Chauvet Professional Ovation H-265WW


Summary of Contents for Chauvet Professional Ovation H-265WW
- Page 1 User Manual...
- Page 2 OTES The Ovation H-265WW User Manual includes a description, safety precautions, installation, programming, operation and maintenance instructions for the Ovation H-265WW as of the release of this edition. Trademarks CHAUVET, the Chauvet logo and Ovation H-265WW are registered trademarks or trademarks of Chauvet &...
-
Page 3: Table Of Contents
DMX Control........................Configuration (Standalone) .................... Static Mode ........................Auto Programs ....................... Master/Slave ........................Dimmer Profiles......................LED Frequency ......................Back Light ........................Wireless Settings ......................System Information ......................Emergency Mode ......................TOC 1 of 2 Ovation H-265WW User Manual Rev. 1... - Page 4 ABLE OF ONTENTS Reset Factory......................... 5. Technical Information ..............Product Maintenance ..................17 6. Technical Specifications ............Photometrics Chart 750 W ..................... Returns..................Contact Us .................. TOC 2 of 2 Ovation H-265WW User Manual Rev. 1...
-
Page 5: Before You Begin
Any reference to data or power connections in this manual assumes the use of Seetronic IP rated cables. The term “DMX” used throughout this manual refers to the USITT DMX512-A digital data transmission protocol. Page 3 of 22 Ovation H-265WW User Manual Rev. 1... -
Page 6: Safety Notes
40,000 to 50,000 hours. If extending this lifespan is vital, lower the operating temperature by improving the ventilation around the product, thus reducing the ambient temperature. In addition, limiting the overall projection intensity may extend the LEDs’ lifespan. Page 4 of 22 Ovation H-265WW User Manual Rev. 1... -
Page 7: Introduction
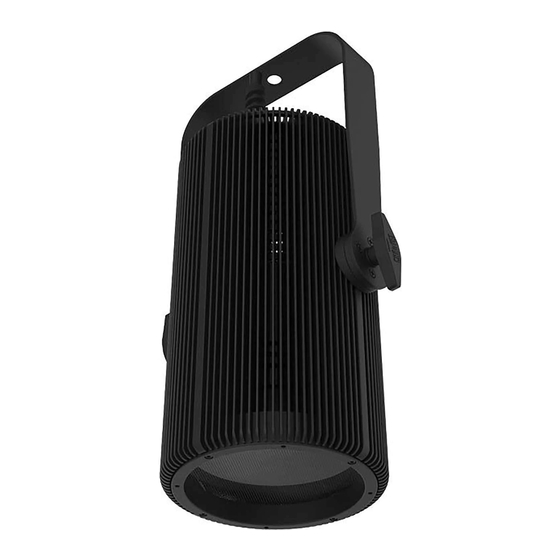
NTRODUCTION Description The Ovation H-265WW is a silent, convention cooled LED house light with a warm white light output and a CRI.The unit also features 16-bit dimming, RDM and W-DMX control as well as adjustable PWM to prevent flickering on televised performances. Interchangeable lenses for height adjustment are another feature in theatrical and house of worship applications. -
Page 8: Product Overview
NTRODUCTION Product Overview Safety Loop/ Power Input Pendent Mounting Yoke Adjustment Menu buttons Control Panel Alternate DMX Safety Loop Data Connection Fuse DMX Data Connection Page 6 of 22 Ovation H-265WW User Manual Rev. 1... -
Page 9: Product Dimensions
NTRODUCTION Product Dimensions 9.4 in 240 mm 13.1 in 333 mm 10 in 254 mm 13.34 in 339 mm Page 7 of 22 Ovation H-265WW User Manual Rev. 1... -
Page 10: Setup
Each Ovation H-265WW has an auto-ranging power supply that works with an input voltage range of 100 to 240 VAC, 50/60 Hz. To determine the power requirements for each Ovation H-265WW, refer to the label affixed to the product. You can also refer to the Technical Specifications chart in this manual. -
Page 11: Dmx Linking
DMX Connection The Ovation H-265WW uses a 5-pin DMX or a hard wire data connection for its DMX personalities: 1, 2 or 5. See the User Manual for information about connecting and configuring the product for DMX operation. Master/Slave Connection The Ovation H-265WW uses the DMX data connection for its Master/Slave mode. -
Page 12: Configuration
Indicator in the middle of the LCD screen will show the strength of the signal. In this case, the Ovation H- 265WW is ready to work in Wireless mode. Pairing the Ovation H-265WW and a new W-DMX transmitter: From the Ovation H-265WW control panel, go to Wireless Setting. -
Page 13: Procedure
ETUP Procedure The Ovation H-265WW comes with a double-bracketed yoke to which you can either attach mounting clamps for hanging or simply use as a floor stand. You must supply the mounting clamps. Make sure the clamps are capable of supporting the weight of this product. Use at least one mounting point per product. -
Page 14: Operation
<DOWN> function Control Options Set the Ovation H-265WW starting address in the 001-512 DMX range. This enables control of up to 102 products in the 5-channel personality. Programming Refer to the Menu Map to understand the menu options. The menu map shows the main level and a variable number of programming levels for each option. -
Page 15: Configuration (Dmx)
Set the starting address: Go to DMX Address main level. Select the starting address (001–508). The highest recommended starting address for each DMX mode is as follows: DMX Personality DMX Address Page 13 of 22 Ovation H-265WW User Manual Rev. 1... -
Page 16: Dmx Values
Auto Speed 0-100% No function Linear dimmer Dimmer Nonlinear dimming curve 1 (fastest) Speed Mode Nonlinear dimming curve 2 Nonlinear dimming curve 3 (slowest) Page 14 of 22 Ovation H-265WW User Manual Rev. 1... -
Page 17: Configuration (Standalone)
The master should be the first product in the daisy chain. Dimmer Profiles This setting determines how fast the output of the Ovation H-265WW changes when you modify the values of the white, and dimmer faders. This setting provides four different options to Go to the Dimmer Mode main level. -
Page 18: Back Light
PERATION Back Light This setting allows for selection of the amount of time the back light on the Ovation H-265WW’s display stays on after the last button is pressed on the control panel. Go to the Back Light main level. -
Page 19: Technical Information
Softly drag any dirt or grime to the outside of the transparent surface. Gently polish the transparent surfaces until they are free of haze and lint. Always dry the transparent surfaces carefully after cleaning them. Page 17 of 22 Ovation H-265WW User Manual Rev. 1... -
Page 20: Technical Specifications
Convection I/O Connector Channel Range 5-pin XLR, Phoenix connector 1, 2, or 5 Ordering Product Name Item Code UPC Number OVATIONH265WW 03031466 781462218140 UL 1573 CSA C22.2 No. 166 E113093 Page 18 of 22 Ovation H-265WW User Manual Rev. 1... -
Page 21: Photometrics Chart 750 W
18.56 m 32.97 m 14.16 m 27.49 m 25 m 23.32 m 41.22 m 17.71 m 34.36 m 30 m 27.98 m 49.46 m 21.25 m 41.24 m Field Beam Field Page 19 of 22 Ovation H-265WW User Manual Rev. 1... - Page 22 3.35 m 6.50 m 15 m 5.02 m 9.75 m 20 m 6.69 m 13.00 m 25 m 8.37 m 16.25 m 30 m 10.04 m 19.50m Field Beam Field Page 20 of 22 Ovation H-265WW User Manual Rev. 1...
-
Page 23: Returns
Be sure to pack the product properly. Any shipping damage resulting from inadequate packaging will be your responsibility. FedEx packing or double-boxing are recommended. Chauvet reserves the right to use its own discretion to repair or replace returned product(s). Page 21 of 22 Ovation H-265WW User Manual Rev. 1... -
Page 24: Contact Us
Visit the applicable website above to verify our contact information and instructions to request support. Outside the U.S., United Kingdom, Ireland, Mexico, France, Germany, or Benelux, contact the dealer of record. Page 22 of 22 Ovation H-265WW User Manual Rev. 1...
Need help?
Do you have a question about the Ovation H-265WW and is the answer not in the manual?
Questions and answers