Table of Contents
Advertisement
Advertisement
Table of Contents

Subscribe to Our Youtube Channel
Related Manuals for Westinghouse WWF1274


Summary of Contents for Westinghouse WWF1274
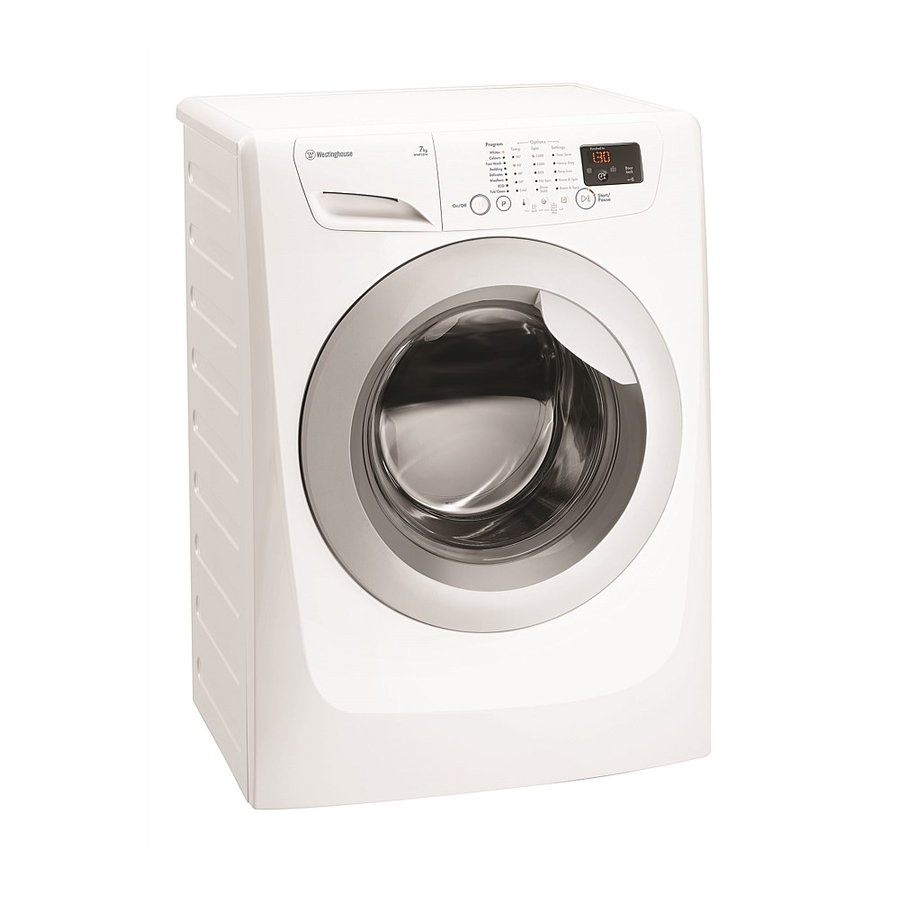
- Page 1 Washing Machine Model: WWF1274...
-
Page 2: Table Of Contents
CONTENTS SAFETY INFORMATION ................... 3 PRODUCT DESCRIPTION ................6 CONTROL PANEL .................... 7 BEFORE FIRST USE ..................12 DAILY USE ..................... 12 WASHING HINTS .................... 18 INTERNATIONAL WASH CODE SYMBOLS ............ 21 CARE AND CLEANING ................... 22 TROUBLESHOOTING ..................25 TECHNICAL DATA .................. -
Page 3: Safety Information
SAFETY INFORMATION CONDITIONS OF USE This appliance is intended to be used in household and similar applications such as: Farm houses By clients in serviced apartments, holiday apartments and residential type environments. In the interest of your safety and to ensure the correct use, before installing and first using the appliance, read this user manual care- fully, including its hints and warnings. - Page 4 This appliance is not intended for use by persons (including children) with reduced physical, sensory or mental capabilities, or lack of experience and knowledge, unless they have been given supervision or instruction concerning use of the appliance by a person responsible for their safety. Do not use your washing machine to wash articles with whalebones, material without hems or torn material.
-
Page 5: Child Safety
1.3 USE This appliance is designed for domestic use. It must not be used for purposes other than those for which it was designed. Only wash fabrics which are designed to be machine washed. Follow the instructions on each garment label. Do not overload the appliance. -
Page 6: Product Description
PRODUCT DESCRIPTION Worktop Detergent/Softener Dispenser Control Panel Door Handle Door Level Adjustment Feet (Front) Mains Cable Water Inlet Hose Water Drain Hose Hose Support (2pcs) Transit Bolts (3pcs) Level Adjustment Feet (Back) Rating Label Drum Leaf Lifter ACCESSORIES Plastic caps To close the holes on the rear side of the cabinet after the... -
Page 7: Control Panel
CONTROL PANEL 3.1 Control Panel Description Spin Touchpad ( On/Off Button On/Off button is used to turn on Press this touchpad repeatedly to and turn off your washing increase or decrease the spin speed, machine. if you want your laundry to be spun at a speed different from the one Program Touchpad ( proposed by the washing machine. - Page 8 Drain & Spin Settings Touchpad ( Use this option for very wet clothes Press this touchpad, if you want to remove the water and spin. your laundry to be washed with If “No Spin” is selected, appliance special functions. The relevant light will only drain.
- Page 9 If you wish to modify or cancel Delay Alarm Codes End option after starting the In the event of program, follow the steps below: operating problems, set the washing machine to some alarm codes PAUSE by pressing “Start/Pause” can be displayed, for example touchpad;...
- Page 10 Enabling/Disabling Buzzer Select this option to add rinsing phases to a program. Sounds To set “Rinse Plus” option: The buzzer sounds operate when: Press and hold “ ” and “ ” The program is completed. touchpads at the same time until The appliance has a malfunction.
- Page 11 3.3 Programs + Options (continue) Options Program Maximum Maximum Program; Description Spin Dry Clothes (type of load Temp. Speed Capacity and soil level) Bedding; Special program for one synthetic Cold to 3.5 kg 800 RPM blanket, duvet, 40 °C bedspread and so on.
-
Page 12: Before First Use
BEFORE FIRST USE Ensure that the electrical and water 3. Select “Whites” cycle at 90 °C, without connections comply with the any laundry in the machine, to remove installation instructions. any manufacturing residue from the drum and tub then start the machine. Put 2 litres of water in the detergent compartment for washing phase. - Page 13 Place the laundry in the drum, one Close the door and make sure that item at a time, shaking them out as no laundry remains between the seal much as possible. and the door. There is a risk of water leakage or damage to the machine and your laundry.
- Page 14 Position up: for powder deter- If required, pour fabric softener gent (factory setting). into the compartment marked (the amount used must not exceed the “MAX” mark in the drawer). When you use the liquid detergent: Do not use gelatinous or thick Close the drawer gently.
- Page 15 Step 3 - Setting A Program For Washing Pess the Spin “ ” and the temperature “ ” touchpads repeatedly to change the spin speed and temperature. Press this touchpad, if you want your laundry to Press the On/Off button to turn on be washed with special the washing machine.
- Page 16 5.2 Interruption Of A Program If the door lock indicator “ ” does not disappear, this means To pause press Start/Pause. that the machine is already The indicator will start flashing. heating and the water level is Press the Start/Pause again. above the bottom edge of the The program will continue.
- Page 17 At the end of the program the Alternatively, before pressing time remaining can suddenly the “Start/Pause” touchpad, you decrease from 7 minutes or less can press the “Spin ” touchpad to 0 due to the overestimated to change the spin speed. You total program time during the can select “No Spin”, if you want load sensing phase.
-
Page 18: Washing Hints
WASHING HINTS 6.1 Sorting The Laundry Remove persistent stains before washing. Follow the wash code symbols on Rub particularly soiled areas with a each garment label and the special detergent or detergent paste. manufacturer’s washing Treat curtains with special care. instructions. -
Page 19: Detergents And Additives
6.6 Detergents and Additives Rust: oxalic acid dissolved in hot water or a rust removing product Good washing results also depend used in cold water. Be careful with on the choice of detergent and use rust stains which are not recent of the correct quantities to avoid since the cellulose structure will waste and protect the... -
Page 20: Quantity Of Detergent
Any fabric softener or starching Not enough washing powder additives must be poured into the causes: compartment marked “ ” before the washload to turn grey, starting the wash program. greasy clothes. Follow the product manufacturer’s Too much washing powder recommendations on quantities to causes: use and do not exceed the MAX... -
Page 21: International Wash Code Symbols
INTERNATIONAL WASH CODE SYMBOLS These symbols appear on fabric labels, in order to help you choose the best way to treat your laundry. Energetic wash Max. wash Max. wash Max. wash Max. wash Hand wash DO NOT temperature temperature temperature temperature wash at all 95 °C... -
Page 22: Care And Cleaning
CARE AND CLEANING WARNING! To run a maintenance wash: You must DISCONNECT the The drum should be empty of appliance from the electricity laundry. supply, before you can carry out Select the “Tub Clean” program. any cleaning or maintenance work. Press Start/Pause to start the program. -
Page 23: Cleaning The Drawer Recess
8.6 Cleaning The Drawer Bottom It is recommended to clean the bottom of softener dispenser regularly to remove any residue. To clean the bottom of softener dispenser: 1. After pulling out the drawer from its recess, turn the bottom side up. 4. -
Page 24: The Dangers Of Freezing
8.9 The Dangers Of Freezing To clean the water inlet filters: 1. Close the water tap. If the machine is exposed to temperatures below 0°C, certain Remove the water inlet hose precautions should be taken. from the water tap. Clean the filter in the inlet hose with a stiff brush. -
Page 25: Troubleshooting
TROUBLESHOOTING Certain problems are due to lack of simple maintenance or oversights, which can be solved easily without calling out an engineer. Before contacting your local Service Centre, please carry out the checks listed below. During machine operation it is possible that the red Start/Pause pilot light flashes to indicate that the machine is not working. - Page 26 Malfunction Possible cause Solution Too much detergent or unsuit- Reduce the detergent able detergent (creates too quantity or use another one. much foam) has been used. Check whether there are any Check the water inlet hose There is water leaks from one of the inlet connection.
- Page 27 Malfunction Possible cause Solution The electronic unbalance Pause the machine and detection device has cut in redistribute laundry because the laundry is not manually. evenly distributed in the drum. The laundry is redistributed by reverse rotation of the drum. Spinning starts late or the This may happen several times machine does...
-
Page 28: Technical Data
TECHNICAL DATA Dimensions 85.0 x 60.0 x 57.6 cm (H x W x D) Power supply 220-240 V / 50 Hz (Voltage / Frequency) Total power absorbed 2000 W Minimum fuse protection 10 A Water supply pressure 0.8 MPa / 0.05 MPa (Maximum / Minimum) Program: White... -
Page 29: Installation
INSTALLATION 11.1 Unpacking You are advised to keep all transit CAUTION! devices so that they can be All transit bolts and packing refitted if the machine ever has to must be removed before be transported again. using the appliance. Use gloves. Remove the external film. If necessary, use a cutter. - Page 30 Put one of the polystyrene packaging elements on the floor behind the appliance. Carefully put down the appliance with the rear side on it. Make sure not to damage the hoses. 7. Remove the polystyrene base. Pull up the appliance in vertical position.
- Page 31 12. Put the plastic caps in the holes. You can find these caps in the user manual bag. 11.2 Positioning It is important that your washing If you do not have a spirit level, as a machine stands firm and level guide use the edge of a door frame, on the floor to ensure correct cupboard or bench to check that...
-
Page 32: Water Drainage
The inlet hose must not be lengthened. If it is too short and you do not wish to move the tap, you will have to purchase a new, longer hose specially designed for this type of use. 11.4 Water Drainage The end of the drain hose can be Never place cardboard, wood or positioned in three ways:... -
Page 33: Electrical Connection
11.5 Electrical Connection This machine is designed to operate on a 220-240 V, single-phase, 50 Hz supply. “An incorrect power supply may void your warranty.” Check that your domestic For correct functioning of the machine electrical installation can take the the drain hose must remain hooked on maximum load required (2.0 kW), the proper support piece situated on the... -
Page 34: Environment Concerns
ENVIRONMENT CONCERNS 12.1 Packaging Materials 12.3 Ecological Hints The materials marked with To save water, energy and to the symbol help protect the environment, we recyclable. recommend that you follow these tips: >PE<=polyethylene Normally soiled laundry may be >PS<=polystyrene >PP<=polypropylene washed without prewashing in order to save detergent, water This means that they can be...
Need help?
Do you have a question about the WWF1274 and is the answer not in the manual?
Questions and answers