Table of Contents
Advertisement
Quick Links
PLEASE READ CAREFULLY AND KEEP
THIS MANUAL FOR FUTURE REFERENCE
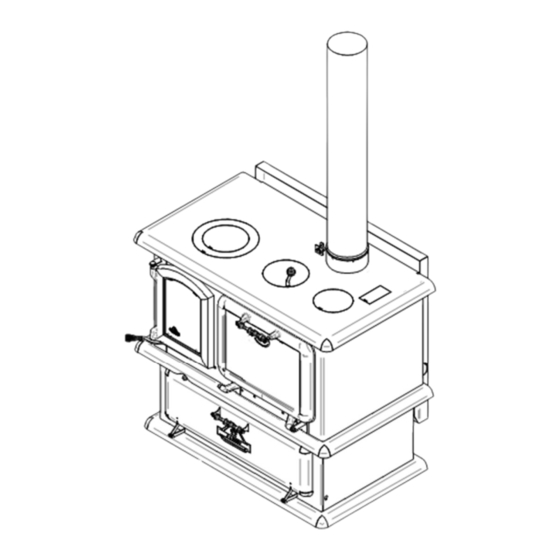
Instruction Manual
- Elda - Cuistot - Chief -
Wood stove with cooking capability
Certified and tested according to
Canadian Safety: ULC S627-00
United States Safety: UL 1482-2011
Emission: EPA Method 28R, ASTM2510
Efficiency: CSA/B415.1.10
490, rue de l'Argon
Québec, CANADA G2N 2C9
Tél.: 418-849-8095
Fax : 418-849-0077
www.jaroby.com
July 13 2017
Printed in Canada
Advertisement
Table of Contents


Need help?
Do you have a question about the Elda and is the answer not in the manual?
Questions and answers