Advertisement
Quick Links
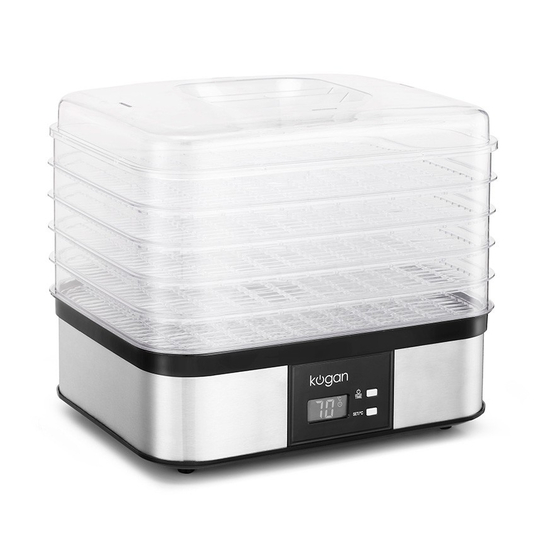
Transparent layers and lid for easy viewing and monitoring of progress.
•
Built-in timer.
•
Over-heat protection.
•
Wide temperature range (40~70°C), suitable for a wide variety of food.
•
Five layers allowing for preparation of different foods concurrently.
•
/Time Button: Set time.
SET/°C Button: Set temperature.
1. Plug in the power cord. The LCD will display 00 signifying that it is on.
2. Press
/Time to set the time. The LCD will show a flashing 00
/Time again to set the working hours, with each press adding one
number. You can set the timer from 0 to 36 hours. Once the time is
adjusted to your liking, the unit will start working after 3 seconds.
3. Once the timer is set, the unit will start working. The default working
temperature is 55°C. For example, the LCD screen may show 13
55°C alternatively, with the 13
55°C representing the working temperature.
4. You can adjust the working temperature as required by pressing the
SET/°C button to enter the temperature settings. The LCD will display the
current temperature, and you can press SET/°C to raise the temperature
in 5°C increments. Once the temperature has been set, the unit will start
to work at the new temperature after 3 seconds, while displaying the new
set temperature.
5. When the timer is over, the product will go into standby mode and stop
heating. The LCD will display 00. While working, pressing the
button for 2 seconds to enter standby mode. This will stop the unit
heating and the LCD will display 00.
Do not use this product near a heater.
•
Do not block the vents in the lid.
•
Do not pour liquids into the product.
•
representing the remaining time, and the
hr
. Press
hr
and
hr
/Time
Advertisement

Subscribe to Our Youtube Channel
Related Manuals for Kogan KAFDDHYDRTA


Summary of Contents for Kogan KAFDDHYDRTA
- Page 1 Transparent layers and lid for easy viewing and monitoring of progress. • Built-in timer. • Over-heat protection. • Wide temperature range (40~70°C), suitable for a wide variety of food. • Five layers allowing for preparation of different foods concurrently. • /Time Button: Set time.
- Page 3 Peel pear, remove core and slice into 6mm Pear 8 ~ 24 Soft and curly slices Pineapple Remove core and slice 10 ~ 21 Soft If you have any further questions or concerns regarding this product, please contact the Kogan.com customer support team.
Need help?
Do you have a question about the KAFDDHYDRTA and is the answer not in the manual?
Questions and answers