Table of Contents
Advertisement
Quick Links
Download this manual
See also:
User Manual
Advertisement
Table of Contents

Summary of Contents for Datapath X4
- Page 1 Datapath X4 Configuration Setup Guide Version: 1.0.0...
-
Page 2: Table Of Contents
Contents Glossary of Terms..................3 Introduction....................4 Equipment Required ......................4 General Setup........................4 2x2 Video Wall Configuration..............5 Top and Left Measurements....................6 Region 1...............................6 Region 2...............................6 Region 3...............................7 Region 4...............................7 Summary of the Calculations - 2 x 2 Display Wall...............8 Windmill Configuration................9 Monitor Rotation.......................9 Calculations for the Windmill Configuration.............. -
Page 3: Glossary Of Terms
Glossary of Terms Resolution Quoted as width × height, with the units in pixels: for example, “1920 × 1080” means the width is 1920 pixels and the height is 1080 lines. Refresh Rate The refresh rate (in Hz or frames per second) is the number of times in a second that a display hardware draws the data Pixel Clock The pixel clock frequency, measured in MHz determines the rate pixels are acquired. -
Page 4: Introduction
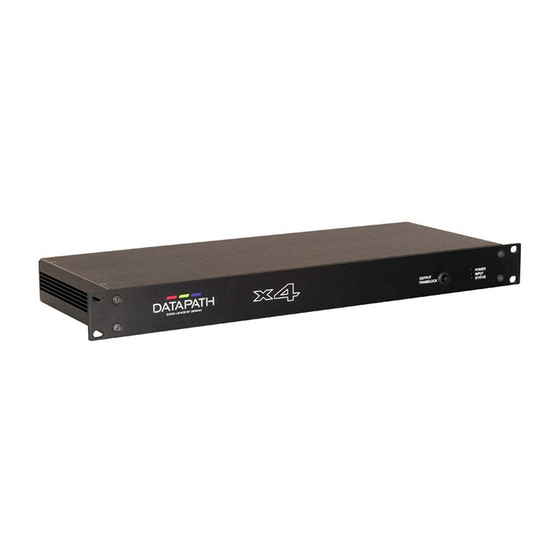
Introduction The aim of this configuration setup guide is to provide you with the basic knowledge of our x4 software functionality and explain how to setup and program your video wall. The Datapath x4 is a multi-display controller allowing customers to arbitrarily scale, rotate and crop their input content to each of the four outputs. -
Page 5: 2X2 Video Wall Configuration
(1920). (730 ÷ 1500) x 1920 = 934 In the x4 application on the setup PC, click on the Modify button for the Input Capture Regions and input the number 934 as the Width in the following dialogue: Fig.3... -
Page 6: Top And Left Measurements
To calculate the height, in pixels, of the active screen area of the monitors: Measure the distance from A to C but only the active screen area, i.e. do not include the outer bezels. In this example A to C = 900mm. Measure the active screen area between A and G In this example A to G = 448mm. -
Page 7: Region 3
Region 3 The left figure for Region 3 will be zero as the left of the monitor displays the left of the source canvas. In a 2 x 2 monitor configuration the figure for the left will be the same for both Regions 1 and 3. Enter zero in the Left box. -
Page 8: Summary Of The Calculations - 2 X 2 Display Wall
Summary of the Calculations - 2 x 2 Display Wall Region 1 Width A to X ÷ A to B x 1920 = Left Height A to G ÷ A to C x 1080 = Region 2 Width Y to B ÷ A to B x 1920 = Left A to B - Y to B ÷... -
Page 9: Windmill Configuration
Windmill Configuration The windmill configuration uses the same method of calculation as for the 2 x 2 configuration, however the source canvas (shown in green) will have elements outside the viewing area of the monitors. The none viewing areas are depicted in green in Fig. 5. Fig.5 Monitor Rotation When using monitors in portrait mode the region captured requires rotation. -
Page 10: Calculations For The Windmill Configuration
Calculations for the Windmill Configuration (Fig.3) The first task is to determine the source canvas width and height in mm: Using a tape measure, measure the distance from I to K but only the active screen area, i.e. do not include the outer bezels. -
Page 11: Region 2
Region 2 For the width, calculate the following: The distance between J to K (730mm) divided by the distance between I to K (2500mm) multiplied by the source width (1920). (730 ÷ 2500) x 1920 = 561 Input the number 561 as the Width for Region 2. To calculate the height of Region 2: Measure the active screen area between M and J In this example M to J = 448mm. -
Page 12: Region 3
Region 3 For the width, calculate the following: The distance between I to H (730mm) divided by the distance between I to K (2500mm) multiplied by the source width (1920). (730 ÷ 2500) x 1920 = 561 Input the number 561 as the Width for Region 3. To calculate the height of Region 3: Measure the active screen area between I and P In this example I to P = 448mm. -
Page 13: Region 4
Region 4 For the width, calculate the following: The distance between C to D (730mm) divided by the distance between I to K (2500mm) multiplied by the source width (1920). (730 ÷ 2500) x 1920 = 561 Input the number 561 as the Width for Region 4. For the height, calculate the following: Measure the active screen area between N and C In this example N to C = 730mm. -
Page 14: Summary Of The Calculations - Windmill Display Wall
I to N ÷ I to K x 1920 = Height N to C ÷ A to C x 1080 = Fig.5 UK Headquarters Datapath Ltd., Bemrose House, Bemrose Park. Wayzgoose Drive, Derby, DE21 6XQ, Tel: +44 (0) 1332 294441 Fax: +44 (0) 1332 290667 Email sales@datapath.co.uk Web: www.datapath.co.uk...


Need help?
Do you have a question about the X4 and is the answer not in the manual?
Questions and answers