
Related Manuals for Honeywell MB4-BAT-SCN02


Summary of Contents for Honeywell MB4-BAT-SCN02
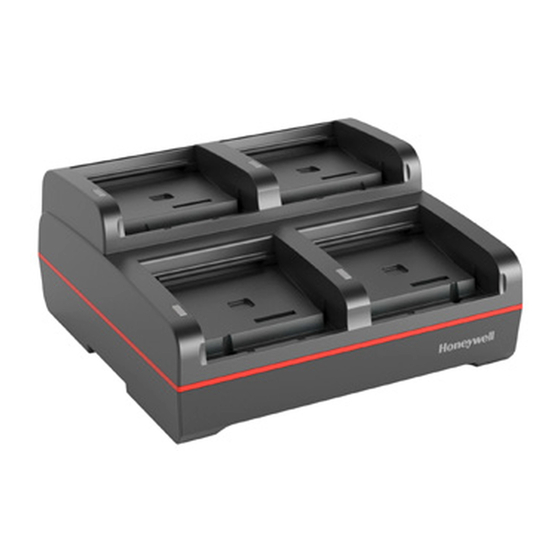
- Page 1 MB4-BAT-SCN02 4-Bay Battery Charging Station Quick Start Guide MB4BATSCN02-EN-QS Rev A 5/18...
-
Page 2: Unpack Your Charging Station
Overview The MB4-BAT-SCN02 is a compact 4-slot battery charging sta- tion for use with BAT-SCN02 and BAT-SCN03 batteries. • The BAT-SCN02 high capacity lithium ion battery (3.8V, 2160mAh) powers the 8680i for 8000 scans and 10 hours. • The BAT-SCN03 standard capacity lithium ion battery (3.7V, 1150mAh) powers the 8680i for 3000 scans and 7 hours. - Page 3 Power Use only a UL Listed power supply, qualified by Honeywell, with an output rated at 12VDC and 3A with the device. The power supply input rating is 100-240V, 50/60Hz. Operating tempera- ture 5°C to 40°C (41°F to 104°F).
-
Page 4: Charging A Battery
Charging a Battery Line the battery’s contacts up with the contacts on the charging pocket. Firmly press the battery into the battery charging pocket. The LED to the left of the pocket lights up in an amber color when the battery is properly inserted. Status LED It is important that batteries are inserted into the charging pocket correctly. -
Page 5: Status Led
Status LED Ensure all components are dry prior to mating batteries with peripheral devices. Mating wet components may cause damage not covered by the warranty. Each charging slot has a dedicated status LED located to the left of the slot. LED Status Indicates Amber solid... -
Page 6: Mount The Charger
Mount the Charger The charger can be mounted to a flat surface, or to a DIN rail for a multi-bay charge rack installation. Option 1 Use the four SL-B M3.5 x 8 screws to mount the charger to a flat, horizontal surface. - Page 7 Option 2 The DIN rail slot on the bottom panel enables secure mounting to a charge rack. Hardware Required • DIN rail • 3/16 in. dia. x 5/8 in. long pan head screw • 1/2 in. OD x 7/32 in. ID x 3/64 in. thick flat washer •...
- Page 8 Installation Slide the DIN rail into the DIN rail slot on the bottom of the charging station.
-
Page 9: Cautions And Warnings
There is a danger of explosion if the batteries are incorrectly replaced. Use only Honeywell lithium ion battery packs, model numbers BAT-SCN02 or BAT- SCN03 in this device. Use of any non-Honeywell battery may result in damage not covered by the warranty. Dispose of used batteries according to the... -
Page 10: Battery Recommendations
Replace it after the battery is unable to hold an adequate charge. • If you are not sure if the battery or charger is working properly, send it to Honeywell International Inc. or an authorized service center for inspection. Safety Precautions for Lithium Batteries •... -
Page 11: User Documentation
• Do not expose batteries to water or allow the batteries to get wet. • Do not connect (short) the positive and negative terminals, of the batteries, to each other with any metal object. • Do not pierce, strike or step on batteries or subject batteries to strong impacts or shocks. - Page 12 Disclaimer Honeywell International Inc. (“HII”) reserves the right to make changes in specifications and other information contained in this document without prior notice, and the reader should in all cases consult HII to determine whether any such changes have been made. The information in this publication does not repre- sent a commitment on the part of HII.
Need help?
Do you have a question about the MB4-BAT-SCN02 and is the answer not in the manual?
Questions and answers