Advertisement
Quick Links
MTH HOBBY 2015
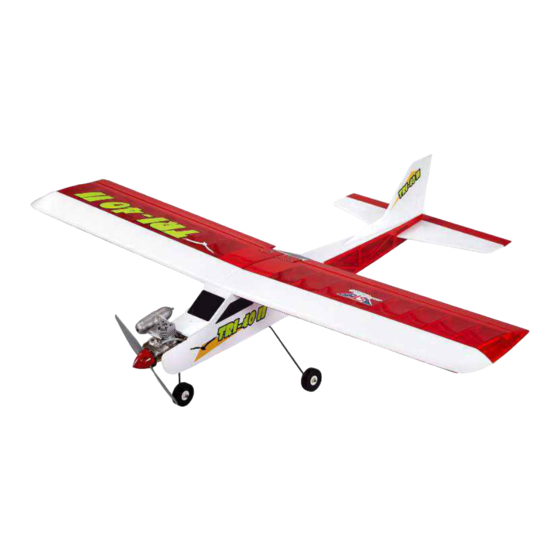
TRI-40 II GP/EP
SPECIFICATIONS
Wing Span: 1600mm
Wing Area: 45 dm²
Length: 1240mm
Total Weight: 1900g (with battery 2600mAh)
Radio: 4 ~ 6(if use flap) channels
Motor: 850KV brushless
Thrust: 2 KGS and up
Battery: Li-Po 4-cell 2600mAh and up
ESC: 60A
Engine: 10cc 2-stroke(Gas)
.46 2-stroke
.60 4-stroke
Propeller for EP: 12 x 8"
Propeller for GP: 12 x 6"(Gas)
Propeller for GP: 11 x 6"
No.8626
Advertisement

Related Manuals for Super Flying Model TRI-40 II GP/EP


Summary of Contents for Super Flying Model TRI-40 II GP/EP
- Page 1 No.8626 TRI-40 II GP/EP SPECIFICATIONS Wing Span: 1600mm Wing Area: 45 dm² Length: 1240mm Total Weight: 1900g (with battery 2600mAh) Radio: 4 ~ 6(if use flap) channels Motor: 850KV brushless Thrust: 2 KGS and up Battery: Li-Po 4-cell 2600mAh and up...
- Page 2 Use epoxy to secure the hinges into the Use hobby knife to remove the covering elevator and horizontal. over the hole for servo tray and plug exit on the main wing. Recommended radio and equipment (Not included in kit): Use epoxy to secure the hinges into the 4 or up channel radio 8x4”...
- Page 3 Try to fit the servos on the servo tray with Drop some instant glue into the screw Try to fit the rod, find the location for Insert the washers to the wing blots two blocks to hole in place. If use flap, holes for the servo tray for reinforcement.
- Page 4 Use hobby knife to remove the covering Use epoxy to secure the vertical and Remover the covering over the pre-served Use marker to mark the line on vertical, over the slots for the vertical ad horizontal. horizontal to the fuselage. holes on the horizontal.
- Page 5 Install nose gear assembly into the nose Use instant glue to secure F29-F33 in place Use 2.6 x 8 mm tapping screws and gear B) Install the receiver battery and switch. with SF logo facing top. gear mount, place a collar on top of it and plates to secure the main gear in main secure with M3x4mm hex screw.
- Page 6 Drop some instant glue around the screws C) There is circle marking on the firewall. F) Secure the motor on the motor mount Secure the servos onto the servo tray for servo mount. Use hobby knife to cut open the hole with the screws come with motor.
- Page 7 Tack off Landding 45 or more B) Use M4x25mm screws and M4 nuts to I) 1. Use towel to clean all the surface. F) Connect the feed-line tubing and vent- secure the engine onto the engine mount. 2. Spray some water on the location for line tubing to the fuel tank.
Need help?
Do you have a question about the TRI-40 II GP/EP and is the answer not in the manual?
Questions and answers