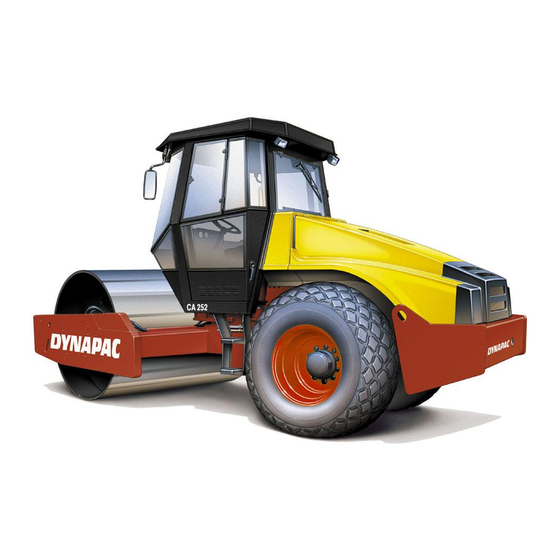
Dynapac CA 250 Workshop Manual
Converting drum
std/d to p/pd
Hide thumbs
Also See for CA 250:
- Operation manual (28 pages) ,
- Workshop manual (20 pages) ,
- Workshop manual (42 pages)
Summary of Contents for Dynapac CA 250
- Page 1 DYNAPAC CA 250/252/262 WORKSHOP MANUAL CONVERTING DRUM STD/D TO P/PD W1065EN2 Box 504, SE-371 23 Karlskrona, Sweden Telephone +46 455 30 60 00 Telefax +46 455 30 60 30...
- Page 2 ILF015WO1...
- Page 3 Vibratory roller CA 250/252/262 Workshop Manual, Converting drum Std/D to P/PD W1065EN2, October 2000 These instructions apply from: CA 250 PIN (S/N) *65120258* CA 250D PIN (S/N) *65220244* CA 252 PIN (S/N) *66120261* CA 252D PIN (S/N) *66220253* CA 262D PIN (S/N) *67220262* We reserve the right to change specifications without notice.
- Page 4 Use your safety equipment like helmet, safety shoes and hearing protection. Make yourself familiar with your working field. Only operate the machine for its intended purpose. Please observe the guidelines of the machine manufacturer and safety manual. CA 250/252/262 W1065EN2...
-
Page 5: Fitting
Fig. 1 Fitting the pad half 1. Transverse beam 2. Pad half 3. Drill two 22 mm (7/8") holes through the pad shell and the drum shell. Use the two 8 mm pre-drilled holes as position guides. Fig. 2 Drilling through holes CA 250/252/262 W1065EN2... - Page 6 6. Lift the second pad half in place and align it against the outer edges of the drum. Keep well clear of the hoisted object. En- sure that hoisting hooks are securely anchored. Fig. 5 Fitting the second pad half CA 250/252/262 W1065EN2...
- Page 7 Repeat according to the above. Ensure that clearance is equal between the pad shells. Use tool 38 25 71. Save the tool and the four tightening bolts for future Fig. 8 Fitting the pad half use. 3. Bolts CA 250/252/262 W1065EN2...
- Page 8 Remember that the rubber elements are pre- tensioned; use only enough shims to leave an air gap of about 5 mm (3/16") between the scraper and the drum frame, before the scraper bolts are tightened. Fig. 11 Fitted shims 1. Shims CA 250/252/262 W1065EN2...
-
Page 9: Dismantling
If retightening is neglected, the shell may rotate on the drum and result in serious damage to the pad shell. Fig. 13 Modifying CA 250 to PD DISMANTLING Before dismantling the pad shell, mark the halves in some permanent way to show how they are positioned in relation to each other. -
Page 10: Drawing (38 22 20)
DRAWING 38 22 20 CA 250/252/262 W1065EN2... -
Page 11: Tools, Hexagonal Socket Wrench (38 25 71)
TOOLS, HEXAGONAL SOCKET WRENCH 38 25 71 CA 250/252/262 W1065EN2...


Need help?
Do you have a question about the CA 250 and is the answer not in the manual?
Questions and answers