
Subscribe to Our Youtube Channel
Related Manuals for Mitel ST24A


Summary of Contents for Mitel ST24A
- Page 1 ST24A/ST48A Voice Switches Quick Install Guide Mitel Networks Corporation 350 Legget Dr. Kanata, Ontario K2K 2W7 Canada +1.844.937.6483...
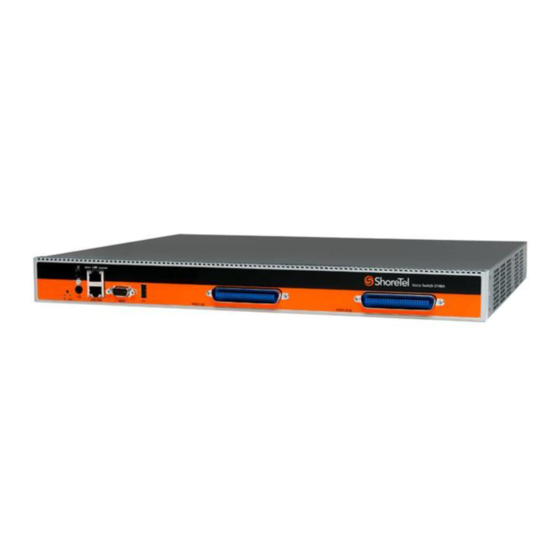
- Page 2 Adhesive rubber feet (for placement on a surface) • Cable retainer(s) for an RJ-21 Telco cable(s) (a metal bracket with a Velcro strap) About the ST24A/ST48A* The ST24A/ST48A Voice Switches connect enterprise telephone extensions through an internal IP network. The switch provides connectivity through: •...
- Page 3 Installation Installing the Voice Switch (Rack Mount) The Voice Switch is equipped with pre-installed rack-mount ears for easy installation into a standard 19-inch rack. 1 Lift the Voice Switch to the desired height and attach it to the frame with four standard rack screws.
- Page 4 ST48A Voice Switch zur Wartung an Mitel. Connecting the Voice Switch to the Network Once the ST24A/ST48A Voice Switch is secured to a rack or placed on a surface, you can connect it to the data network. Use an RJ-45 Ethernet cable to connect one or both of the LAN ports to the network subnet.
- Page 5 A switch gets a network configuration by assignment from a DHCP server, or directly from an administrator console (see procedure below). NOTE: For more information on setting up a switch for automatic configuration by a DHCP server, see the Mitel Connect Planning and Installation Guide. Configuring the Voice Switch from a Console Use a straight-through serial cable, DB9 male to DB9 female, or suitable USB-to-RS-232 serial adapter to connect the switch maintenance port to a console PC.
- Page 6 Operating temperature 0-50˚ C Copyright © 2018 Mitel Networks Corporation. All rights reserved. The Mitel word and logo are trademarks of Mitel Networks Corporation. Any reference to third-party trademarks is for reference only and Mitel makes no representation of ownership of these marks. 180602...
Need help?
Do you have a question about the ST24A and is the answer not in the manual?
Questions and answers