Table of Contents
Advertisement
Description
REV.
REV.
V0.1首次发行
0.0
朱伟
2016/8/23
V0.2修改材质要求:公差
0.0
朱伟
2016/8/30
品名
X1 Air系列说明书 SolaX
浙江艾罗电源有限公司
料号
614.00105.01
SolaX Power Co.,Ltd.
单位
页次
Description
技术要求:
1.封面封底157g铜版纸覆亚光膜彩打,内部普通纸黑白印刷正反打印
2.未注公差:±1.5mm
3.图面、字体印刷清晰、无毛边
4.字体颜色为PANTONE Black C,无边框,底色为白色
5.产品用塑料袋封装
6.符合RoHS要求
285.00 mm
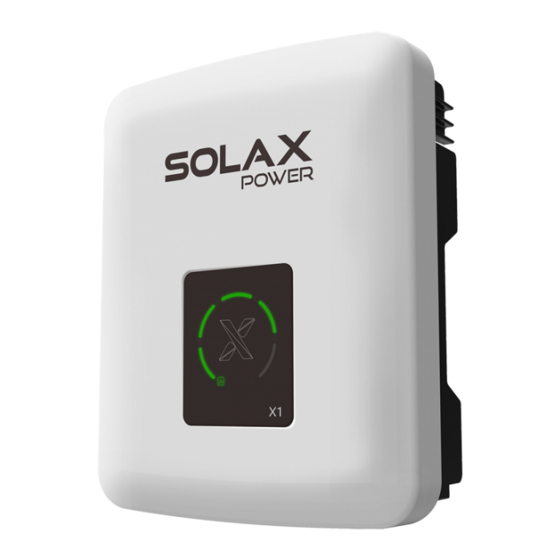
X1 Series
2.5kw - 3.3kw
Copy Declaration
No.288 Shizhu Road, Tonglu
The copyright of this manual belongs to
Economic Development
品名
X1 Air系列说明书 SolaX
材料
料号
614.00
单位
User Manual
设计
朱伟
2016/8/23
朱娴红
2016/8/23
审核
NA
核准
朱娴红
2016/8/23
105
.01
浙江艾罗电源有限公司
页次
Advertisement
Table of Contents


Need help?
Do you have a question about the X1-2.5-S-D and is the answer not in the manual?
Questions and answers
The inventer showing all red
The SolaX Power X1-2.5-S-D inverter may show all red due to a fault or error condition. To identify the cause, follow the troubleshooting steps:
1. Check the indicator light state and record it.
2. Refer to the troubleshooting list for solutions.
3. Verify the following installation conditions:
- The inverter is located in a clean, dry, and well-ventilated area.
- The DC input breakers are properly closed.
- The cables are appropriately sized and not excessively long.
- The communication cables are securely connected and undamaged.
If the issue persists, contact SolaX Power customer service for further assistance.
This answer is automatically generated