Advertisement
JBL/Infinity Soundbar Quick-Start Guide
IMPORTANT: This quick‐start guide contains information about assembling, mounting and
connecting your soundbar. For complete installation, connection, setup and operation
information, download the full [Soundbar] User Manual at [jbl.com] [infinitysystems.com].
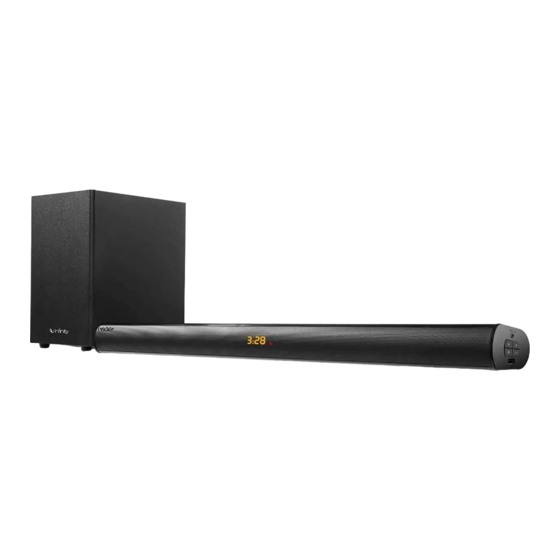
Included items
2 x soundbar speaker sections (left & right)
1 x threaded rod
2 x mounting bracket base assemblies
2 x mounting bracket tops
8 x long mounting bracket screws
8 x short mounting bracket screws
2 x bridge plates
8 x bridge plate screws
1 x large hex wrench
1 x small hex wrench
2 x safety wire assemblies
2 x high‐level audio adapters
1 x AVRCP remote control and battery
1 x quick‐start guide
1 x safety instruction booklet
Assembly
1. Hand‐tighten the threaded rod into the soundbar's left speaker section (with the cable attached).
[Insert illustration "Assembly_1_082316.ai"]
2. Screw the soundbar's right speaker section onto the portion of the threaded rod that is protruding
from the left speaker. When the speaker is threaded all the way onto the rod the fronts of both speakers
should be properly aligned.
[Insert illustration: "Assembly_2_082316.ai"]
Advertisement
Table of Contents

Subscribe to Our Youtube Channel
Related Manuals for JBL Infinity


Summary of Contents for JBL Infinity
- Page 1 JBL/Infinity Soundbar Quick-Start Guide IMPORTANT: This quick‐start guide contains information about assembling, mounting and connecting your soundbar. For complete installation, connection, setup and operation information, download the full [Soundbar] User Manual at [jbl.com] [infinitysystems.com]. Included items 2 x soundbar speaker sections (left & right) 1 x threaded rod 2 x mounting bracket base assemblies 2 x mounting bracket tops 8 x long mounting bracket screws 8 x short mounting bracket screws 2 x bridge plates 8 x bridge plate screws 1 x large hex wrench 1 x small hex wrench 2 x safety wire assemblies 2 x high‐level audio adapters 1 x AVRCP remote control and battery 1 x quick‐start guide 1 x safety instruction booklet Assembly 1. Hand‐tighten the threaded rod into the soundbar’s left speaker section (with the cable attached). [Insert illustration “Assembly_1_082316.ai”] 2. Screw the soundbar’s right speaker section onto the portion of the threaded rod that is protruding from the left speaker. When the speaker is threaded all the way onto the rod the fronts of both speakers should be properly aligned. [Insert illustration: “Assembly_2_082316.ai”] ...
- Page 2 JBL/Infinity Soundbar Quick-Start Guide 3. Connect the umbilical cables between the two speakers. [Insert illustration: “Assembly_3_082316.ai”] 4. Attach the bottom bridge plate to the two speakers, using the small hex wrench and 4 of the bridge plate screws. [Insert illustration: “Assembly_4_082316.ai”] ...
- Page 3 JBL/Infinity Soundbar Quick-Start Guide 5. Before attaching the rear bridge plate, you will need to set the Input Level switch, Auto Turn‐On switch and Gain controls: [Insert illustration: “Control Panel_082316.ai”] a. If you will be connecting the soundbar’s audio inputs to the pre‐outs of a car stereo head unit or other line‐level source, set the Input Level switch in the “Lo” position. If you will be connecting the soundbar to the speaker‐level outputs of a car stereo head unit, set the Input Level switch in the “Hi” position. b. If you have set the Input Level switch in the “Lo” position, set the Gain control [TBD]; if you have set the Input Level switch in the “Hi” position, set the Gain control [TBD]. After you complete the installation and begin using your soundbar you can fine‐tune the Gain control setting to maximize the soundbar’s performance. c. If you want the soundbar to automatically turn on when it receives an audio signal, set the Auto Turn‐On switch in the “On” position. If not, set the switch in the “Off” position. 6. Attach the rear bridge plate to the two speakers, using the small hex wrench and the remaining 4 bridge plate screws. [Insert illustration: “Assembly_5_082316.ai”] Mounting 1a. Insert the 2 mounting bracket base assemblies into the 2 mounting track openings on the bottom of the soundbar. 1b. Slide the mounting bracket bases inside the tracks all the way around to the top of the soundbar. [Insert illustration: “Mounting_1_082816.ai”] ...
- Page 4 JBL/Infinity Soundbar Quick-Start Guide 2. Position the soundbar in the desired location against the vehicle mounting bar. Use 4 of the supplied mounting bracket bolts to secure each bracket top to a bracket base. (Two sets of bolts are supplied, allowing the soundbar to be mounted to pipes up to XXX in diameter.) a. When the soundbar is in the correct position, tighten the mounting bracket adjustment screws. [Insert illustration: “Mounting_2_082816.ai] 3. Install the 2 safety harness assemblies [TBD] Ground, Power, Illumination and Remote Connections IMPORTANT: Disconnect the vehicle’s negative (–) battery terminal before beginning the installation. Connect the soundbar’s +12V power (red), ground (black), illumination (orange) and remote turn‐on (blue) wires as shown below. Use sandpaper to clear the paint from the metal surface at the ground connection. Use a star‐type lock washer to secure the connection. Install a fuse holder for a 40A fuse on the power (12V) wire within 18” (46cm) of the (+) battery terminal. Do not install the fuse in the holder at this time. ...
- Page 5 JBL/Infinity Soundbar Quick-Start Guide [Insert illustration: “Power Connect_090516.ai”] Audio Input and Output Connections Connecting to an audio system head unit Connect the source unit’s RCA line outputs to the soundbar’s (black) RCA audio input cable, as shown in the illustration below. [Insert illustration: “Head Unit Connect_090516.ai”] If your source unit does not have RCA outputs use the supplied bare wire‐to‐RCA adapters to connect the source unit’s speaker wires to the soundbar’s audio input cable, as shown in the illustration below. [Insert illustration: “Bare Wire Adapters.ai”] ...
-
Page 6: Specifications
JBL/Infinity Soundbar Quick-Start Guide Connecting to a mobile phone or portable audio device Connect the mobile phone’s or portable device’s headphone port to the soundbar’s black 3.5mm audio cable, as shown in the illustration below. [Insert illustration: “Phone Connect_090516.ai”] Connecting to a subwoofer or secondary amplifier Connect the subwoofer or a secondary amplifier to the soundbar’s (gray) audio output cable, as shown in the illustration below. [Insert illustration: “Subwoofer Connect_090516.ai”] After you have completed all of the soundbar connections: 1. Insert the 40A fuse into the fuse holder you installed on the soundbar power wire. 2. Re‐connect the vehicle’s negative (–) battery terminal. 3. For complete setup and operation information, download the full [Soundbar] User Manual at [jbl.com] [infinitysystems.com]. Specifications Frequency response: 20 Hz – 20 kHz Maximum SPL: 100dB Total amplifier power: 160 watts Drivers: 4 x long‐excursion 4” woofers; 2 x 1” tweeters Dimensions (assembled, L x W x H): 31‐1/2” (800 mm) x 6‐1/8” (155.5 mm) x 5‐1/16” (128 mm) Weight (net): 19.8 lb (9 kg) ... - Page 7 JBL/Infinity Soundbar Quick-Start Guide [Insert Harman Logo] HARMAN International Industries, Incorporated 8500 Balboa Boulevard, Northridge, CA 91329 USA © 2016 HARMAN International Industries, Incorporated. All rights reserved. [JBL] [Infinity] is a trademark of HARMAN International Industries, Incorporated, registered in the United States and/or other countries. All Rights Reserved. Features, specifications and appearance are subject to change without notice. ...
Need help?
Do you have a question about the Infinity and is the answer not in the manual?
Questions and answers