Table of Contents
Advertisement
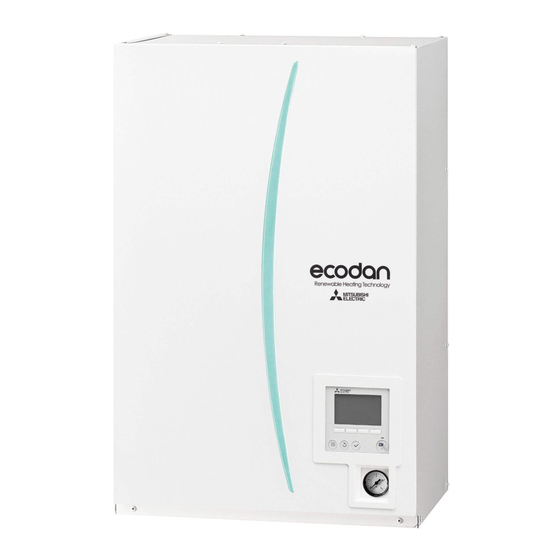
HYDROBOX
SERVICE MANUAL
[Model Name]
EHSE-YM9EC
EHSE-MEC
ERSE-YM9EC
ERSE-MEC
HYDROBOX
[Service Ref.]
EHSE-YM9EC.UK
EHSE-YM9ECR1.UK
EHSE-MEC.UK
EHSE-MECR1.UK
ERSE-YM9EC.UK
ERSE-YM9ECR1.UK
ERSE-MEC.UK
ERSE-MECR1.UK
MAIN REMOTE
CONTROLLER
R410A
CONTENTS
1. REFERENCE MANUAL ................................... 2
2. SAFETY PRECAUTION ................................... 3
3. SPECIFICATIONS ............................................ 6
4. PARTS NAMES AND FUNCTIONS ................ 8
5. OUTLINES AND DIMENSIONS ....................... 9
6. WIRING DIAGRAM ......................................... 11
7. FIELD WIRING ............................................... 16
8. WATER SYSTEM DIAGRAM ......................... 18
9. CONTROLS ................................................... 21
10. TROUBLESHOOTING ................................... 41
11. DISASSEMBLY PROCEDURE ...................... 57
12. SUPPLEMENTARY INFORMATION ............. 72
13. SERVICE AND MAINTENANCE ................... 73
PARTS CATALOG (OCB590)
August 2015
No. OCH590
REVISED EDITION-B
Revision:
• Added
EHSE-YM9ECR1.UK,
EHSE-MECR1.UK,
ERSE-YM9ECR1.UK and
in
ERSE-MECR1.UK
REVISED EDITION-B.
• Some descriptions have
been modified.
• Please void OCH590
REVISED EDITION-A.
Notes:
• This manual describes
service data of Hydrobox
only.
• RoHS compliant products
have <G> mark on the
spec name plate.
Advertisement
Table of Contents
Troubleshooting


Need help?
Do you have a question about the EHSE-YM9EC and is the answer not in the manual?
Questions and answers