Sign In
Upload
Download
Table of Contents
Contents
Add to my manuals
Delete from my manuals
Share
URL of this page:
HTML Link:
Bookmark this page
Add
Manual will be automatically added to "My Manuals"
Print this page
×
Bookmark added
×
Added to my manuals
Manuals
Brands
URC Manuals
Remote Control
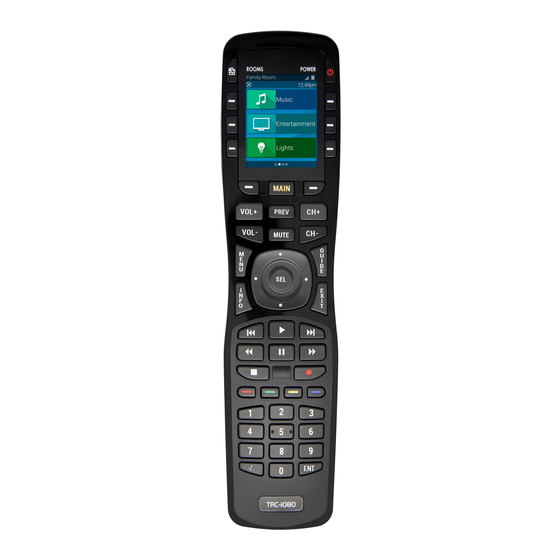
TRC-1080
Owner's manual
URC TRC-1080 Owner's Manual
Hide thumbs
Also See for TRC-1080
:
Owner's manual
(19 pages)
,
Owner's manual
(16 pages)
1
2
3
4
5
6
7
8
9
10
11
12
13
14
15
16
17
18
19
20
21
22
23
24
25
26
27
Table Of Contents
28
page
of
28
Go
/
28
Contents
Table of Contents
Bookmarks
Table of Contents
Features and Benefits
Parts List
Room's Menu
Room Linking
Shortcut Popup Menu
Scenes Menu
Settings Menu
Limited Warranty Statement
Advertisement
Quick Links
1
Features and Benefits
2
Room's Menu
3
Settings Menu
Download this manual
TRC-1080
Owner's Manual
Table of
Contents
Previous
Page
Next
Page
1
2
3
4
5
Advertisement
Table of Contents
Need help?
Do you have a question about the TRC-1080 and is the answer not in the manual?
Ask a question
Questions and answers
Subscribe to Our Youtube Channel
Related Manuals for URC TRC-1080
Remote Control URC Total Control TRC-1080 Owner's Manual
Wi-fi remote control (19 pages)
Remote Control URC Total Control TRC-1080 Owner's Manual
(16 pages)
Remote Control URC Total Control TRC-1280 Owner's Manual
Touch screen network remote (21 pages)
Remote Control URC TRC-1280 Installation Manual
(8 pages)
Remote Control URC TRC-1480 Owner's Manual
(26 pages)
Remote Control URC TRC-780 Owner's Manual
(15 pages)
Remote Control URC Total Control TRC-1120 Owner's Manual
(21 pages)
Remote Control URC Complete Control MX-880 Owner's Manual
Urc complete control mx-880 owner's manual (22 pages)
Remote Control URC MX-980 Operating Instructions Manual
Urc complete control mx-980 operating instructions (20 pages)
Remote Control URC RM-2 Owner's Manual
Two-way wi-fi remote control (20 pages)
Remote Control URC MX-890i Owner's Manual
Color lcd screen remote control (20 pages)
URC UR2-DTA-RF4 - Digital Adapter Remote Control Manual
(article)
Remote Control URC MX-450 Owner's Manual
(14 pages)
Remote Control URC Complete Control MX-790 Owner's Manual
(11 pages)
Remote Control URC MX-1400 Owner's Manual
(22 pages)
Remote Control URC MX-990 Owner's Manual
(22 pages)
This manual is also suitable for:
Total control 2.0
Trc-820
Table of Contents
Print
Rename the bookmark
Delete bookmark?
Delete from my manuals?
Login
Sign In
OR
Sign in with Facebook
Sign in with Google
Upload manual
Upload from disk
Upload from URL


Need help?
Do you have a question about the TRC-1080 and is the answer not in the manual?
Questions and answers