Table of Contents
Advertisement
Quick Links
Advertisement
Table of Contents

Subscribe to Our Youtube Channel
Related Manuals for Mark-10 3i


Summary of Contents for Mark-10 3i
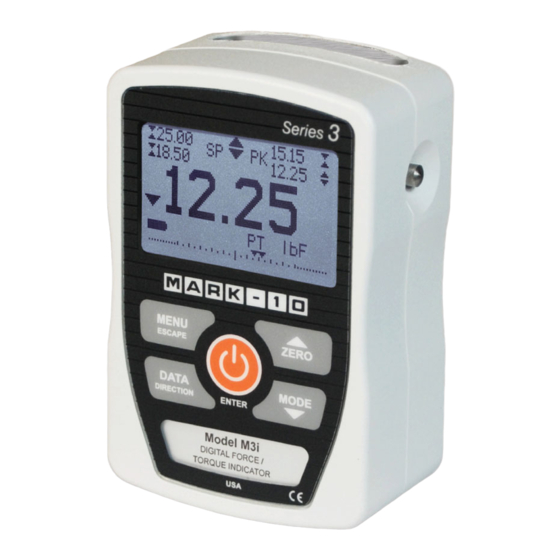
- Page 1 Model DIGITAL FORCE / TORQUE INDICATOR User’s Guide...
- Page 2 Our technical support and engineering teams are eager to assist you. Before use, each person who is to use a Model 3i indicator should be fully trained in appropriate operation and safety procedures. TABLE OF CONTENTS OVERVIEW ............2...
-
Page 3: Overview
Indicator accuracy must be combined with sensor accuracy to determine the total accuracy of the system. Since sensors may be used with either the 5i or 3i indicator, the accuracy of the indicator being used must be identified and taken into account, as follows:... - Page 4 1.4 Safety / Proper Usage Read through the following safety instructions thoroughly before using the 3i with a sensor: 1. Note the sensor’s capacity before use and ensure that the capacity is not exceeded. Producing a load greater than the indicated safe overload value can damage the sensor.
-
Page 5: Power
2 POWER The 3i is powered either by an 8.4V NiMH rechargeable battery or by an AC adapter. Since these batteries are subject to self discharge, it may be necessary to recharge the unit after a prolonged period of storage. -
Page 6: Mechanical Setup
3.2 Mounting to a plate The 3i can be mounted to a plate with four thumb screws fastened into the appropriate holes in the rear half of the housing. Refer to the Dimensions section for detailed hole information and locations. -
Page 7: Home Screen And Controls
Model 3i Digital Force/Torque Indicator User’s Guide 4 HOME SCREEN AND CONTROLS 4.1 Home Screen Name Description Measurement – indicates compression direction (for force sensors) direction – indicates tension direction (for force sensors) indicator – indicates clockwise direction (for torque sensors) –... - Page 8 Model 3i Digital Force/Torque Indicator User’s Guide Torque units: lbFin – Pound-inch ozFin – Ounce-inch kgFm – Kilogram-meter kgFmm – Kilogram-millimeter Nm – Newton-meter Ncm – Newton-centimeter Note: not all sensor models display all the above units. Refer to the capacity / resolution table for the respective sensor series for details.
-
Page 9: Operating Modes
(if beeps are enabled) until the MENU key has been pressed or the load has been reduced to a safe level. Three operating modes are possible with the 3i indicator. To cycle between the modes, press MODE while in the home screen. -
Page 10: Changing The Units
Model 3i Digital Force/Torque Indicator User’s Guide 6 CHANGING THE UNITS The 3i can display several measurement units, depending on the sensor. To change the unit, select Units from the menu. The display will list the available units, for example: UNITS The indicator will always power on with the unit selected. -
Page 11: Communications
Note: Set point indicators reference the displayed reading, not necessarily the current live load. 9 COMMUNICATIONS Communication with the 3i indicator is achieved through the micro USB port located along the left side of the housing, as shown in the illustration in the Power section. Communication is possible only when the indicator is in the main operating screen (i.e. - Page 12 5. After Windows as restarted, plug in the device. The following will occur: Windows 7 Operating Systems – When the Mark-10 USB device has been plugged into a USB port, the driver will automatically be found. When the driver installation is complete, a message will appear as follows: “The MARK-10 USB DEVICE driver is now installed and ready to use”.
- Page 13 Model 3i Digital Force/Torque Indicator User’s Guide Select “No, not this time”, then click “Next”. 6. The next screen appears as follows: Select “Install the software automatically (Recommended)”, then click “Next”. 7. The next screen appears as follows: Click “Continue Anyway”.
-
Page 14: Calibration
8. The next, and final, screen appears as follows: Click “Finish”. The Mark-10 USB device is now installed and ready to use. The COM port number assigned by Windows may be identified in Device Manager, or in the communication application being used, such as MESURgauge or HyperTerminal. - Page 15 Model 3i Digital Force/Torque Indicator User’s Guide 10.2 Calibration Procedure In the interests of simplicity and brevity, the following instructions use force terminology only. Such wording is displayed only when a force sensor is being calibrated. When a torque sensor is being calibrated, the terms COMPRESSION and TENSION are replaced by CLOCKWISE and COUNTER- CLOCKWISE, respectively.
- Page 16 Model 3i Digital Force/Torque Indicator User’s Guide CALIBRATION OFFSET Please wait… CALIBRATION CALIBRATION OFFSET OFFSET Sen.Offset Adj.Passed Sen.Offset Adj.Failed Ana.Offset Adj.Passed Ana.Offset Adj.Failed If failed: 5. The following screen appears after the offsets have been calculated: CALIBRATION COMPRESSION Attach necessary weight fixtures.
- Page 17 Model 3i Digital Force/Torque Indicator User’s Guide CALIBRATION COMPRESSION ENSURE NO LOAD THEN PRESS ZERO Remove the load applied in Step 8, leave the fixtures in place, then press ZERO. 9. The display will appear as follows: CALIBRATION COMPRESSION APPLY LOAD...
-
Page 18: Other Settings
Model 3i Digital Force/Torque Indicator User’s Guide CALIBRATION Units must be gF. PLEASE TRY AGAIN PRESS ENTER Displayed at the start of calibration if a disallowed unit is selected. LOAD NOT STABLE PLEASE TRY AGAIN Ensure that the load is not swinging, oscillating, or vibrating in any manner. Then try again. - Page 19 Model 3i Digital Force/Torque Indicator User’s Guide AUTOMATIC SHUTOFF Disabled Enabled Set Minutes Select Disabled to disable automatic shutoff. Select Enabled to enable it. The length of time of inactivity is programmed in minutes via the Set Minutes parameter. Available settings: 5-30, in 5 minute increments.
- Page 20 Model 3i Digital Force/Torque Indicator User’s Guide 11.4 Beeps Audible tones can be enabled for all key presses and alerts, such as overload, set point value reached, etc. The Set Point alert can be configured to be either a momentary tone or a continuous tone (until the load is restored to a value between the set points).
-
Page 21: Specifications
Model 3i Digital Force/Torque Indicator User’s Guide 12 SPECIFICATIONS 12.1 General Accuracy: ±0.2% of full scale ±1 digit + sensor Sampling rate: 2,000 Hz Power: AC or rechargeable battery. Low battery indicator appears when battery level is low, and indicator powers off automatically when power reaches critical stage. - Page 22 Model 3i Digital Force/Torque Indicator User’s Guide 12.3 Dimensions IN [MM]...
- Page 23 Model 3i Digital Force/Torque Indicator User’s Guide NOTES:...
- Page 24 Model 3i Digital Force/Torque Indicator User’s Guide Mark-10 Corporation has been an innovator in the force and torque measurement fields since 1979. We strive to achieve 100% customer satisfaction through excellence in product design, manufacturing and customer support. In addition to our standard line of products we can provide modifications and custom designs for OEM applications.
Need help?
Do you have a question about the 3i and is the answer not in the manual?
Questions and answers