Table of Contents
Advertisement
Model No. FMEX81912.0
Serial No.
Write the serial number in the space
above for reference.
USER'S MANUAL
Serial Number
Decal
QUESTIONS?
If you have questions, or if parts
are damaged or missing, please
see HOW TO CONTACT
CUSTOMER CARE on the back
cover of this manual.
CAUTION
Read all precautions and instruc-
tions in this manual before using
this equipment. Keep this manual
for future reference.
www.freemotionfitness.com
Advertisement
Table of Contents

Related Manuals for Freemotion Tour de France FMEX81912.0


Summary of Contents for Freemotion Tour de France FMEX81912.0
- Page 1 Model No. FMEX81912.0 Serial No. Write the serial number in the space above for reference. USER’S MANUAL Serial Number Decal QUESTIONS? If you have questions, or if parts are damaged or missing, please see HOW TO CONTACT CUSTOMER CARE on the back cover of this manual.
-
Page 2: Table Of Contents
Warning decals in other languages are included. Apply the warning decals on top of the English warnings in the indicated location(s) if desired. Note: The decal(s) may not be shown at actual size. FREEMOTION is a registered trademark of ICON IP, Inc. -
Page 3: Important Precautions
FreeMotion Fitness assumes no responsibility for personal injury or prop- erty damage sustained by or through the use of this product. -
Page 4: Before You Begin
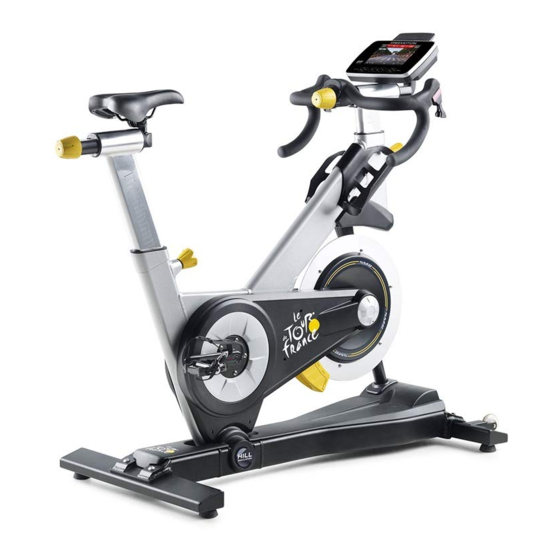
BEFORE YOU BEGIN Congratulations for selecting the revolutionary reading this manual, please see the back cover of this LE TOUR DE FRANCE training bike. The LE TOUR manual. To help us assist you, note the product model ® DE FRANCE training bike is unlike any ordinary exer- number and serial number before contacting us. -
Page 5: Assembly
ASSEMBLY • Assembly requires two persons. • Assembly requires the following tools (not included): • Place all parts in a cleared area and remove the one 3 mm hex key packing materials. Do not dispose of the packing materials until you complete all assembly steps. one 6 mm hex key •... - Page 6 3. While a second person holds the Console Mount (66) near the Handlebar Post (7), route the frame wires and cable upward through the Console Mount. Wires and Cable Avoid pinching the wires and cable. Attach the Console Mount (66) to the Handlebar Post (7) with four M4 x 6mm Screws (129).
-
Page 7: How To Use The Training Bike
HOW TO USE THE TRAINING BIKE HOW TO PLUG IN THE POWER CORD IN THE A temporary UNITED STATES OR CANADA adapter may 2-pole Receptacle be used to This product must be grounded. If it should malfunc- connect the Adapter tion or break down, grounding provides a path of least power cord resistance for electric current to reduce the risk of... - Page 8 HOW TO PLUG IN THE POWER CORD IN EUROPE 2. Plug the power cord into an appropriate outlet that OR AUSTRALIA is properly installed and earthed in accordance with all local codes and ordinances. This product must be earthed. If it should malfunc- tion or break down, earthing provides a path of least Australia resistance for electric current to reduce the risk of...
- Page 9 FEATURES OF THE TRAINING BIKE HOW TO ADJUST THE GEOMETRY OF THE TRAINING BIKE Measuring Watts The training bike can be adjusted to match the geom- Each training bike is individually calibrated to measure etry of your road bike to promote correct form and to ensure proper training of the muscles.
- Page 10 How to Adjust the Saddle Post How to Adjust the Handlebar Carriage For effective training, the saddle should be at the To adjust the proper height. As you pedal, there should be a slight position of the bend in your knees when the pedals are in the lowest handlebar, loosen position.
- Page 11 CONSOLE DIAGRAM MAKE YOUR FITNESS GOALS A REALITY WITH Upload your workout results to the iFit cloud IFIT.COM and track your accomplishments. With your new iFit-compatible fitness equipment, you can use an array of features on iFit.com to make your Set calorie, time, or distance goals for your fitness goals a reality: workouts.
- Page 12 FEATURES OF THE CONSOLE HOW TO TURN ON THE POWER The advanced console offers an array of features IMPORTANT: If the training bike has been exposed to cold temperatures, allow it to warm to room tem- designed to make your workouts more effective and perature before you turn on the power.
- Page 13 HOW TO USE THE TOUCH SCREEN the console must be connected to a wireless network. See HOW TO USE THE WIRELESS The console features a tablet with a full-color touch NETWORK MODE on page 22 to connect the screen. The following information will help you become console to your wireless network.
- Page 14 HOW TO USE THE MANUAL MODE Change gears by pressing the buttons on the shifters. Note: After you press a button, it will take 1. Touch the screen or begin pedaling to activate a moment for the training bike to change to the the console.
- Page 15 6. Do intervals if desired. 2. Select the main menu. During a workout, you can use the interval screen See step 2 on page 14. to measure your performance for short periods of 3. Select a Le Tour de France workout. time.
- Page 16 HOW TO USE A SET-A-GOAL WORKOUT At the end of the first segment of the workout, the incline will automatically adjust to the incline level for the next segment. 1. Touch the screen or begin pedaling to activate the console. When the incline changes, the resistance of the pedals will also change.
- Page 17 Note: The calorie goal is an estimate of the button. Touch the Cancel button to exit the login number of calories that you will burn during screen. Note: Usernames and passwords are the workout. The actual number of calories that case-sensitive.
- Page 18 6. Follow your progress. HOW TO USE THE INTERNET BROWSER See step 5 on page 14. The screen may also Note: To use the Internet browser, you must have show a map of the trail you are walking or run- access to a wireless network including a wireless ning.
- Page 19 HOW TO USE THE EQUIPMENT SETTINGS MODE 5. Enable or disable the Internet browser. Note: Some of the features described may not be To enable or disable the Internet browser, first enabled. Occasionally, a firmware update may cause touch the Browser button. Next, touch the Enable your console to function slightly differently.
- Page 20 9. Select a language. 15. Select an update time. To select a language, touch the Language button To select a time for automatic console updates, and select the desired language. Then, follow the touch the Update Time button and select the prompts on the screen.
- Page 21 HOW TO USE THE MAINTENANCE MODE The training bike will automatically rise to the maxi- mum incline level, lower to the minimum incline Note: Some of the features described may not be level, and then return to the starting position. This enabled.
- Page 22 HOW TO USE THE WIRELESS NETWORK MODE When a list of networks appears, touch the desired network. Note: You will need to know your network The console features a wireless network mode that name (SSID). If your network has a password, you allows you to set up a wireless network connection.
-
Page 23: Compliance Information
COMPLIANCE INFORMATION UNITED STATES CANADA This equipment has been tested and found to comply This device complies with RSS-210 of the Industry with the limits for a Class B digital device, pursuant to Canada (IC) Rules. Operation is subject to the fol- part 15 of the FCC Rules. -
Page 24: Part List
PART LIST Model No. FMEX81912.0 R0114B Key No. Qty. Description Key No. Qty. Description Frame Cap B Base Lower Wedge Front Stabilizer Upper Wedge Rear Stabilizer Saddle Stabilizer Guard Pedal Washer Pivot Clamp Pedal Set Handlebar Post M4 Small Washer Handlebar Selector Lift Assembly M5 x 16mm Screw... - Page 25 Key No. Qty. Description Key No. Qty. Description Shifter Brace M6 Locknut Right Shifter Assembly M6 x 30mm Bolt Left Shifter Cap M4.5 Washer Left Shifter Cover M2 x 4mm Screw M5 x 25mm Screw M4 x 40mm Screw Right Shifter Cap M5 Star Washer Right Shifter Cover M5 Large Washer...
-
Page 26: Exploded Drawing
EXPLODED DRAWING A Model No. FMEX81912.0 R0114B 103 17 79 77... - Page 27 EXPLODED DRAWING B Model No. FMEX81912.0 R0114B...
-
Page 28: How To Contact Customer Care
LIMITED WARRANTY WARRANTY PERIODS AND COVERAGE 2. Pick-up and delivery or freight charges involved with a FreeMotion Fitness warrants this product to be free from repair. defects in workmanship and material under normal use and 3. Any problem as a result of improper assembly or delivery.
Need help?
Do you have a question about the Tour de France FMEX81912.0 and is the answer not in the manual?
Questions and answers