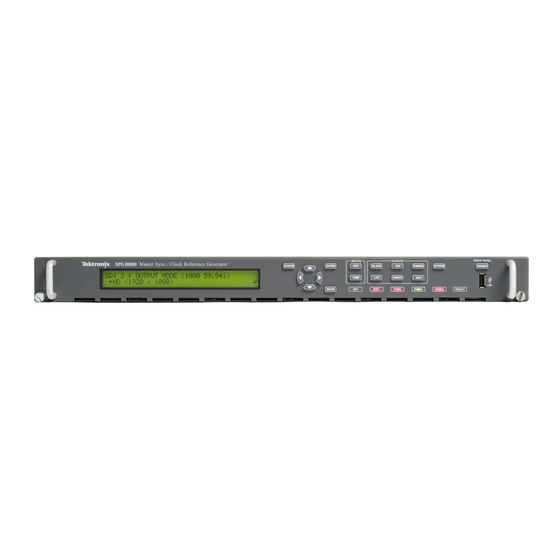
Summary of Contents for Tektronix PG8000A
- Page 1 SPG8000A, SPG8000, and SPG700 Option SDI Bracket Installation Instructions www.tek.com *P075110400* 075-1104-00...
- Page 2 Copyright © Tektronix. All rights reserved. Licensed software products are owned by Tektronix or its subsidiaries or suppliers, and are protected by national copyright laws and international treaty provisions. Tektronix products are covered by U.S. and foreign patents, issued and pending. Information in this publication supersedes that in all previously published material.
- Page 3 Service safety summary The Service safety summary section contains additional information required to safely perform service on the product. Only qualified personnel should perform service procedures. Read this Service safety summary before performing any service procedures. To avoid electric shock. Do not touch exposed connections. Do not service alone.
-
Page 4: Parts List
Installation description Installation description This document contains installation instructions for adding a retaining bracket to secure the Option SDI output boards in the following instruments: SPG8000A Master Sync / Clock Reference Generator SPG8000 Master Sync / Clock Reference Generator SPG700 Multiformat Reference Sync Generator Parts list The following table lists the parts that are needed for installation. - Page 5 Installation instructions Installation instructions These instructions are for personnel who are familiar with servicing the product. Contact your nearest Tektronix, Inc., Service Center or Tektronix Factory Service for installation assistance. WARNING. Dangerous voltages may be present. To prevent electrical shock, disconnect the power cord from the unit before starting the installation procedure.
- Page 6 Installation instructions Option SDI bracket installation Complete the following steps to secure the Option SDI output boards in the instrument: NOTE. The steps apply to the SPG8000A, SPG8000, and SPG700, but images from the SPG8000A are used to illustrate each step. 1.
- Page 7 Installation instructions 3. Push down on the SDI output cards to make sure they are fully engaged with the connectors. Figure 3: Fully engage SDI output cards 4. Place the bracket on to the two extended screws on the chassis fan. Figure 4: Place the bracket on the fan screws SPG8000A, SPG8000, and SPG700 Option SDI Bracket Installation Instructions...
- Page 8 Installation instructions 5. Install the two nuts securing the bracket to the chassis fan screws using a 7/32 inch (5.5 mm) nut driver. Torque the nuts to 5 in/lbs. Figure 5: Install the nuts on the bracket 6. Reinstall the top cover. Torque the cover screws to 5.5 in/lbs. SPG8000A, SPG8000, and SPG700 Option SDI Bracket Installation Instructions...


Need help?
Do you have a question about the PG8000A and is the answer not in the manual?
Questions and answers