Table of Contents
Advertisement
Quick Links
Advertisement
Table of Contents

Summary of Contents for Profoon Profoon TX-255
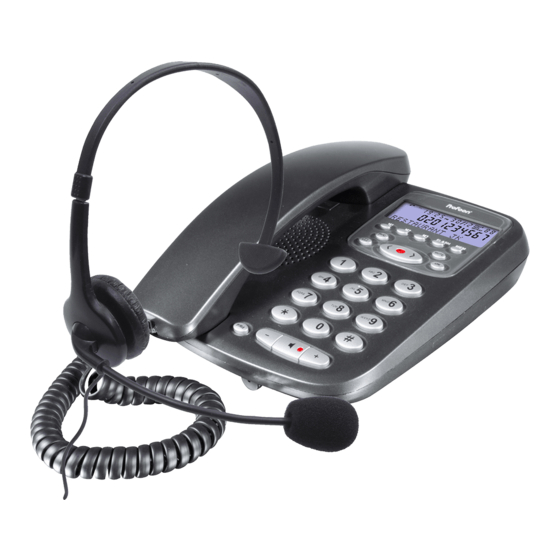
- Page 1 USER 'S MANUAL TX-255...
-
Page 2: Table Of Contents
TABLE OF CONTENTS FEATURE LIST SAFETY INSTRUCTIONS INTRODUCTION LOCATION OF CONTROLS INSTALL THE BRACKET FUNCTION BUTTONS FUNCTION OPERATIONS RECEIVING CALL RECORDS REVIEWING DISPLAY MESSAGES CALLER ID SYSTEM OPERATIONS TROUBLESHOOTING... -
Page 3: Feature List
FEATURE LIST 1. FSK and DTMF dual system Caller ID 2. Stores minimum 76 incoming calls name & number, date & time 3. Stores up to 10 outgoing calls number 4. Stores up to 70 names & numbers in phone book 5. -
Page 4: Safety Instructions
SAFETY INSTRUCTIONS To reduce the risk of fire, electrical shock, and injury, please follow these basic safety precautions before you use this equipment. Carefully read the instructions in this manual. Follow all warnings and instructions marked on the unit. When cleaning, unplug the telephone jack from the wall outlet. Use a damp cloth. -
Page 5: Check The Contents Of The Box
Using the call back feature (NOTE: If the number is blocked or is not available, it can not be call backed.) A. Call back the dialled number: The unit can store up to 10 dialled numbers. 1. In the state of on-hook, press the button once, the last dialled number will show on the LCD, then use number that you want to dial out. -
Page 6: Location Of Controls
LOCATION OF CONTROLS FLASH PQRS RD./P 1. Handset 10. Up ( 2. LCD 11. Volume + ( 3. M1~M3 button 12. In use indicator 4. Flash button 13. Speaker ( 5. Auto button 14. Volume - ( 6. Mute button 15. -
Page 7: End Of List
NO CALLS - When all calls have been deleted. The LCD will show NO CALL TOTAL & NEW CALLS - This shows you the total and new calls to be reviewed. In this example, you have a total of 4 calls which include 2 new calls and it is MONDAY. -
Page 8: Install The Bracket
INSTALL THE BRACKET 1. If you would like to put your phone on the desktop, please install the bracket as figure 1. 2. If you prefer to mount the phone on the wall, please do the following steps and see figure 2. a. -
Page 9: Date Format Selection
6. FLASH TIME SETTING Press the button to enter this setting when the LCD shows FLASH and then the current value will display. Use the button to set the flash time (100ms/120ms/300ms/ 600ms). Press the button to confirm and exit. 7. - Page 10 entry without a pause between the prefix numbers. You may have to dial 011- RD./P , dial 886 - RD./P . This allows adequate timing for the phone number to register with the telephone company's system and complete the call. 7.
-
Page 11: Lcd Contrast Setting
e. To delete a single number in the phone book: During the reviewing process, use number you want to delete, press the shows DEL? Press the button again to delete it. f. To copy the Caller ID numbers and last 10 dialled numbers to phonebook When the LCD shows the CID or last 10 dialled number, press and hold button for about 3 seconds to add the number to phonebook. -
Page 12: Phone Book
FUNCTION OPERATIONS FUNCTION OPERATION This unit contains the following special function, quickly press the button twice to enter the setting mode and press select one. The setting sequence is PHONE BOOK-LCD CONTRAST - SET TIME - SET LANGUAGE - SET AREA& LDS - SET FLASH - HOUR FORMAT- DATE FORMAT.


Need help?
Do you have a question about the Profoon TX-255 and is the answer not in the manual?
Questions and answers