Advertisement
MASTER
Operating manual
Thank you for choosing the GLUCOCARD
We have designed this compact blood glucose meter for faster and easier
testing of your blood glucose. We hope our product will help you manage your
diabetes. This manual explains how to use your new meter. Before testing,
carefully read through this manual and the package inserts that come with the
GLUCOCARD
MX BLOOD GLUCOSE TEST STRIPS and GLUCOCARD
TM
MX CONTROL. Pay particular attention to listed warnings and cautions. Please
keep this manual handy for future reference. If you have any questions, please
contact our authorized distributor at the end of this manual.
Chapter 1 Introduction
1.1 Intended Use
Your GLUCOCARD
MX and GLUCOCARD
TM
STRIPS are for quantitatively measuring the glucose level in fresh capillary
whole blood. They are intended for use outside of the body (in vitro diagnostic
use) at home or in a clinical setting as an aid to monitor and control blood
glucose levels. Do not use them to diagnose diabetes. Also, do not alter
treatment based on the test results of this meter without instructions from your
doctor or healthcare professional.
1.2 Measurement Principle
Glucose in the blood reacts with the reagent in the test strip and this produces
a small electric current. The strength of this current is proportional to the
concentration of glucose in the blood. The meter measures this current and
calculates your glucose level.
1.3 What's Included
n GLUCOCARD
MX
TM
n Carrying case
n Operating Manual (this manual)
n Simplified Manual / Information for Users
n Glucoject
Lancets No-dol (lancets)*
®
n Glucoject
Dual /Dual S (lancing device)*
®
Some kits do not include the above items with an asterisk (*).
Chapter 2 Before Tests
2.1 Important Health-Related Information
WARNING
Do not use this meter for your blood glucose testing if you are being
tested for xylose absorption. You may use this meter if you are taking PAM
(1-Methylpyridine-6-carbaldehyde oxime).
These treatments may produce higher test results than your actual
blood glucose level. Taking unnecessary measures to lower your blood
glucose level may induce severe low glucose symptoms such as coma.
MX.
TM
TM
MX BLOOD GLUCOSE TEST
TM
2.2 What You Need for Each Test
a. GLUCOCARD
b. GLUCOCARD
TM
MX (meter)
BLOOD GLUCOSE
TEST STRIPS
WARNING
Keep the meter, test strips and other items away from young children.
Small items are choking hazards.
2.3 Cautions on Using the Meter
CAUTION
n For accurate test results, allow the meter to adjust to the surroundings:
Temperature: 10 to 40°C (50 to 104°F)
Humidity: 20 to 80% RH (Relative Humidity)
for 30 minutes before testing your blood glucose.
n Do not store or use the meter where:
• There are sharp temperature fluctuations.
• Humidity is high enough to cause condensation (bathrooms, drying
rooms, kitchen, etc.).
• There is a strong electromagnetic field (microwave oven, cell phone,
etc.).
n Do not use the meter after it has been dropped in liquid or liquids have
entered inside, even if dried afterwards.
n Keep hands away from the test strip slot on the meter. A thermo sensor
is housed inside the meter to minimize detection of errors.
n Do not connect the communication cable to the connection terminal
during testing. The meter may be damaged, leading to inaccurate test
results.
n Do not apply blood directly to the test strip slot on the meter.
n Do not share your meter with anyone to avoid the risk of infection.
2.4 Cautions on Using the Test Strips
CAUTION
n Use only the GLUCOCARD
testing with the GLUCOCARD
causes inaccurate test results.
n Do not use test strips beyond their expiration date. The expiration date is
written on the test strip bottle next to "Exp.".
n For accurate test results, allow test strips to adjust to the surroundings:
Temperature: 10 to 40°C (50 to 104°F)
Humidity: 20 to 80% RH
for 20 minutes before testing your blood glucose.
n Do not use the test strips if 6 months or more have passed since
opening the bottle.
n The test strips are for single-use only. Do not use test strips that have
already absorbed blood or control solution.
NOTE
Store test strips in their original bottle to maintain quality. Do not transfer them
to other containers.
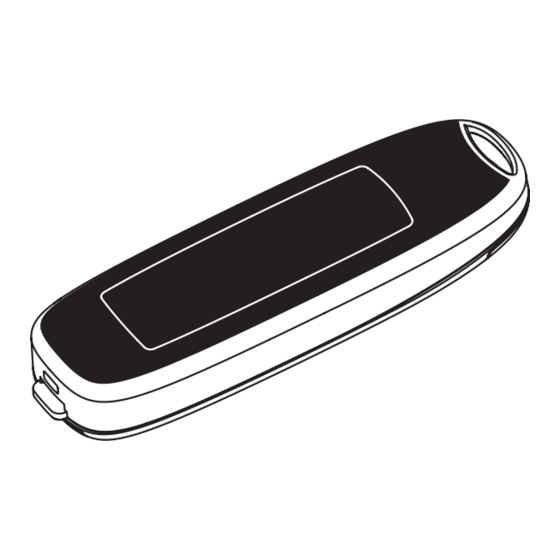
2.5 Meter Parts
Strap hole
Display
with backlight
Test strip slot with light
Insert a test strip here before
testing.
- 1 -
- 1 -
MX
c. Lancing device
TM
MX BLOOD GLUCOSE TEST STRIPS for
TM
MX. Do not use other test strips as it
TM
Battery holder
Test strip
disposal lever
Operating
button
d. Lancet
Connection
terminal
Advertisement
Table of Contents

Related Manuals for A.MENARINI GLUCOCARD MX


Summary of Contents for A.MENARINI GLUCOCARD MX
-
Page 1: Chapter 1 Introduction
MASTER 2.2 What You Need for Each Test a. GLUCOCARD b. GLUCOCARD c. Lancing device d. Lancet MX (meter) BLOOD GLUCOSE TEST STRIPS Operating manual WARNING Keep the meter, test strips and other items away from young children. Small items are choking hazards. Thank you for choosing the GLUCOCARD We have designed this compact blood glucose meter for faster and easier 2.3 Cautions on Using the Meter... - Page 2 Next ... Button Operations Go to chapter 3 “Blood Sampling”. Draw blood and apply it to the test strip no more than 5 minutes after you insert the test strip into the meter. Double beeps This manual uses the following graphic Left Right begin to sound 4 minutes and 30 seconds after inserting the test strip.
- Page 3 4. Attach the head cap to the lancing device body. When you hear a beep, remove the test strip from the blood. The test starts when the meter detects enough amount of blood. The meter counts down from 5 to 1 during the test. NOTE 5.
- Page 4 Chapter 5 Managing Your Test Results 3. View the test result you want. To go to the next result: 5.1 Flagging Test Results Flags help you categorize and identify results. To go back to the previous 1. Leave the test strip in the meter after the test result appears on the screen. result: 2.
- Page 5 Chapter 6 Useful Functions for Your Test Stopping the Clock Counter 1. Repeat steps 1 to 3 in “Before Your Meal: Starting the Clock Counter”. 6.1 Using the Alarm The alarm reminds you when to test your blood glucose. You can set the alarm to sound at 4 different times in a day.
- Page 6 Chapter 7 Meter Setup Your meter is set up as below at the time of purchase. To change the settings, see the setup mode flowchart. n Alarm: Off n Beeper volume: High (3) n Date: Current local date n Time: Current local time n Result average display: 7d n Meal amount: Off n Bar graph: Upper limit 300 mg/dL, Lower limit 50 mg/dL...
-
Page 7: Changing The Batteries
Chapter 8 Control Test Chapter 9 Meter Care 9.1 Storing Your Meter This meter checks itself every time you insert a test strip. You do not need to run frequent control tests. Do a control test if: After use, tightly close the caps of the test strip bottle and control solution bottle to maintain their quality. -
Page 8: Specifications
Chapter 10 Technical Information 10.1 Specifications Product GLUCOCARD Test item Blood glucose level Sample Fresh capillary whole blood* Sample size 0.3 μL Test strips GLUCOCARD MX BLOOD GLUCOSE TEST STRIPS Unit of measure mg/dL Test range 10 to 600 mg/dL Test time 5 seconds from blood detection Temperature... - Page 9 Operating Manual - MASTER 43125 BLACK (K 100%) 12/11 420 x 300 mm...
Need help?
Do you have a question about the GLUCOCARD MX and is the answer not in the manual?
Questions and answers