Sign In
Upload
Download
Table of Contents
Contents
Add to my manuals
Delete from my manuals
Share
URL of this page:
HTML Link:
Bookmark this page
Add
Manual will be automatically added to "My Manuals"
Print this page
×
Bookmark added
×
Added to my manuals
Manuals
Brands
Belling Manuals
Cookers
100 EI
User manual
Belling 100 EI User Manual
Hide thumbs
1
2
3
4
5
6
7
8
9
10
11
12
13
14
15
16
17
18
19
20
21
22
23
24
25
26
27
28
Table Of Contents
29
page
of
29
Go
/
29
Contents
Table of Contents
Bookmarks
Table of Contents
Countries of Destination
Disposal of Packaging Material
Safety
Warning
Using Your Appliance
Getting to Know Your Product
Hob
Control Panel
Appliance Functions
Ovens and Grill
Single Grill
Dual Grill
Top Oven/Grill
Grill
Grill Pan, Trivet and Detachable Grill Pan Handle
Hob Overview
Switching the Appliance On/Off
Switching a Cook Zone On/Off
Griddle Zone with Bridge Function
Low Temperature Setting/Keep Warm
Pause Key
Recall
Booster Function
Setting the Minute Minder
To Modify or Cancel the Minute Minder
Timer Auto Switch off
To Modify or Cancel the Auto Switch off
Additional Timer Information
To Activate Child Lock
To De-Activate the Child Lock
Auto Stand by
Appliance Errors
Clock / Programmer
Using the Touch Controls
Manual Mode
Setting the Time of Day
To Modify or Cancel the Cooking Time
Setting the Cooking Time
Setting the End of Cooking Time
To Modify or Cancel the End of Cooking Time
Setting the Volume
Activating / Deactivating Key Lock
To Deactivate the Key Lock
Removing Shelf Runners
Standard Shelves
Removing Telescopic Shelves
Changing the Light Bulb
Additional Features
Plate Rack
Cleaning Your Appliance
Technical Data
Electric Range
Advertisement
Quick Links
1
Hob
2
Using Your Appliance
3
Control Panel
4
Ovens and Grill
5
Clock / Programmer
6
Technical Data
Download this manual
USER
GUIDE
A commitment to:
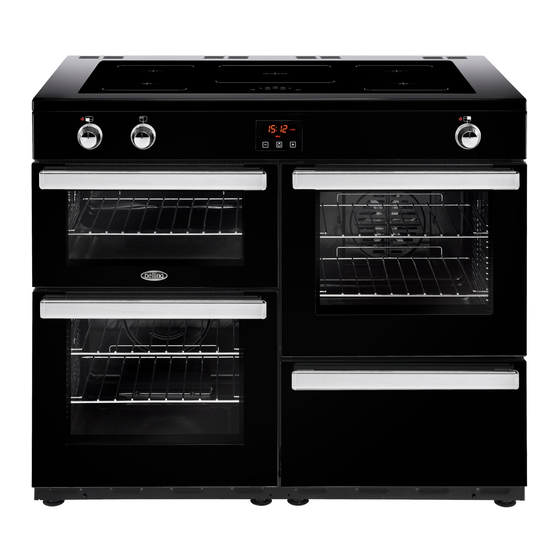
Belling 100/110 Ei Range
Part Number: 083596201
Date: 11/08/16
Table of
Contents
Previous
Page
Next
Page
1
2
3
4
5
Advertisement
Table of Contents
Need help?
Do you have a question about the 100 EI and is the answer not in the manual?
Ask a question
Questions and answers
Related Manuals for Belling 100 EI
Cookers Belling 100 Users Manual & Installation Handbook
Belling cooktop user manual (35 pages)
Cookers Belling 100 GT Users Manual & Installation Handbook
(34 pages)
Cookers Belling Baby Belling 121R Installation And User Instructions Manual
Belling cooktop user manual (9 pages)
Cookers Belling Cookcenter 129 Installation & User's Instructions
Dual fuel cooker (45 pages)
Cookers Belling RICHMOND 1100 DF Service Manual
(82 pages)
Cookers Belling COUNTRY CLASSIC 100 E Users Manual & Installation Handbook
Belling cooktop user manual (31 pages)
Cookers Belling 110 EI User Manual
(29 pages)
Cookers Belling Richmond Users Manual & Installation Handbook
(52 pages)
Cookers Belling 900Ei User Manual
(73 pages)
Cookers Belling Fusion 136 Installation & User's Instructions
(40 pages)
Cookers Belling Cookcenter Series Installation & User's Instructions
Natural gas/lpg (40 pages)
Cookers Belling Cookcenter 150 Installation & User's Instructions
(40 pages)
Cookers Belling Cookcentre 110DFT User Manual
(25 pages)
Cookers Belling Farmhouse 100DF User Manual
(25 pages)
Cookers Belling Cookcentre 100G User Manual
(25 pages)
Cookers Belling 644 Installation And User Instructions Manual
Electric slot-in cookers (41 pages)
This manual is also suitable for:
110 ei
Table of Contents
Print
Rename the bookmark
Delete bookmark?
Delete from my manuals?
Login
Sign In
OR
Sign in with Facebook
Sign in with Google
Upload manual
Upload from disk
Upload from URL


Need help?
Do you have a question about the 100 EI and is the answer not in the manual?
Questions and answers