Table of Contents
Advertisement
Quick Links
Advertisement
Table of Contents

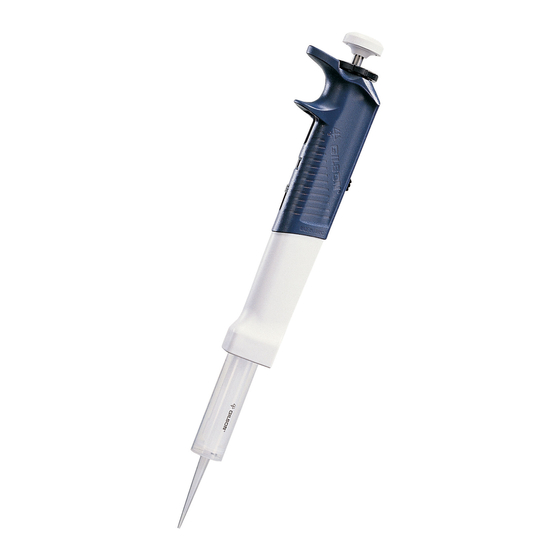
Related Manuals for Gilson DISTRIMAN


Summary of Contents for Gilson DISTRIMAN
- Page 1 User’s Guide...
- Page 2 ® Replace the DISTRITIP retaining spring | 15 Replace the Piston Retaining Assembly | 16 Replace the Red Flag | 16 Replace the COLORIS | 17 DECONTAMINATION | 17 SPARE PARTS | 18 WARRANTY | 19 TABLE OF CONTENTS DISTRIMAN®...
-
Page 3: Introduction
Chapter 1 INTRODUCTION DISTRIMAN® is a continuously adjustable repeater pipette designed to dispense precise aliquots of liquid safely. The DISTRIMAN can quickly transfer volumes from 1 µL to 1.25 mL, depending on the capacity of the DISTRITIP (positive displacement ®... -
Page 4: Operation
Chapter 2 OpERATION Description Push Button Unit Indicator Adjustment Ring Selector Switch Parallax-limiting Red Flag Digital Volumeter Filling Knob DISTRITIPS Figure 1 DISTRIMAN Description OPERATION DISTRIMAN®... -
Page 5: Select The Distritip
DISTRITIP fitted. For example, the DISTRITIP Micro is ideal for filling a 96-well microplate. The syringe capacity is 125 µL, so the DISTRIMAN can dispense at least 96 aliquots of 1 µL Volume in Syringe... -
Page 6: Fit The Distritip
Hold the DISTRITIP in your other hand, place the end of the piston into the body of the DISTRIMAN at a right-angles to the main axis Gently rotate the DISTRITIP downwards with the other hand... -
Page 7: Select The Volume Range
DISTRITIP fitted. The volume range indicator, volume units (µL are in black and mL are in red), and decimal point indicator of the volumeter, are all switched by this action. Figure 3 Set the Volume Range DISTRIMAN® USER’S GUIDE... -
Page 8: Set The Aliquot Volume
Pull up the black adjustment ring , refer to Figure 3 on page 7. With your DISTRIMAN in one hand, turn the adjustment ring with the other hand until the volumeter shows the required value, taking care that the marker is correctly aligned with the scale on the bottom dial. -
Page 9: Lock The Selected Volume
Push the filling knob down to the lowest possible position, using your thumb. Immerse the end of the DISTRITIP into the liquid to be aspirated. Ensure that the tip remains about 2 mm below the surface of the liquid. DISTRIMAN® USER’S GUIDE... -
Page 10: Dispense The Aliquots
(or refill it). You may purge the syringe at any time by placing the tip into a suitable recipient vessel and then pushing filling knob downwards to its lowest possible position. OPERATION DISTRIMAN®... -
Page 11: Recommendations
“wipe” the DISTRITIP against the side of the recipient vessel. After changing the DISTRITIP or resetting the volume, discard the first aliquot. Never try to force the volumeter beyond the recommended volume ranges. DISTRIMAN® USER’S GUIDE... -
Page 12: Specifications
Gilson DISTRITIpS, of which the fine points results from high quality molding. Each DISTRIMAN is engraved with a unique serial number, allowing you to keep track of individual pipettes, in accordance with GLP. The serial number is also printed on the warranty card. - Page 13 Gilson certifies that its manufactured pipettes comply with the requirements of the ISO 8655 Standard, by type testing. The adjustment is carried out under strictly defined and monitored conditions (ISO 8655-6): ● Basis of adjustment, (Ex.) ● Reference temperature, 20°C ●...
-
Page 14: Maintenance
Replace the Push Button Assembly Perform the following steps to replace the push button assembly. Hold the DISTRIMAN in one hand and pull the push button assembly gently in the axial direction to remove it. Fit the new push button assembly by placing... -
Page 15: Replace The Distritip ® Retaining Spring
However, make sure that spring goes all the way back into the body of the DISTRIMAN. It may be necessary to apply moderate lateral force to the ends of the spring to make sure that they are located in their retaining slots. -
Page 16: Replace The Piston Retaining Assembly
Move the filling knob towards the upper position to separate it from the assembly. Pull the assembly out of the neck of the DISTRIMAN, taking care not to lose the small red flag. Return the filling knob to the upper position. -
Page 17: Decontamination
Push the COLORIS all the way down into position. Chapter 6 DECONTAMINATION You are advised to take the following steps to decontaminate DISTRIMAN. You can use the following disinfectants: ● A solution of 10% sodium hypochloride ● CIDEX (Johnson & Johnson). -
Page 18: Spare Parts
Chapter 7 SpARE pARTS Contact your Gilson representative to NOTE order spare parts. MODEL DESCRIPTION PART NUMBER Push button assembly page 7 F164040 Piston retaining assembly page 14 F164070 Red flag (pack of 5) page 14 F164042 Retaining spring page 14... -
Page 19: Warranty
This warranty shall also be void in the event pipettes are altered or modified by any party other than Gilson or its designates. Gilson’s sole liability under this warranty shall be limited to, at Gilson’s sole... - Page 20 LT801285/L | ©2017 Gilson, Inc. All rights reserved.
Need help?
Do you have a question about the DISTRIMAN and is the answer not in the manual?
Questions and answers