Table of Contents
Advertisement
Quick Links
NORTH AMERICA
3130 East Miraloma Avenue
Anaheim, CA 92806 USA
USA and Canada –
Phone: 800-368-9700
Fax: 800-832-4888
Other Locations – Phone: (001)-714-632-7100; Fax: (001)-714-632-1044
©Premier Mounts 2008
9530-007-003-00
INSTALLATION INSTRUCTIONS
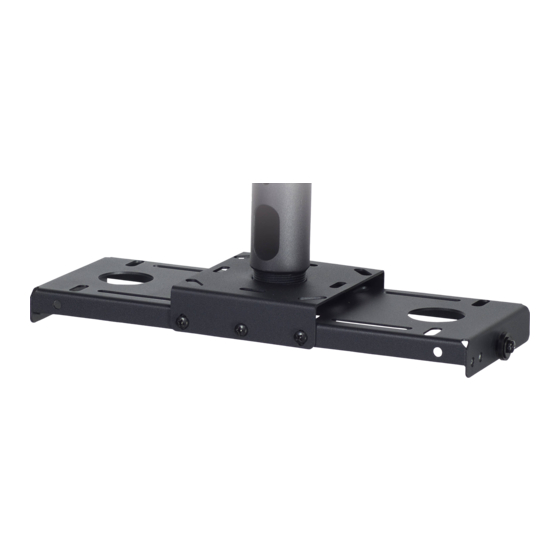
PBM-070L
EUROPE
Swallow House,
Shilton Industrial Estate,
Shilton, Coventry, England CV79JY
Phone: +44 (0) 2476 614700
Fax: +44 (0) 2476 614710
AUSTRALIA, NEW ZEALAND, OCEANIA
(DISTRIBUTOR)
P.O. Box 295
Mordialloc Victoria 3195
Australia
Phone: 039586 6330
www.premiermounts.com.au
Advertisement
Table of Contents

Summary of Contents for Premier Mounts PBM-070L
- Page 1 NORTH AMERICA 3130 East Miraloma Avenue Anaheim, CA 92806 USA USA and Canada – Phone: 800-368-9700 Fax: 800-832-4888 Other Locations – Phone: (001)-714-632-7100; Fax: (001)-714-632-1044 ©Premier Mounts 2008 9530-007-003-00 PBM-070L EUROPE Swallow House, Shilton Industrial Estate, Shilton, Coventry, England CV79JY...
-
Page 2: Table Of Contents
PBM-070L WARNING STATEMENTS ... - 2 - PARTS LIST ... - 3 - INSTALLATION TOOLS ... - 3 - PROJECTOR BRACKET INSTALLATION... - 4 - CEILING INSTALLATION... - 5 - PROJECTOR ADJUSTMENT ... - 7 - TECHNICAL SPECIFICATIONS ... - 8 - WARRANTY ... -
Page 3: Parts List
This mount is shipped with all proper installation hardware and components. Make sure that none of these parts are missing and/or damaged before beginning installation. If there are parts missing and/or damaged, please stop the installation and contact Premier Mounts 800-368-9700. Base Box (Qty 1) Jam Nut (Qty 1) ¼”... -
Page 4: Installation Manual
PBM-070L Projector Bracket Installation Step 1. Invert the projector and place it on a soft and flat surface. Remove any foot levelers that might possibly prevent the correct installation of the bracket. Step 2. Locate the eight mounting points located on the bottom of the projector. -
Page 5: Installation Manual
Step 4. Replace the base box to the secured top bridge and secure with the six M6 x 12 mm screws (C). Installation Manual Wood Stud Top Bridge Lag Bolts (Commercially Available) Base Box PBM-070L Ceiling Structure Page - 5 -... - Page 6 PBM-070L Step 5. Loosely install the hinge pin screws, flat washer and nylon spacer to each side of the base box. Step 6. Slide the nylon spacer and the flat washer to the back of the screws. Step 7. Raise the mounting bracket and attached projector to the base box and insert the hinge-pins through the hinge-pin openings.
-
Page 7: Projector Adjustment
If installing a PBM-070L from the ceiling structure, please refer to the installation instructions that are included with those mounts. Step 10. Install the jam screw all the way up to the end of the threads of the threaded PBM-070L. -
Page 8: Technical Specifications
PBM-070L Technical Specifications All measurements are inches (mm). All base boxes feature the following adjustments to facilitate ease of installation: Tilt of ±6° from center Roll of ±3° from center Yaw of ±360° when used with 1 ½" or 1" mount threaded pipe Direct mating with standard 1 ½"... -
Page 9: Installation Manual
What Premier Mounts Will Do At the sole option of Premier Mounts, Premier Mounts will repair or replace any product or product part that is defective. If Premier Mounts chooses to replace a defective product or part, a replacement product or part will be shipped to you at no charge, but you must pay any labor costs.


Need help?
Do you have a question about the PBM-070L and is the answer not in the manual?
Questions and answers