Sign In
Upload
Download
Table of Contents
Contents
Add to my manuals
Delete from my manuals
Share
URL of this page:
HTML Link:
Bookmark this page
Add
Manual will be automatically added to "My Manuals"
Print this page
×
Bookmark added
×
Added to my manuals
Manuals
Brands
Snorkel Manuals
Lifting Systems
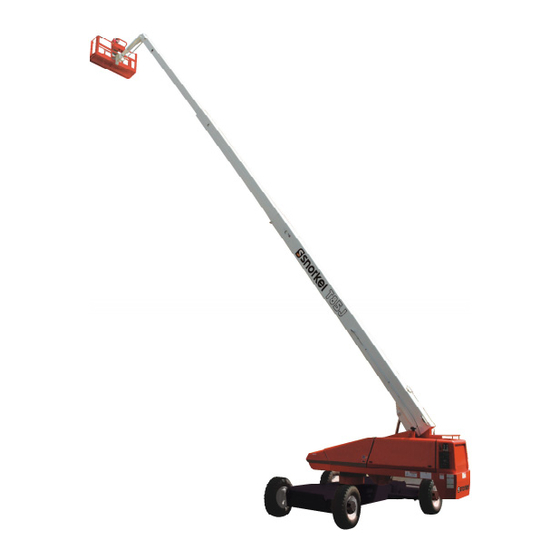
TB80
Operator's manual
Snorkel TB80 Operator's Manual
Hide thumbs
1
2
3
4
5
6
7
8
9
10
11
12
13
14
15
16
17
18
19
20
21
22
23
24
25
26
27
28
29
30
31
32
33
34
35
36
37
38
39
40
41
42
43
44
45
46
47
48
49
50
51
52
53
54
55
56
57
58
59
60
61
62
63
64
65
66
67
68
69
70
Table Of Contents
71
page
of
71
Go
/
71
Contents
Table of Contents
Bookmarks
Table of Contents
Aerial Platform Features
Maintenance
Component Identification – TB80
Component Identification – TB85J
Working Envelope – TB80
Working Envelope – TB85J
General Specifications – TB80
General Specifications – TB85J
Engine Specifications
Engine Oil Viscosity
Electrocution Hazards
Prestart Inspection
Electrical System
Placards and Decals
Emergency Stop Controls
Axle/Boom Interlock
Platform Overload Sensing System
Horn
Hour Meter
Engine Oil
Battery Disconnect Switch
Start Switch
Platform Rotate Switch
Upper Controls
Drive Range Switch
Platform Foot Switch
Operator's Manual
Fuel Tank
Battery Fluid Level
Hoses, Tubes, and Fittings
Lower Control Station
Level Sensor
Wire Ropes
Upper Control Station
Emergency Stop
Prestart Inspection Checklist
Cold Weather Start-Up
Deutz — Manifold Preheater
Axle Controls
Retracting the Rear Axles
Platform Overload Sensing System
Drive Speeds
AC Generator
Stowing
Driving
Hoisting
Securing for Transport
Emergency Power System
Emergency Lowering
Troubleshooting Chart
Advertisement
Quick Links
1
Maintenance
2
Electrical System
3
Troubleshooting Chart
Download this manual
011 2567
Part Number 0112622EE
August, 2005
Oper
Oper a a a a a tor'
Oper
Oper
Oper
Manual
Manual
Manual
Manual
Manual
tor'
tor' s s s s s
tor'
tor'
Table of
Contents
Previous
Page
Next
Page
1
2
3
4
5
Advertisement
Table of Contents
Need help?
Do you have a question about the TB80 and is the answer not in the manual?
Ask a question
Questions and answers
Related Manuals for Snorkel TB80
Lifting Systems Snorkel TB42 Operator's Manual
(68 pages)
Lifting Systems Snorkel TB50 Operator's Manual
(68 pages)
Lifting Systems Snorkel TM12 Service And Parts Manual
(90 pages)
Lifting Systems Snorkel TM12 Service Manual
(107 pages)
Lifting Systems Snorkel TM12 Series Operator's Manual
(50 pages)
Lifting Systems Snorkel TB85J Operator's Manual
(71 pages)
Lifting Systems Snorkel PRO 126 Calibration Manual
(46 pages)
Lifting Systems Snorkel TL37 Operator's Manual
(52 pages)
Lifting Systems Snorkel TL49J Manual
(143 pages)
Lifting Systems Snorkel TM12E Repair Parts Manual
(232 pages)
Lifting Systems Snorkel TB66J Repair Parts Manual
(776 pages)
Lifting Systems Snorkel TL37J Parts Manual
(170 pages)
Lifting Systems Snorkel SL20 Operator's Manual
Battery powered (50 pages)
Lifting Systems Snorkel A38E Operator's Manual
Aerial work platform serial number 007300 + (30 pages)
Lifting Systems Snorkel MHP15/44 Operator's Manual
Engine powered gasoline/diesel battery electric (62 pages)
Lifting Systems Snorkel MB26J Operator's Manual
(32 pages)
This manual is also suitable for:
Tb85j
Table of Contents
Print
Rename the bookmark
Delete bookmark?
Delete from my manuals?
Login
Sign In
OR
Sign in with Facebook
Sign in with Google
Upload manual
Upload from disk
Upload from URL


Need help?
Do you have a question about the TB80 and is the answer not in the manual?
Questions and answers