Table of Contents
Advertisement
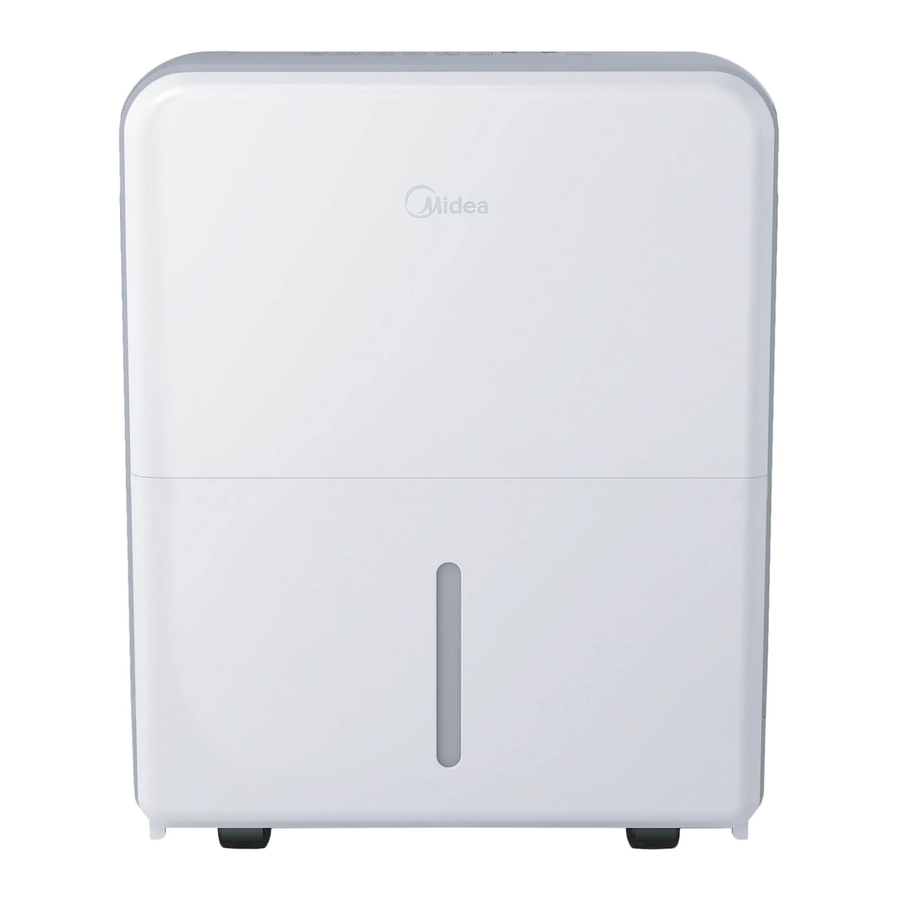
Dehumidifier
MDP
Rated voltage: 115V
Rated power: 295 ~ 690W
Frequency: 60Hz
Moisture
removal: 30 ~ 70 Pints/day
Warning notices: Before
using this product, please
read this manual carefully
and keep it for future
reference.
The design and
specifications are subject to
change without prior notice
for product improvement.
Consult with your dealer or
manufacturer for details.
version A - 05 - 2017
USER MANUAL
MDP30SR71
MDP50SR71
MDP70SR71
MDP70PR71
(w/ pump)
www.midea.com
en
Advertisement
Table of Contents

Related Manuals for Midea MDP30SR71


Summary of Contents for Midea MDP30SR71
-
Page 1: User Manual
Warning notices: Before using this product, please read this manual carefully and keep it for future reference. The design and specifications are subject to MDP30SR71 change without prior notice MDP50SR71 for product improvement. MDP70SR71 Consult with your dealer or MDP70PR71 manufacturer for details. -
Page 2: Table Of Contents
Owner’s Manual Safety Precautions ................3 Unit Specifications and Features ........... 6 Operating Instructions ..............8 Installation Instructions ..............14 Care and Cleaning ................15 Troubleshooting Tips ..............16 Read This Manual Inside you will find many helpful hints on how to use and maintain your air conditioner properly. -
Page 3: Safety Precautions
Safety Precautions To prevent injury to the user or other people and property damage, the instructions shown here must be followed. Incorrect operation due to ignoring of instructions may cause harm or damage. The level of risk is shown by the following indications. This symbol indicates the possibility of death or serious injury. - Page 4 CAUTION • Do not use the unit in small spaces. Lack of ventilation can cause overheating and fire. • Do not use in places where water may splash onto the unit. Water may enter the unit and degrade the insulation. It may cause an electric shock or fire.
- Page 5 WARNING - Electrical Information • The manufactures nameplate is located on the rear panel of the unit and contains electrical and other technical data specific to this unit. • Be sure the unit is properly grounded. To minimize shock and fire hazards, proper grounding is important.
-
Page 6: Unit Specifications And Features
Unit Specifications and Features Product overview F r o n t R e a r Control panel Air outlet Panel Air intake Air filter (behind the grill) Continuous Water bucket drain hose outlet Power cord buckle Water level (placed in the water window bucket, used only Pump drain... -
Page 7: Specifications
Specifications MDP70PR71 MDP70PR71 MODEL MODEL MDP30SR71 MDP30SR71 MDP50SR71 MDP50SR71 MDP70SR71 MDP70SR71 (w/ pump) (w/ pump) Power supply Ph-V-Hz 1Ph, 115V-, 60Hz 1Ph-115V-60Hz 1Ph-115V-60Hz 1Ph-115V-60Hz Moisture Pints/day removal Rated input Performance Rated current Energy L/kWh factor Starting current Refrigerant R-410A R-410A... -
Page 8: Operating Instructions
Operating Instructions CAUTION Clean your unit occasionally to keep it looking new. Be sure to unplug the unit before cleaning to prevent chock or fire hazards. Key Pad Features Clean filter Continuous operation indicator light on indicator light Comfort Auto defrost High fan Bucket Timer... -
Page 9: Other Features
(CONTINUE) Button ES - Tube Temperature sensor of the evaporator error - Unplug the unit Press to activate the continuous and plug it back in. If error persists, dehumidifying operation. contact Customer Service. (TURBO) Button P2 - Bucket is full or bucket is not in right Control the Turbo speed. - Page 10 Other Features (cont.) Wait 3 minutes before resuming operation After the unit has stopped, it can not be restarted in the first 3 minutes to protect compressor operation. The unit will restart automatically after 3 minutes. Auto-Restart If the unit stops unexpectedly due to a power cut, it will restart with the previous function setting automatically when the power resumes.
-
Page 11: Removing Collected Water
Removing Collected Water There are three ways to remove collected water: 1. Use the bucket • When the unit is off,if the bucket is full, the Full 1. Pull out the bucket. indicator light will light. • When the unit is on,if the bucket is full, the compressor and the fan turn off, and the Full indicator light will light, the digital display shows P2. - Page 12 2. Continuous draining • Water can be automatically emptied into a floor drain by attaching the unit with a water hose (Id Ø 5/16”, not included) with a female threaded end (ID: M = 1”, not included). • Remove the plastic cover from the back drain outlet of the unit and set aside, then insert the drain hose Remove the through the drain outlet of the unit and lead the...
- Page 13 NOTE The pump may generate a loud noise when it starts to work for 3 ~ 5 minutes. • Make sure the hose is secure so there are no leaks. • Direct the hose toward the drain, making sure that there are no kinks that will stop the warter flowing.
-
Page 14: Installation Instructions
Installation Instructions Positioning the Unit A dehumidifier operating in a basement will have little or no effect in drying an adjacent enclosed storage area, such as a closet, unless there is adequate circulation of air in and out of the area. (See Fig. 13) •... -
Page 15: Care And Cleaning
Care and Cleaning Turn the dehumidifier off and disconnect the plug from the wall before cleaning. 1. Clean the Grill and Case • Use water and a mild detergent. Do not use bleach or abrasives. • Do not splash water directly onto the unit. Doing so may cause an electrical shock, cause the insulation to deteriorate, or cause the unit to rust. -
Page 16: Troubleshooting Tips
Troubleshooting Tips Before calling for service, review this list. It may save you time and money. This list includes common occurrences that are not the result of defective workmanship or materials in this appliance. Problem Solution Make sure the dehumidifiers plug is connected firmly into the wall outlet. Check the house fuse/circuit breaker box.
Need help?
Do you have a question about the MDP30SR71 and is the answer not in the manual?
Questions and answers