Subscribe to Our Youtube Channel
Summary of Contents for Canyon CNS-SW6
-
Page 1: Table Of Contents
TABLE OF CONTENTS INTRODUCTION AFETY RECAUTIONS ACKAGE ONTENTS EVICE VERVIEW UTTON PERATION UMMARY BASIC OPERATION REAL TIME MODE ALARM TIME MODE NABLING AILY LARM OURLY HIME LARM ETTINGS CHRONOGRAPH MODE TARTING TOPPING HRONOGRAPH ECORDING ECALLING TIMER MODE ELECTING TARTING IMER ETTINGS ALTIMETER MODE PERATING... -
Page 2: Introduction
To fully utilize the functions and features of CANYON CNS-SW6, please read through the user manual carefully before using the product, and follow all of the procedures in the manual to fully enjoy all features of the product. -
Page 3: Package Contents
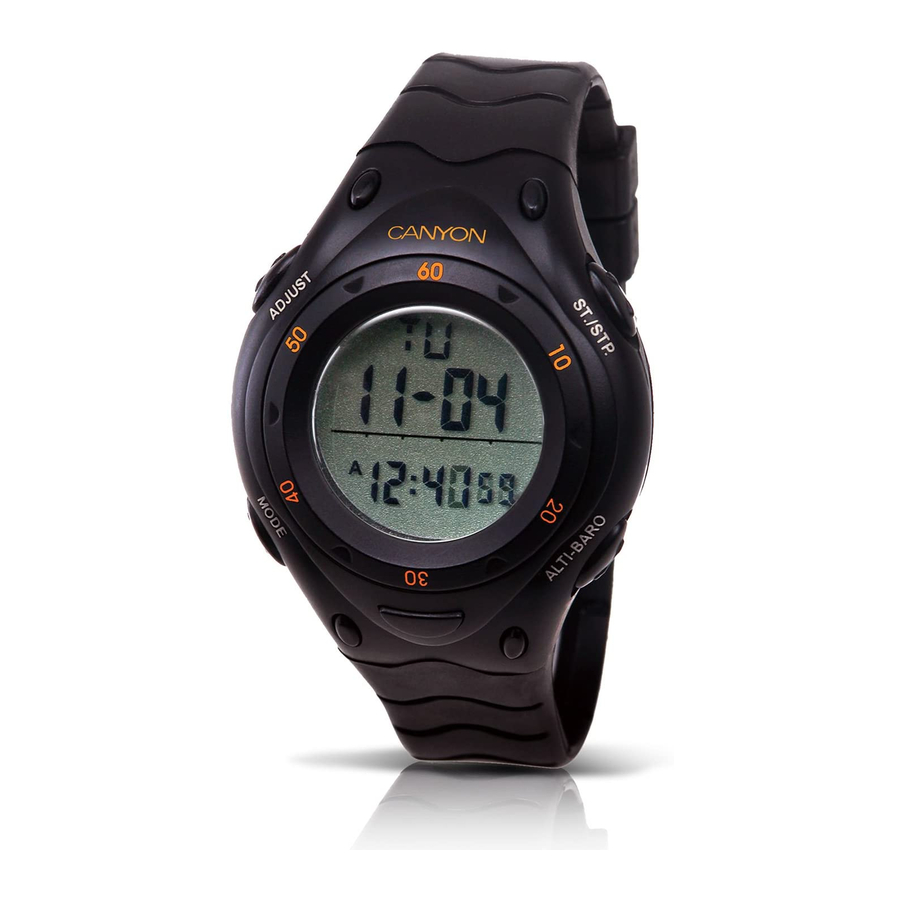
Package Contents Product Image Item Name CANYON CNS-SW6 Main Unit Quick Guide Documentation CD Device Overview ADJUST ST./STP. Button Button MODE Mode ALTI-BARO Button Button Button LIGHT Button... -
Page 4: Button Operation Summary
Button Operation Summary MODE Button Press to cycle through 4 functional modes. During Settings Mode, press to cycle through different settings. ADJUST Button Press and hold to enter settings mode. Press to recall lap memories in Chronograph Mode. ST./STP. Button Press to start/stop time counting in Chronograph and Timer Mode. -
Page 5: Basic Operation
Basic Operation CANYON CNS-SW6 is a multi-functional watch device that contains 4 functional modes including Real Time Mode, Alarm Time Mode, Chronograph Mode, and Timer Mode and 2 sensor modes including Altimeter Mode and Barometer Mode. Press MODE to cycle through 4 functional modes and ALTI-BARO to toggle between Real... -
Page 6: Real Time Mode
Real Time Mode Time and Date Settings Press and hold ADJUST for 2 seconds to enter Settings Mode. Press ST./STP. to cycle through different digits and settings. Press ALTI-BARO to adjust values and switch between time formats. Press ADJUST to save modified settings and exit Settings Mode. -
Page 7: Alarm Time Mode
Alarm Time Mode Enabling Daily Alarm/Hourly Chime Upon entering, Alarm Time Mode indicator ALM will be displayed at the side of screen. Press ST./STP. to switch between daily alarm1 and daily alarm2 display. Press ALTI-BARO to switch daily alarms on/off and hourly chimes at daily alarm1 or daily alarm2 display. -
Page 8: Chronograph Mode
Chronograph Mode Starting/Stopping Chronograph Upon entering, the Chronograph Mode indicator CHR will be displayed at the side of screen. The device measures elapsed time and lap times. Press ST./STP. to start counting. Press the button again to stop counting and the elapsed time will be displayed on the screen. -
Page 9: Timer Mode
Timer Mode Selecting Starting Time Upon entering, the Timer Mode indicator TMR will be displayed at the side of screen. Press ALTI-BARO to select 1 of 4 preset starting time value and user preset starting time value. Press ST./STP. to start count down. The residual time will be displayed on the screen. -
Page 10: Altimeter Mode
Altimeter Mode Operating Altimeter Press ALTI-BARO at Real Time Mode to cycle through Altimeter Mode and Barometer Mode. The current temperature/altitude/ time is displayed at the top/ middle/bottom row of device screen. NOTE: To obtain more accurate readings, please keep the device away from body which will minimize effect of body heat. -
Page 11: Relative Altitude Adjustment
Relative Altitude Adjustment Relative altitude is the difference between current altitude and the altitude of a specific altitude level. Press and hold ADJUST for 2 seconds to adjust altitude. Press ST./STP. to shift through different digits and press ALTI-BARO to adjust values to “zero”. -
Page 12: Barometer Mode
Barometer Mode Press ALTI-BARO at Real Time Mode to cycle through Altimeter Mode and Barometer Mode. The current temperature/pressure/ time is displayed at the top/ middle/bottom row of device screen. NOTE: To obtain more accurate readings, please keep the device away from body which will minimize effect of body heat. -
Page 13: Maintenance
Maintenance It is recommended to replace a new battery (CR-2032) when the low battery indicator appears on the screen display.


Need help?
Do you have a question about the CNS-SW6 and is the answer not in the manual?
Questions and answers