Advertisement
The BioVID HD 1080+ microscope camera does it all! Connect the camera to any trinocular microscope via
C-mount threading, and plug the HDMI cable into any large screen HDTV for amazing resolution and fast-action
video (60fps). Use the included USB cable and advanced imaging software to save and edit images and videos
on your computer. Or save images and videos to the included SD card for portability and future use. The BioVID
1080+ has 1920x1080 resolution, increased sensitivity, low-noise, and great color rendition – creating stunning,
high-resolution images with smooth live-image display. Whether in a large lecture hall, a classroom, the laborato-
ry, or the clinic, the BioVID HD 1080+ will ensure clients and students see microscope images clearly.
Unpacking and Setup
The BioVID HD 1080+ comes delivered in a box with the following parts. If any parts are missing, please contact
your distributor or LW Scientific promptly.
• HDMI cable
• 8G SD card
• Power adapter
• USB Mouse with 1.3m cable
• USB220-ATA l USB2.0 A cable - 2 meter
• CD with Camera Driver and Software
Please read and complete the warranty form online at LWScientific.com/warranty_form. The warranty form doc-
uments your purchase. Failure to fill out the warranty form may void any warranty claims on the unit.
P. 770.270.1394
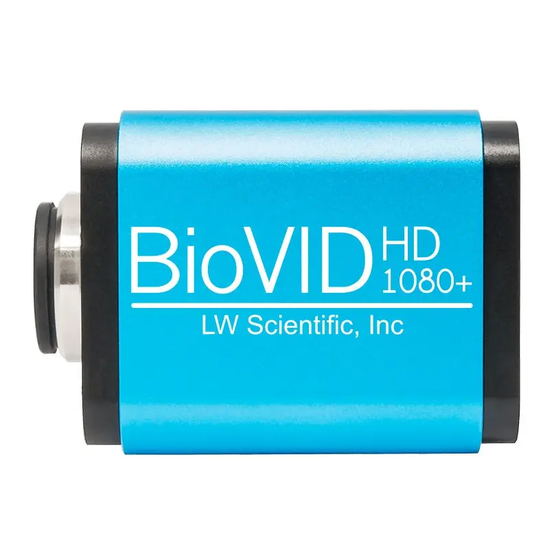
BioVID HD 1080+ Camera
BioVID HD 1080+ Camera
F. 770.270.2389
865 Marathon Parkway Lawrenceville GA 30046
Instruction Manual
Advertisement
Table of Contents

Related Manuals for LW Scientific BioVID


Summary of Contents for LW Scientific BioVID
- Page 1 (60fps). Use the included USB cable and advanced imaging software to save and edit images and videos on your computer. Or save images and videos to the included SD card for portability and future use. The BioVID 1080+ has 1920x1080 resolution, increased sensitivity, low-noise, and great color rendition – creating stunning, high-resolution images with smooth live-image display.
- Page 2 Setting Up Your Camera Mounting camera to microscope: Remove all camera components and set them on a secure, clean surface. Next, take the camera out of the packaging. If your microscope or stereoscope has a trinocular head, simply screw the camera onto the C-Mount. If you have a binocular scope, you will need the optional eye tube adapter (part number MVP-ADAO-ETCM) to allow you to insert the camera into one of the binocular eye tubes..
- Page 3 If you purchased the BioView Monitor for your camera, please follow the below steps to install the unit. If you did not purchase the BioView Monitor, you can skip this section. Before installing the monitor to your BioVID camera, install camera on your microscope’s trinocular C mount threading.
- Page 4 Operation - HDMI Output Place a slide on your microscope and bring the specimen into focus. Make certain your BioVID HD 1080+ is installed according to the HDMI directions above and that both the camera and TV are powered on. Toggle through the “INPUT”...
- Page 5 Other settings such as Sharpness, Denoise, Saturation, Gamma, and Contrast can be adjusted by moving the sliders. Tool Bar: Move the USB mouse to the bottom of the TV Screen to reveal the icons below on the Tool Bar. Digital zoom in function Digital zoom out function Horizontally flip image Vertically flip the image...
- Page 6 The Software should automatically install a short cut on either your desktop or on the start menu. If it does not, look under “All Programs” in the START Menu, and find the LW Scientific folder. Open the software from there, or right click on the icon, and send a shortcut to the desktop for easy access.
- Page 7 To begin capturing images, click on device (XCAM1080PHA) under “Camera List.” At this point, the screen should be showing a live image from the microscope. If not, look at the microscope head and check if there is a pull knob that directs light up to the trinocular head. Capture and Resolution: Use the drop-down boxes to select your resolution.
- Page 8 General Precautions and Maintenance Treat your BioVID as you would any high-quality electronic device. Handle it with care, and do not expose it to moisture or extreme temperatures. Do not touch the chip inside the camera. If you see spots on the screen, there is likely dust on the chip. This can be cleaned by blowing canned air into the camera.
Need help?
Do you have a question about the BioVID and is the answer not in the manual?
Questions and answers