Advertisement
Quick Links
Advertisement

Subscribe to Our Youtube Channel
Related Manuals for Elba VETRO EDDH-C9046STSS


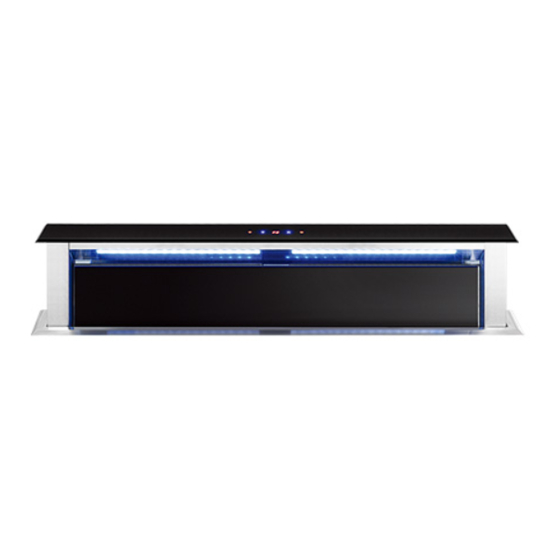
Summary of Contents for Elba VETRO EDDH-C9046STSS
- Page 1 Down draft Hood Instructions...
-
Page 2: Important Safety Instructions
IMPORTANT SAFETY INSTRUCTIONS PLEASE READ ALL INSTRUCTION BEFORE USING SAFETY PRECAUTIONS WARNING! To reduce the risk of fire, electric shock or injury to persons, observe the following: A. Use this unit only in the manner intended by the manufacturer. If you have questions, please contact the manufacturer. - Page 3 L. range hood should not be routed to the exhaust gas for exhaust gas or other fuels used in hot flue smoke. M. directly against the fire roasting hood. N. If the power cord is damaged, can only use the company's dedicated power line replacement. O.
- Page 7 Installation Instructions BEFORE YOU BEGIN Read these instructions completely and carefully. ● IMPORTANT – Save these instructions for local inspector’s usage. ● Note to installer – Be sure to leave these instructions with the Consumer. ● Note to Consumer – Keep these instructions for future reference. ●...
- Page 8 you turn the box according to your requirements in a certain direction can (Fig.9)) 6 out of the wind pipe connected using the supplied screws (screw package) 3 2.2 * 6.5 a fixed cast in the wind the other end into the vent or outdoor Figure (Fig.14). External motor installation method: (1) Refer to Figure Fig.2 open mounting holes on the stove: a) If you want to install the hood decorative panels flush with cooker, Fig.3 diagram to open the...
- Page 9 the activated carbon filter, the filter depending on the frequency of use. Two. Cleaning grease filter 1, the glass will gently pull, release the lock, and then glass raised up. 2 Press and hold the filter button hand and pull it forward, when the filter to leave the filter holes, and then filter out.
- Page 10 Danger: 1. When the decline of the hood Do not hand on the decorative board to avoid panel will hand pinch. Figure (Fig.20) below 2. When the smoke rise or drop from time to time to ensure that the hood there is no other hindered items to avoid crushing the hood, or tear down the other items, other items such as pot handle, spoon, etc.
- Page 11 Fig.22 Instruction pattern: Fig.22 A == Lamp B == Stalls 1 / regulation / off C == The digital display(Timing and gear display) D == Stalls 3/ regulation / off E == Lift button CAUTION: Only when the E button indicator lights, suction outlet during the ascent to set the start function (stall, delay, lamps and other functional parts) any other circumstances can not be set other function keys。...
-
Page 12: Troubleshooting
To connect the duct 1. Install a duct, in accordance with the direction towards the air flow to connect. 2. Connected to pipe with a metal screw security. 3. In order to seal does not leak, duct tape to the pipe connected. Statement of the manufacturer refused to accept any responsibility for the consequences of any violation of operating procedures Troubleshooting... - Page 13 Correct Disposal of this product This marking indicates that this product should not be disposed with other household wastes throughout the EU. To prevent possible harm to the environment or human health from uncontrolled waste disposal, recycle it responsibly to promote the sustainable reuse of material resources.
Need help?
Do you have a question about the VETRO EDDH-C9046STSS and is the answer not in the manual?
Questions and answers